


The rear door window lifters are equipped with electric drives. This subsection describes the removal and installation of the electric window lifter itself. Replacing the electric window lifter control switch is discussed in Section. "Electrical equipment" (cm. "Replacing the right front and rear door power window control switches").
1. Set the door glass to the upper position.
2. Disconnect the wire from the negative terminal of the battery.
3. Remove the rear door trim (see "Removal and installation the rear door trim").
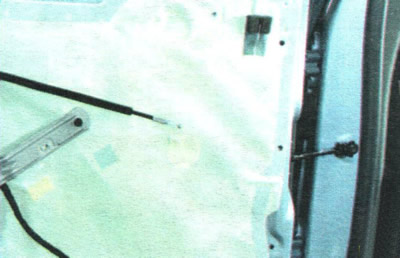
4. Remove the two mounting screws...
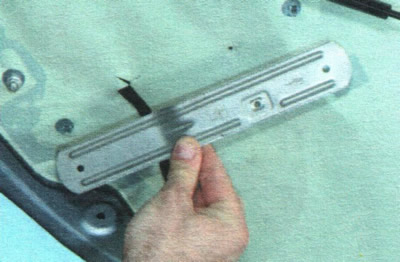
5. ...and remove the inner door panel reinforcement.
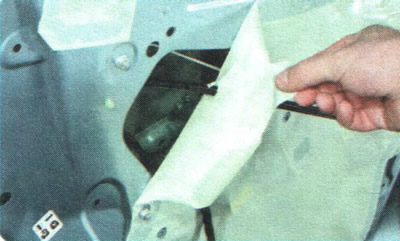
6. Peel off the moisture-proof film from the inner door panel.
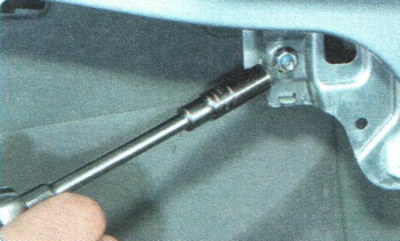
7. Loosen the nuts securing the window lowering clamp to the window lifter slider.
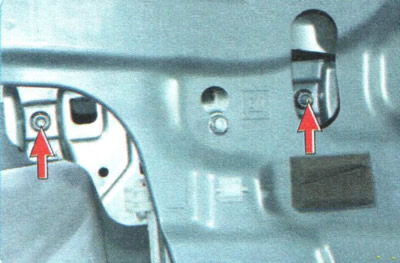
NOTE: When the rear door glass is in the up position, the glass retaining clip nuts are accessible through the access holes in the inner door panel.
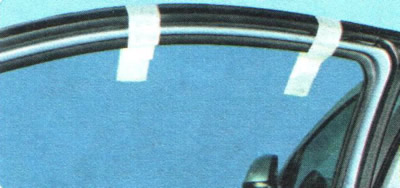
8. Secure the drop glass to the door with masking tape.
9. Temporarily connect the battery, connect the window lifter control switch and, pressing its key, lower the window lifter slider down.
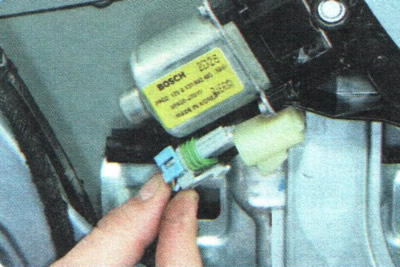
10. Squeeze the retainer and disconnect the wiring harness connector from the window lifter motor.
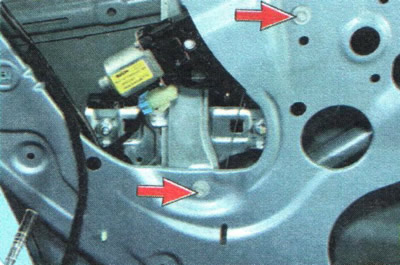
11. Remove the two screws of the lower window regulator mount and remove the screws with the washers installed underneath them.
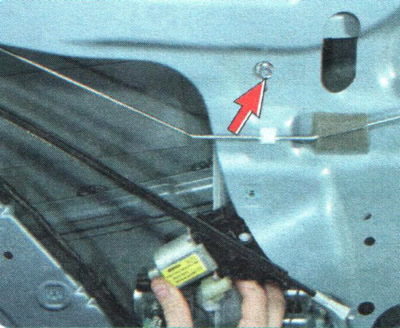
12. Loosen the upper window regulator mounting screw, move the window regulator up...
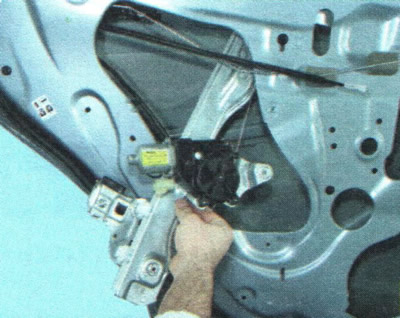
13. ...and remove it through the access window in the door panel.
14. Install the window regulator in the reverse order of removal.