


1. Disconnect the wire from the negative terminal of the battery.
2. Remove the rear door trim "Removal and installation the rear door trim").
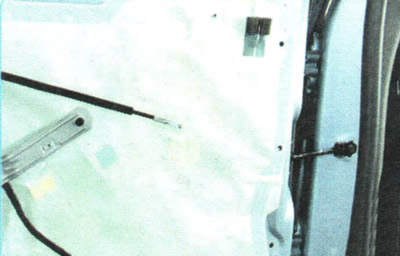
3. Remove the two mounting screws...
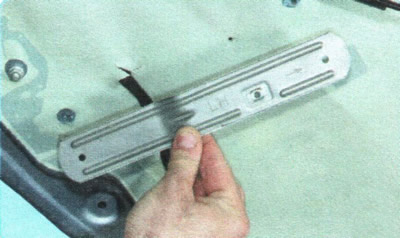
4. ...and remove the inner door panel reinforcement.
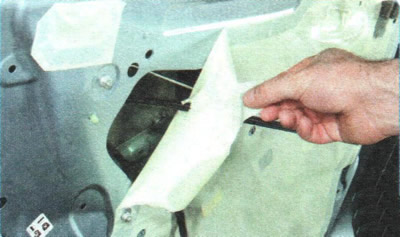
5. Peel off the moisture-proof film from the inner door panel.
6. Remove the outer door handle and its insert (see "Replacing the outer rear door handle").
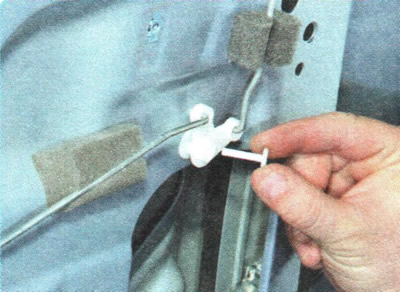
7. Using a screwdriver, remove the pin of the earring connecting the rods of the lock button.
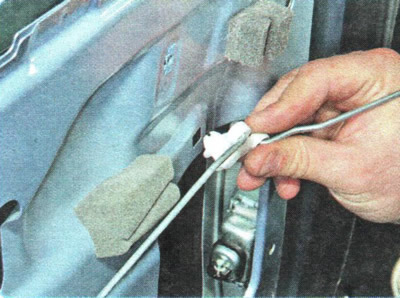
8. Remove the earring from the inner door panel...
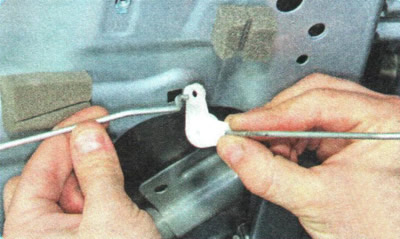
9. ...and remove the curved end of the longitudinal rod from the hole in the earring.
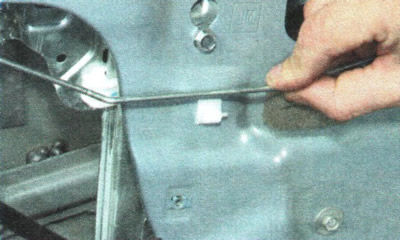
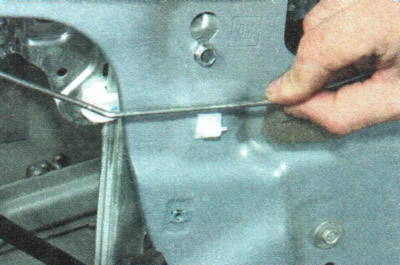
10. Remove the lock button longitudinal rod from the holder on the door panel.
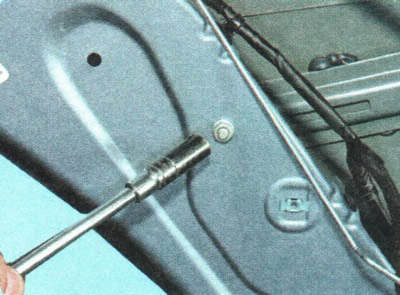
11. Unscrew the bottom...
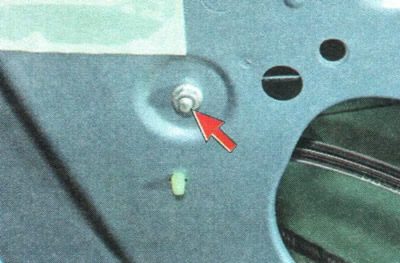
12. ...and the upper nuts securing the door glass guide.
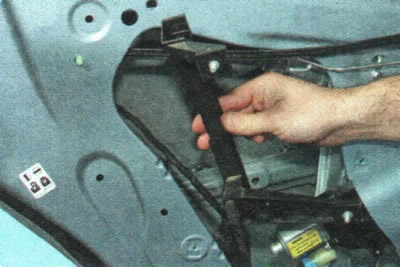
13. Remove the door glass guide through the service window.
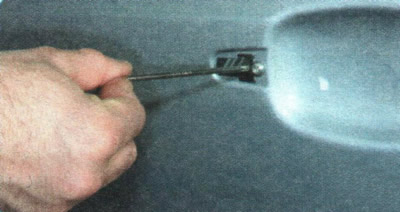
14. Loosen the screw securing the outside handle base, slide the handle base forward and remove it from the door panel.
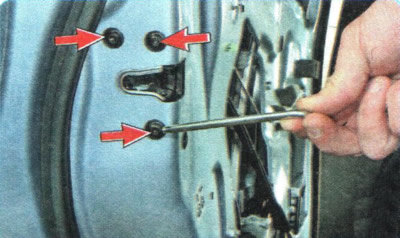
15. Remove the three screws securing the lock...
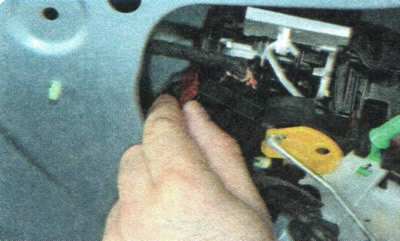
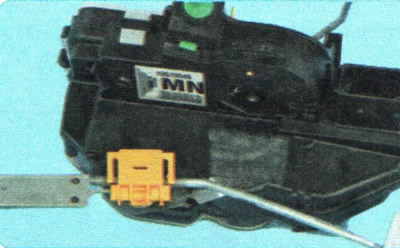
16. ... bring the lock into the opening of the technological window, pull out the retainer...
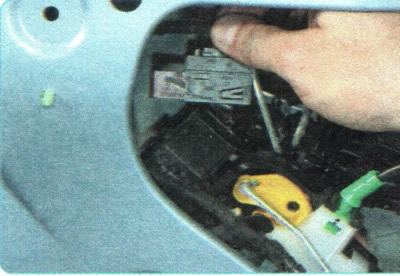
17. ...and disconnect the wiring harness connector from the lock.
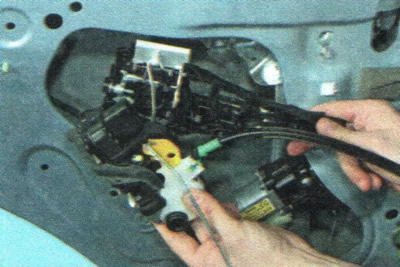
18. Remove the door lock assembly with the base of the outer handle through the service window.
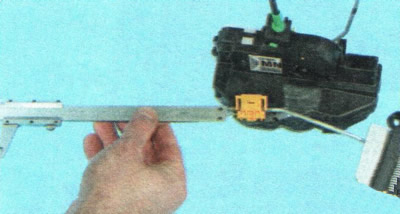
HELPFUL TIP: If you are removing the lock for purposes other than replacement, measure the amount of protrusion of the outer handle rod thread from under the lock retaining plate so that the rod is set in the same position during reassembly.
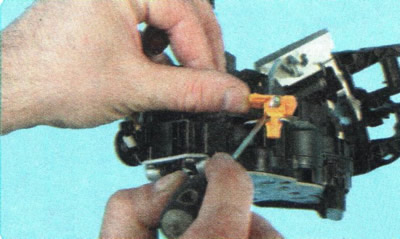
19. Press the latch...
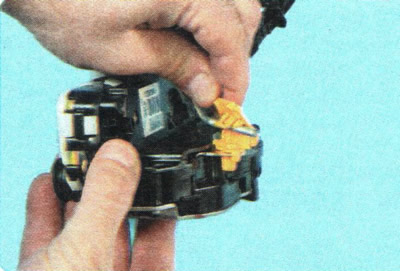
20. ...and lift the locking plate of the outer handle rod...
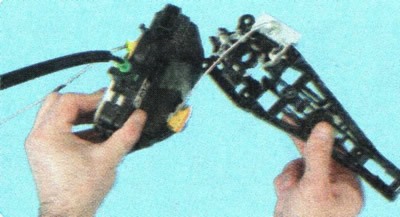
21. ...then remove the lock.
22. Install the front door lock in the reverse order of removal.
NOTE: After installing the outside handle, make sure that the handle releases the lock clearly. If not, adjust the outside handle rod by moving its threaded end in the lock retainer.
Information taken from the official website ChevyMan.ru