


2. If the procedure is performed on a front door, pry and remove the window switch assembly from the door trim using a suitable flat tool (see illustration). When performing the procedure on the rear door, it is necessary to remove the window switch (see chapter 12).
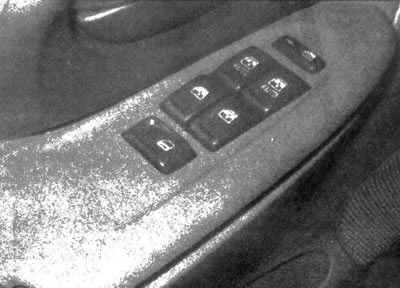
15.2. Pry up the window switch unit and disconnect the electrical connectors
3. Unscrew the screws securing the door trim.
4. To release the retainers from the door, pry up and move the door trim outward using a suitable flat tool.
5. After all fasteners have been removed, lift and move the trim panel away from the door. Remove the door trim panel.
6. To open access to the door cavity, carefully pull back the plastic moisture-proofing shield (see illustration).
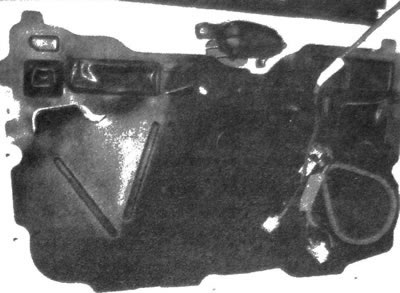
15.6. Carefully pull the moisture-proofing shield away from the door, avoiding tearing it
7. Before installation, it is necessary to install into the trim panel all fasteners that could have come loose during removal and remained in the door.
8. Place the trim panel on the door, hooking its top edge into the glass groove.
9. If performing the procedure on a front door, place the rear upper clip into the hole, then install the front upper and all other clips. Install the front door trim bolt, but do not tighten it yet. Install and tighten the rear bolt securely, then tighten the front fastener.
10. When performing the procedure on the rear door, it is necessary to push the locks back to their original positions. Install and tighten the screws.
11. Install the switch panel (front door) or window switch (back door). Connect the negative battery cable.