


Contents: Removal procedure ↧ Installation procedure ↧
Removal procedure
1. Disconnect the cable from the negative battery terminal.
2. Remove the rear seat cushion. See Section 9H, Seats.
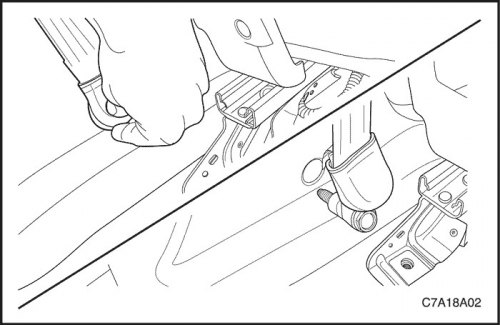
3. Remove the left and right rear side door sills. See "Rear side door threshold" in this section.
4. Loosen the bolts and remove the lower front seat belt mounts from the decorative moldings of the left and right central pillars.
5. Remove the thresholds of the left and right front side doors.
6. Remove the lower center pillar trim moldings on the left and right. See "Lower decorative molding of the central pillar" in this section.
7. Remove the front seats. See Section 9H, Seats.
8. Remove the floor console. See "Floor console" in this section.
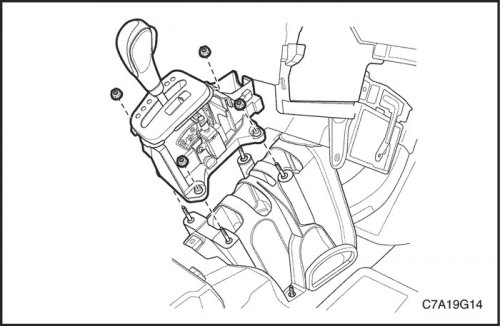
9. Remove the shifter housing bolts and reinstall the shifter housing.
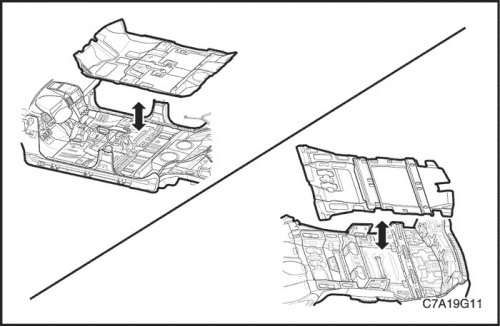
10. Remove the floor carpet fasteners.
11. Remove the floor carpet.
Installation procedure
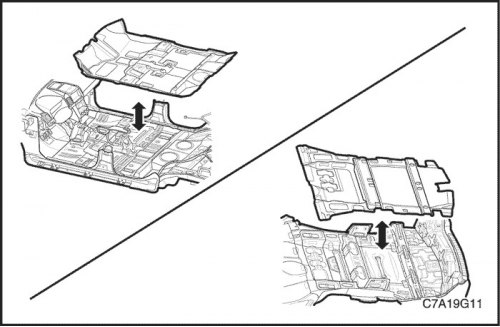
1. Install carpet flooring.
2. Install carpet floor fasteners.
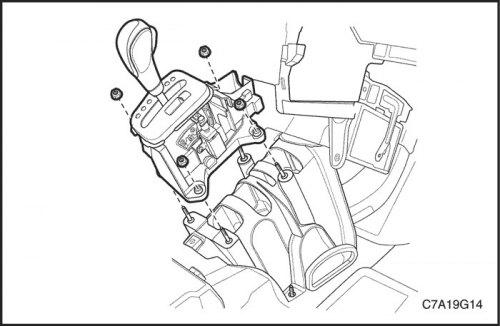
3. Install the gear shift housing using bolts.
Tighten
Tighten the gear shift housing bolts to 8Nm (70 lbs.in).
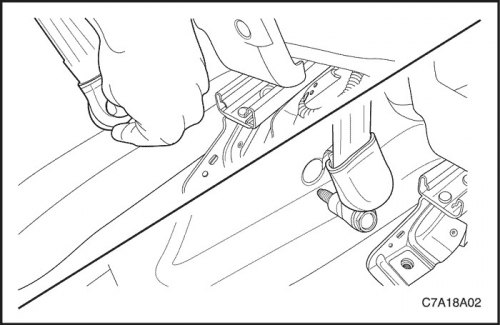
4. Install the floor console. See "Floor console" in this section.
5. Install the front seats. See Section 9H, Seats.
6. Remove the lower center pillar trim moldings on the left and right. See "Lower decorative molding of the central pillar" in this section.
7. Install the thresholds of the left and right front side doors.
8. Install the lower front seat belt mounts on the left and right sides onto the center pillar trim moldings and tighten the bolts.
Tighten
Tighten the seat belt mounting bolts to 38 N·m (28 ft·lbs).
9. Install the left and right rear side door sills. See "Rear side door threshold" in this section.
10. Install the rear seat cushion. See Section 9H, Seats.
11. Connect the cable to the negative terminal of the battery.