Contents: Removal procedure ↧ Assembly procedure ↧
Necessary equipment
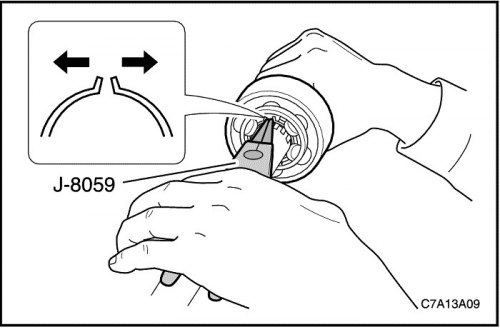
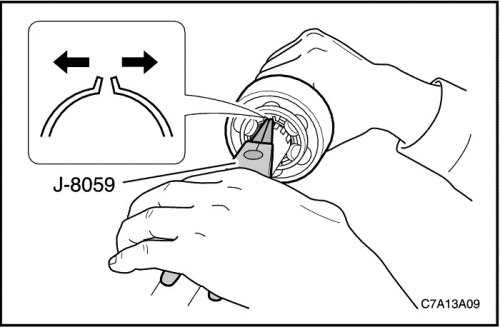
J-8059 Snap Ring Pliers
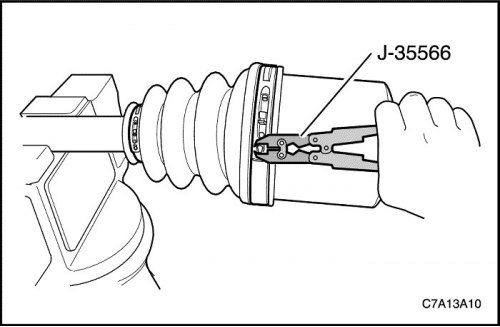
J-35566 Pliers for clamping the clamp on the casing
Removal procedure
1. Remove the axle shaft from the vehicle. See "Drive axle assembly" in this section.
2. Remove the large clamp securing the protective cover. Remove the clamp.
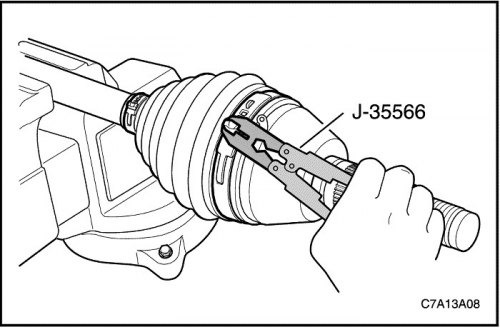
3. Remove the small clamp securing the protective cover. Remove the clamp.
4. Remove grease from the joint.
5. Open the sealing ring with J-8059 pliers and remove the outer joint from the axle shaft.
Caution! Do not disassemble the outer joint assembly. The parts are fitted together and are not intended to be separated. Incorrect reassembly may adversely affect both the power and safety of the vehicle.
6. Remove the cover from the hinge assembly.
Assembly procedure
1. Place the protective cover on the wheel drive axle.
2. Open the sealing ring with J-8059 pliers and install the outer joint onto the axle shaft.
3. Pour 170 - 190 g into the protective casing (6.0 - 6.7 oz) recommended lubricant. Protective cover with 170 - 190 g (6.0 - 6.7 oz) of the recommended lubricant and install it back onto the axle shaft.
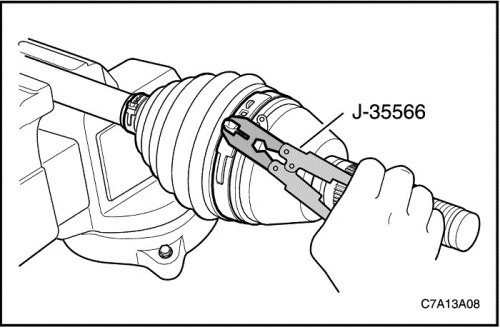
4. Put on new clamps (big and small) for fastening the protective cover.
5. Crimp new clamps (big and small) fastening the protective cover with pliers J-35566.
6. Insert the axle shaft into the vehicle. See "Drive axle assembly" in this section.