


Replace the spring if it is mechanically damaged or has significantly settled. Signs of settlement:
- deterioration of ride smoothness, frequent suspension breakdowns;
- visible tilt of the rear of the vehicle or significant difference in height between the front and rear parts that arose during operation;
- clearly visible traces of spring coil impact.
Note: Replace springs (left and right) in pairs.
1. If you are replacing the spring on a lift, place supports under the arms and lower the car, slightly loading the spring. This operation is not required when working on an inspection pit.
2. Remove the wheel from the side of the spring being replaced.
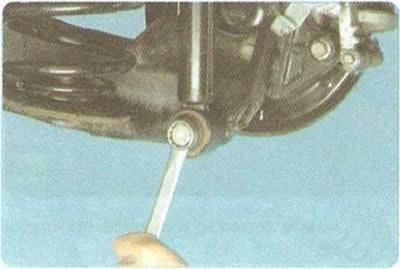
3. Unscrew the lower shock absorber mounting bolt, remove the bolt and move the shock absorber away from the lever (see "Replacing the rear shock absorber").
4. Raise the vehicle, unload the spring and remove it.
5. Remove the upper and lower spring pads.
6. Install the spring with gaskets on the vehicle in the reverse order of removal.
7. Replace the second spring in the same way, but only after securing the lower end of the shock absorber, disconnected when replacing the first spring.
If you have a spring compressor replace the spring in the following order.
1. Before raising the rear of the vehicle, engage 1st gear (move the automatic transmission selector lever to position "P") and place chocks under the front wheels.
2. Raise the rear of the vehicle, place it on secure supports and remove the wheel on the side of the spring being replaced.
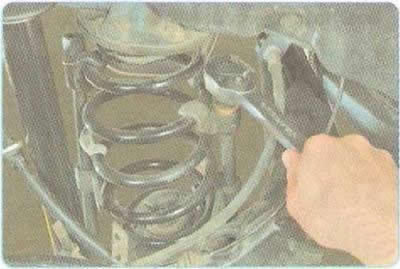
3. Install the spring compressor and compress the spring.
Warning: Use extreme caution when removing and installing the spring to avoid the spring "shooting" out of the suspension and causing injury.
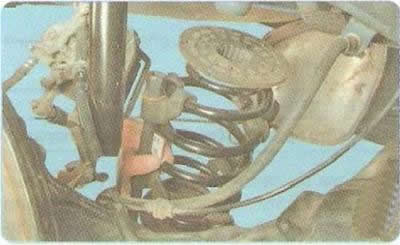
4. Remove the spring with gaskets.
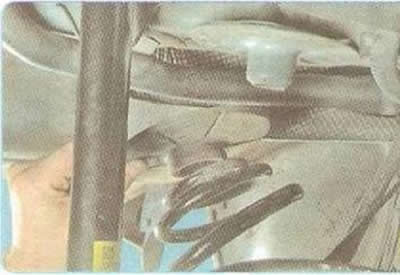
5. Remove the upper and lower spring pads.
Warning: Replace damaged spring pads with new ones.
6. Install the spring with gaskets on the vehicle in the reverse order of removal.
7. Replace the second spring in the same way.
Note: When installing the spring, make sure that the end of the upper coil rests against the special stop in the upper gasket.