


Warning: Shock absorbers (left and right) replace in pairs.
Do not remove both shock absorbers at the same time with the rear of the vehicle raised, as lowering the rear suspension beam below the permissible limit may cause damage to the brake lines and hoses.
1. If you are replacing the shock absorber on a lift, place supports under the arms and lower the car, slightly loading the spring. This operation is not required when working on an inspection pit.
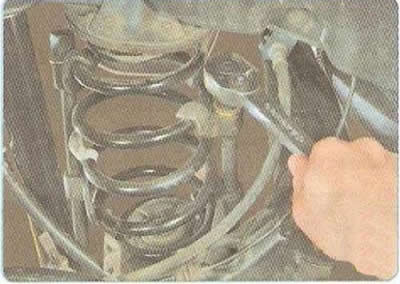
Note: If you have a spring compressor, there is no need to install the supports. Load the spring by installing the spring compressor and compressing it.
2. Remove the wheel from the side of the spring being replaced.
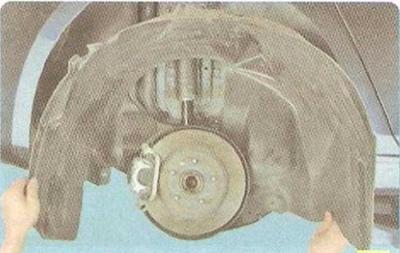
3. Remove the rear mudguards (see "Removal and installation mudguards").
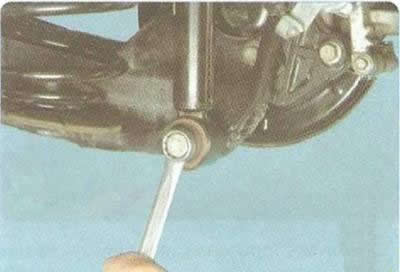
4. Unscrew the lower shock absorber mounting bolt, remove the bolt and move the shock absorber away from the lever.
Warning: Do not move the shock absorber to the side more than necessary for operation, to avoid damage to the piston rod. Do not disconnect the lower mounts of both shock absorbers at the same time.
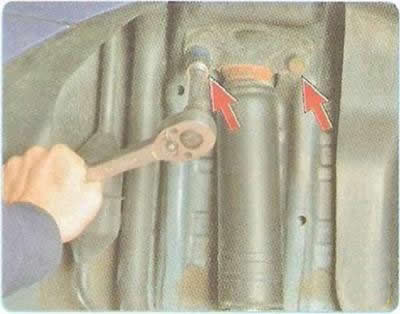
5. Remove the two bolts of the upper mount support...
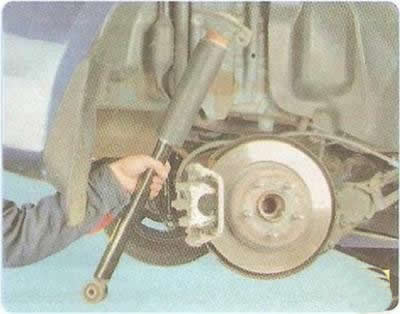
6. ...and remove the shock absorber from the car.
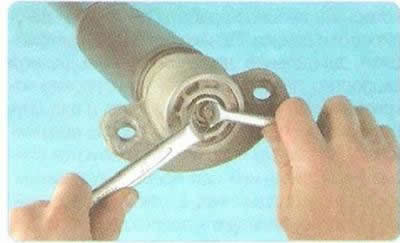
7. Loosen the shock absorber rod mounting nut, holding the rod from turning...
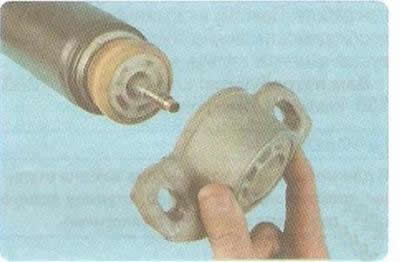
8. ...and remove the upper support.
9. Remove the protective cover assembly with the compression buffer.
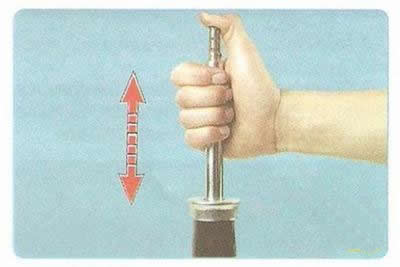
10. Install the shock absorber vertically and lower and raise the shock absorber rod several times until it stops. Make sure that the rod moves without dips, jams or knocks. Otherwise, replace the shock absorber. In addition, the shock absorber is replaced if fluid leaks are detected (slight fogging in the upper part of the shock absorber body is allowed) and if the threads at the top of the rod are damaged.
11. Install the shock absorber in the reverse order of removal.
12. Replace the second shock absorber in the same way.
The original material is located on the website: «chevyman.ru»