
ChevyMan.ru
Mazda Mitsubishi Toyota Land Rover Honda Kia Nissan
English Русский
Български
Беларускі
Український
Српски
Hrvatski
Română
Polski
Slovenský
Magyar
|
Articles | Sitemap | Contacts |


Home   Aveo   Captiva   Cruze   Lacetti   Lanos   Niva   Tahoe   Others  
Lanos T150 (2002-2009)
  • Home
  • Lanos
  • T150 (2002-2009)
  • Electrical equipment
  • Engine electrics
  • Disassembling the starter

Disassembling the starter (Chevrolet Lanos T150)

            0

We disassemble the starter for repair, replacement of the traction relay, brush holder with brushes and drive elements.

Before disassembling, use a screwdriver to turn the drive gear; the gear should rotate in only one direction.

Otherwise, replace the drive with a new one.
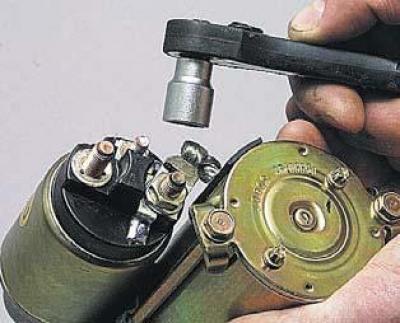
Using a 13 mm head, unscrew the nut of the lower contact bolt of the traction relay and remove the…


Using a 13 mm head, unscrew the nut of the lower contact bolt of the traction relay and remove the wire tip.
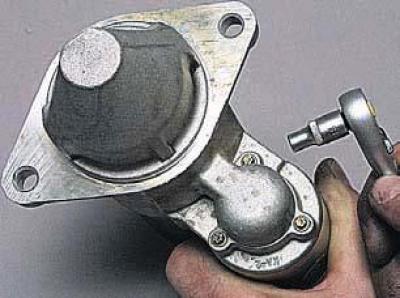
Using the «E5» head, unscrew the three screws securing the traction relay..

Using the "E5" head, unscrew the three screws securing the traction relay..

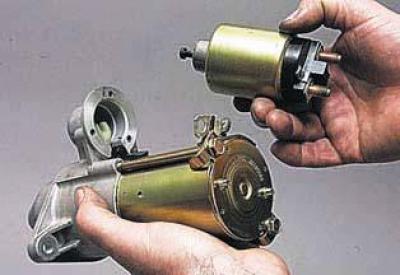
…and we take it off.

…and we take it off.


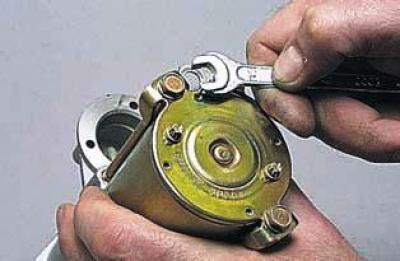
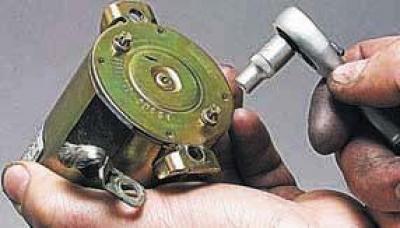
Using a 10 mm spanner, unscrew the two tie bolts…
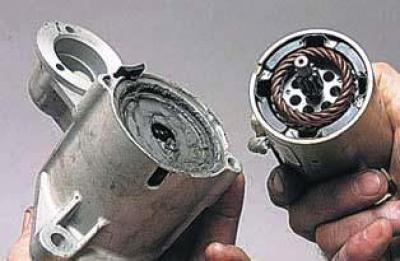

Using a 10 mm spanner, unscrew the two tie bolts…

…and we disconnect the stator housing together with the anchor from the front cover.

…and we disconnect the stator housing together with the anchor from the front cover.

Using the «E7» head, unscrew the two screws securing the rear cover to the brush holder plate..
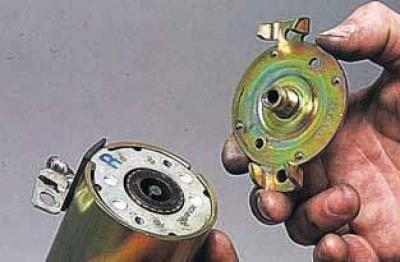

Using the "E7" head, unscrew the two screws securing the rear cover to the brush holder plate..

…and remove the lid.
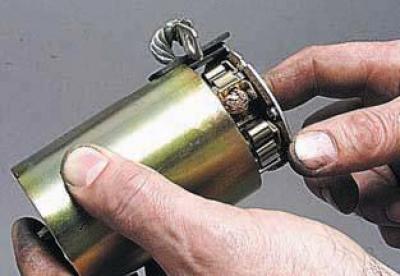

…and remove the lid.


We remove the anchor with the brush holder from the stator housing.
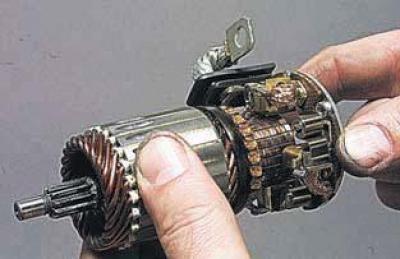

We remove the anchor with the brush holder from the stator housing.

We remove the brush holder from the anchor.

We remove the brush holder from the anchor.

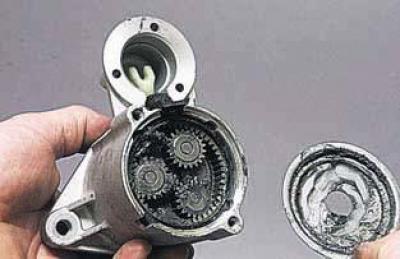
We remove the protective cover of the planetary mechanism..

We remove the protective cover of the planetary mechanism..

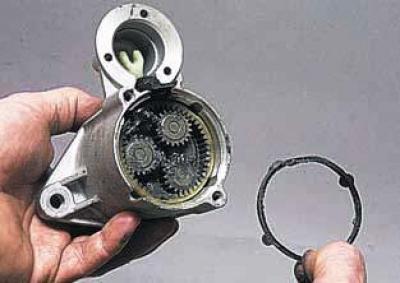
…and a sealing ring.


…and a sealing ring.


We take out three gears from the gearbox.
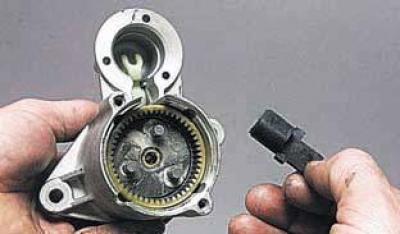
We take out the rubber support of the drive lever.
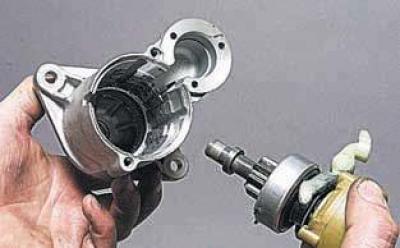

We take out the rubber support of the drive lever.

We remove the drive shaft with the lever..
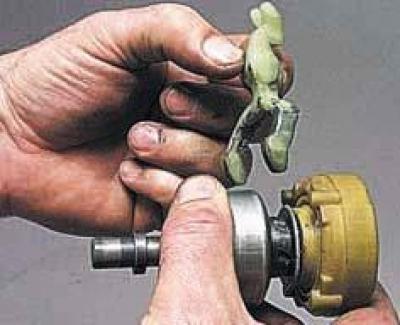

We remove the drive shaft with the lever..

…and disconnect the lever.

…and disconnect the lever.

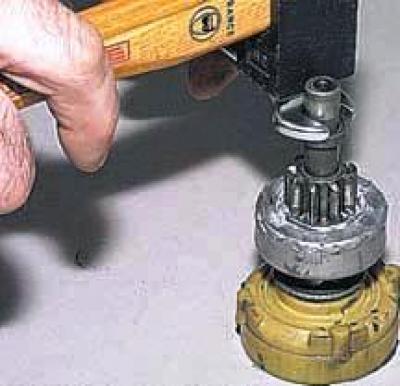
Resting the jaws of a 13 mm open-end wrench on the coupling's limiting ring, strike the wrench with…


Resting the jaws of a 13 mm open-end wrench on the coupling's limiting ring, strike the wrench with a hammer and press the limiting ring.
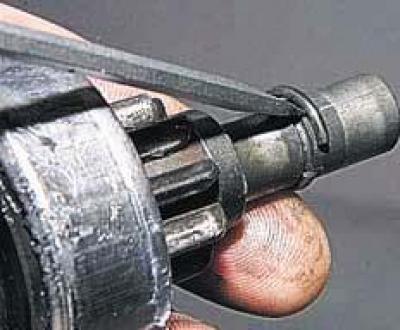


Using a screwdriver, pry off the retaining ring…
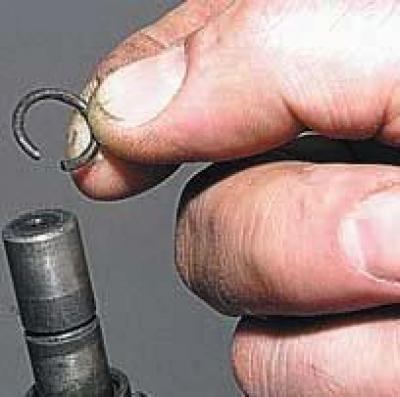

Using a screwdriver, pry off the retaining ring…

…we remove it from the shaft.
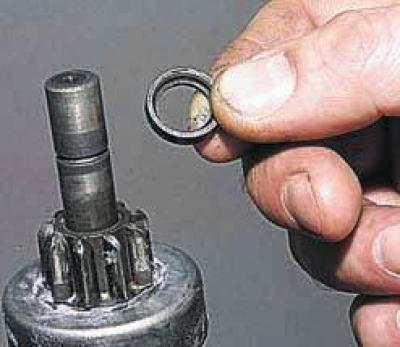

…we remove it from the shaft.

We remove the limiting ring from the shaft..
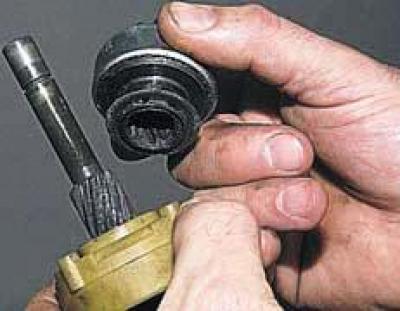

We remove the limiting ring from the shaft..

…and a drive with an overrunning clutch («bendix»).


…and a drive with an overrunning clutch ("bendix").
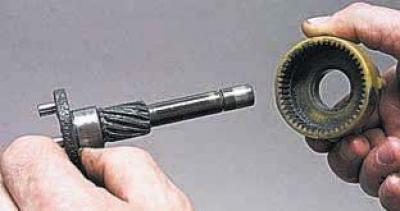


We remove the planetary gear crown gear from the shaft.


We remove the planetary gear crown gear from the shaft.

We check the condition of the collector and armature windings by external inspection.

Charring of windings is not permitted.

If the collector is slightly burned, clean its plates with fine abrasive paper.

If the anchor is heavily burned and worn, it is better to replace it.

We remove scuffs and bronze drag from the bearings onto the journals of the anchor shaft using the finest sandpaper followed by polishing.
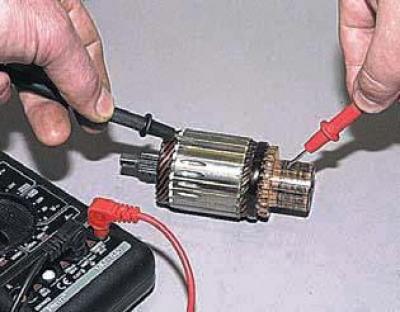
We use an ohmmeter to check the armature winding for a short circuit.


We use an ohmmeter to check the armature winding for a short circuit.

The resistance must be very large (strive for infinity).

We replace the faulty anchor.
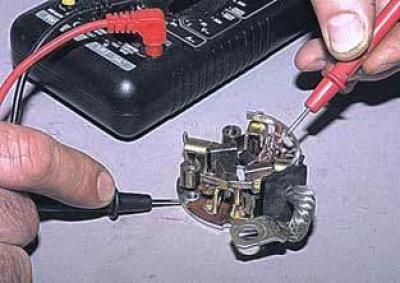
We check the holders of insulated brushes for short circuit with the ground.


We check the holders of insulated brushes for short circuit with the ground.

The resistance must be very large (strive for infinity).

Otherwise, replace the brush holder with a new one.

Assemble the starter in reverse order.

We lubricate the planetary gearbox gears with SHRUS-4 grease.
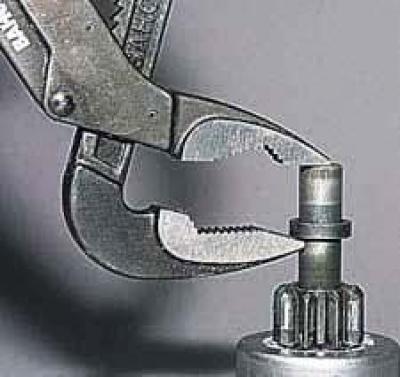
We install the limiting ring in place using sliding pliers.


We install the limiting ring in place using sliding pliers.

We install the drive lever so that the lever projections are facing the overrunning clutch.
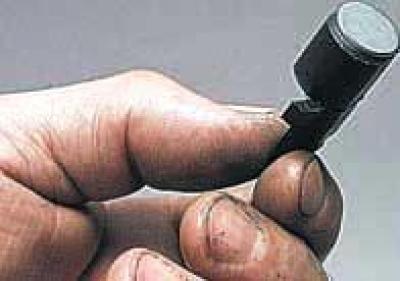
We install the rubber support of the drive lever with the metal insert towards the drive lever.
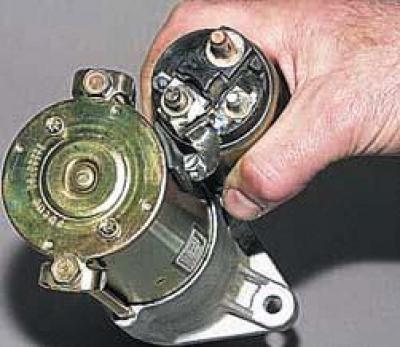

We install the rubber support of the drive lever with the metal insert towards the drive lever.

We install the traction relay so that its control terminal is located on the right side (shown by…


We install the traction relay so that its control terminal is located on the right side (shown by arrow).

The article was checked: Vladimir Romannikov
This article is available at russian, bulgarian, belarusian, ukrainian, serbian, croatian, romanian, polish, slovak, hungarian

Share information:

Previous articles
Lanos T150: Engine electrics
Next articles

Removal the starter
Disassembly and assembly of the generator
Removal the generator
Removal the battery
Electrical equipment of a car


See similar articles on the topic of Chevrolet cars:
Features of the starter design Chevrolet Aveo T300 (2012-2018)
Disassembling and assembling the starter Chevrolet Captiva 1 (2006-2018)
Disassembling the engine Chevrolet Cruze 1 (2008-2016)
Disassembling the starter Chevrolet Lacetti 1 (2002-2009)
Disassembling and assembling the starter Chevrolet Niva 1 (2002-2016)
Checking the starter interlock switch Chevrolet Tahoe 1 (1992-2000)
Check starter interlock (every 7,500 miles or 12 months) Chevrolet Lumina 1 (1989-1994)
Link in different formats to this page


Visitor comments

No comments yet


How much will 23 + 29 =


Lanos T150 (2002-2009) 
  • General information
  • User manual
  • Maintenance
  • Troubleshooting
  • Power unit
  • Engine repair
  • Control system
  • Supply system
  • Cooling system
  • Exhaust system
  • Transmission
  • Clutch
  • Car gearbox
  • Front wheel drives
  • Chassis
  • Front suspension
  • Rear suspension
  • Steering
  • Brake system
  • Body
  • Repair of body elements
  • Heating and air conditioning
  • Electrical equipment
  • Engine electrics
  • Lighting and lamps
  • Equipment and devices
  • Electrical circuits


ChevyMan.ru © 2017-2026 · Mobile version · Feedback · Site search · Interesting to read · Sitemap: EN BG BY UA RS HR RO PL SK HU

Aveo 2003-2008 · Aveo 2006-2011 · Aveo 2012-2018 · Captiva 2006-2018 · Cruze 2008-2016 · Lacetti 2002-2009 · Lanos 2002-2009 · Niva 2002-2016 · Tahoe 1992-2000 · Tahoe 2000-2014 · Lumina 1 1989-1994 · Trailblazer 1 2001-2008 · Orlando 1 2010-2018 ·
🛡️ For your security and to improve our service, this site uses cookies. You can disable them in your browser.