
2. Remove the steering wheel (see chapter 10, section 21).
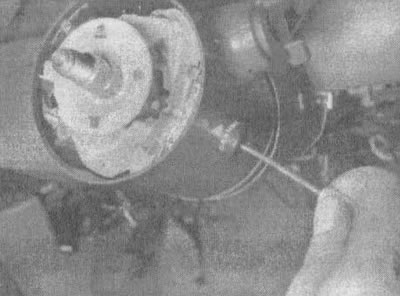
3. Using a small screwdriver, remove the retaining ring from the groove on the steering column and remove the locking plate. It is possible that in order to access the retaining ring you will have to press the locking plate using a special tool.
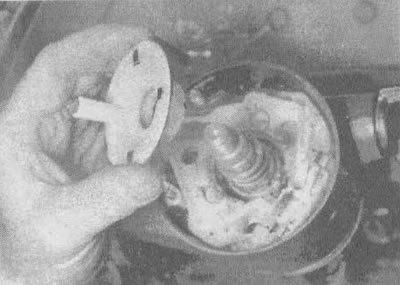
4. Remove the hazard warning light switch handle (see illustration).
8.4. After unscrewing the fastening screw (indicated by the arrow) hazard warning light handles, remove the handle
5. Remove the turn signal switch cam (see illustration).
8.5. Remove the turn signal release mechanism plate
6. Set the turn signal switch lever to the right turn signal position, loosen its screw and remove the lever, then loosen the switch mounting screws (see illustration).
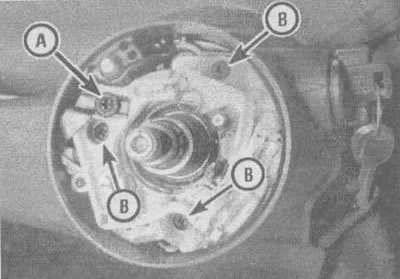
8.6. Loosen the screw (A) of the turn signal switch lever, then the screws (B)
7. Remove the left lower instrument panel panel located under the steering column.
8. Once you have located the electrical connector for the turn signal switch, disconnect it (see illustration). Disconnect the wiring from this connector to the switch (see illustration).
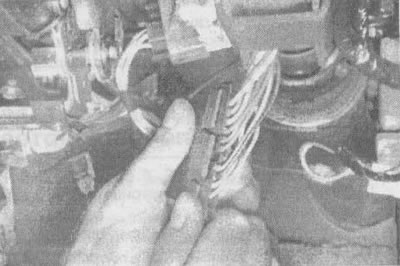
8.8a. The turn signal switch electrical connector is located under the instrument panel near the steering column. Disconnect it as shown in the photo and then... |
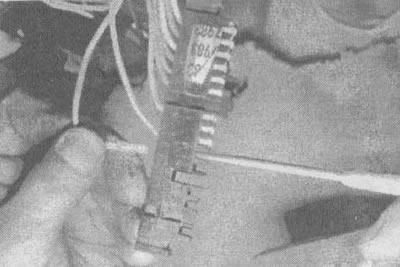
8.8b....disconnect the turn signal switch connector |
9. Pull the wire bundle with the electrical connector up along the steering column and remove the switch.
10. The switch is installed in the reverse order.
(The source of the article is available on the website chevyman.ru)