


Replacing the left support
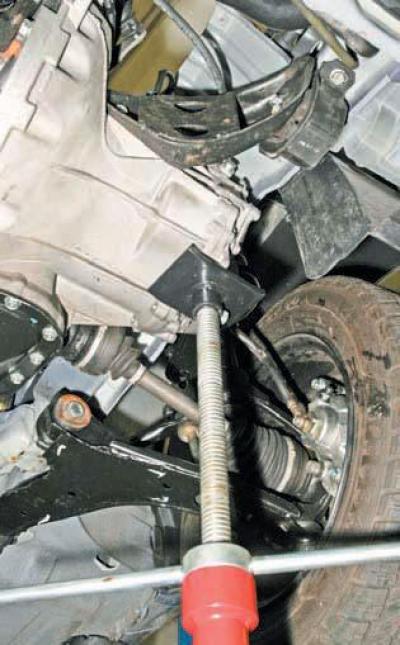
We install an adjustable stop under the gearbox.
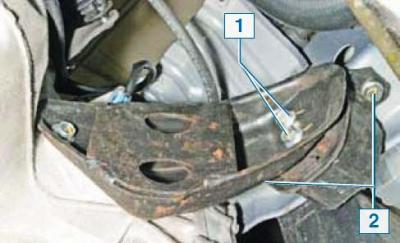
Using a 14 mm head, unscrew the two bolts 1 securing the support to the gearbox bracket and the two bolts 2 securing the support to the side member.
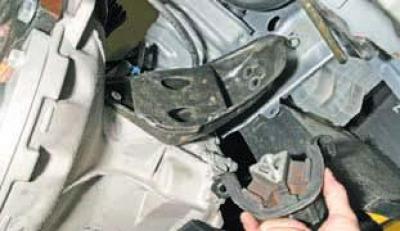
We remove the left support of the power unit.
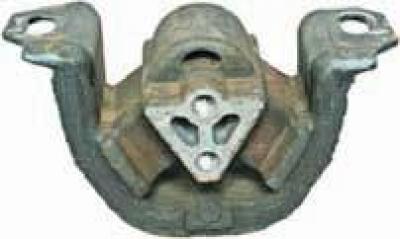
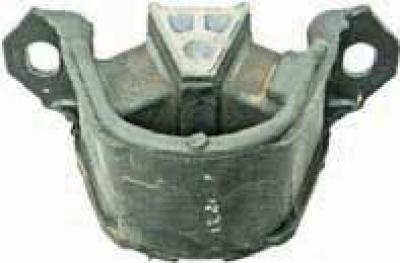
Left support of the power unit.
We install the left support of the power unit in the reverse order.
Replacing the right support
To replace the right support of the power unit, remove the mudguard of the engine compartment (see Removal mudguards) and the air conditioning compressor drive belt (see Checking the condition and replacing the air conditioning compressor drive belt). We place an adjustable stop under the engine oil pan.
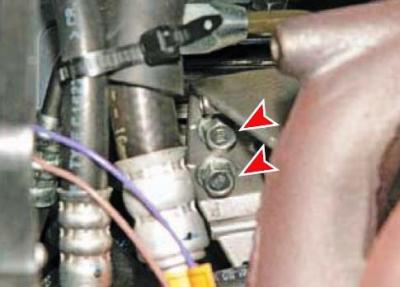
Using a 14 mm socket with a cardan joint and extension, unscrew the two bolts securing the support to the engine bracket.
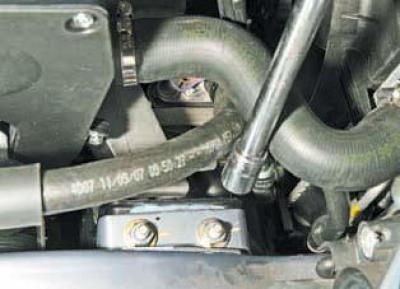
Using a 17 mm socket head, unscrew the two nuts securing the right support of the power unit to the body bracket…
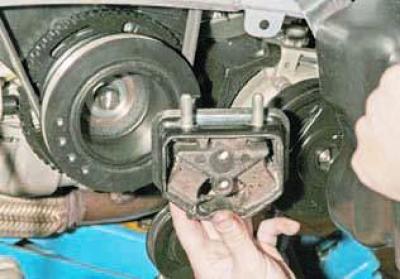
…and we take out the right support through the wheel niche.
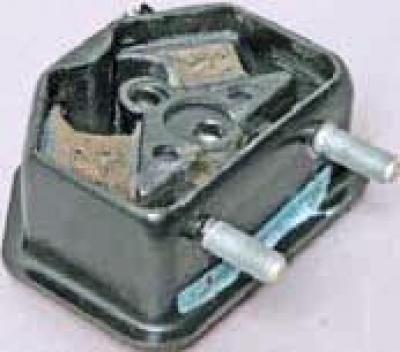
Right support of the power unit.
We install the right support of the power unit in the reverse order.
Replacing the rear support
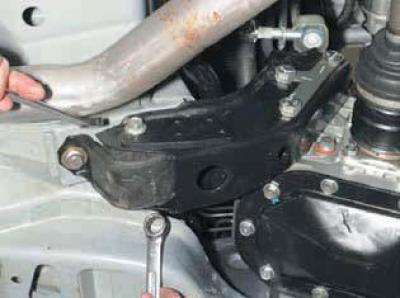
Using a 17 mm wrench, unscrew the nut of the bolt securing the rear support to the gearbox bracket, holding the bolt from turning with a 14 mm wrench.
Remove the rubber cushion from the bracket of the intermediate pipe of the exhaust system (see Removal the intermediate pipe).
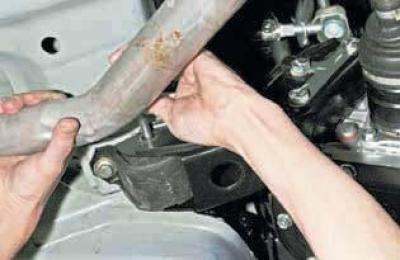
We remove the bolt from the support, pressing the intermediate pipe down.
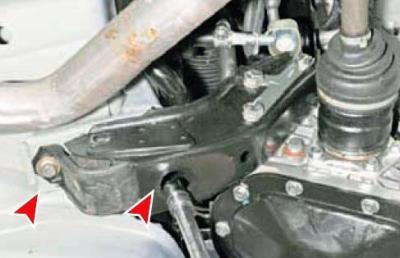
Using a 14 mm socket head, unscrew the two bolts securing the rear support to the body (we unscrew the front bolt through the hole in the bracket)…
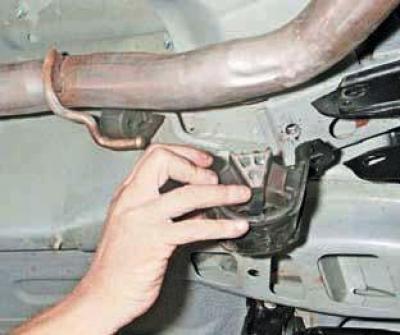
…and remove the rear support.
We install the rear support in the reverse order.
At the same time…
…the arrow on the support must point towards the front of the vehicle.