


Tahoe
1. Remove the glove box.
2. Disconnect the connectors.
3. Remove the amplifier.
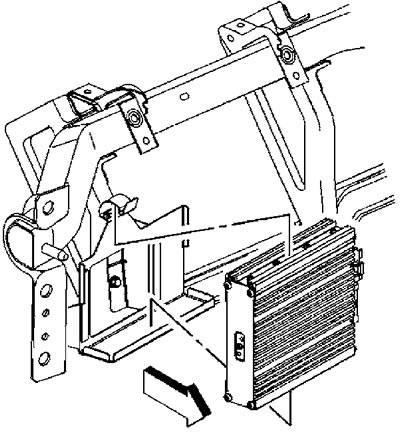
4. Install in the reverse order of removal.
Escalade
1. Remove the center console bezel.
2. Remove the center console storage compartment.
3. Loosen the four screws (1) securing the amplifier. Tightening torque 3.5 Nm.
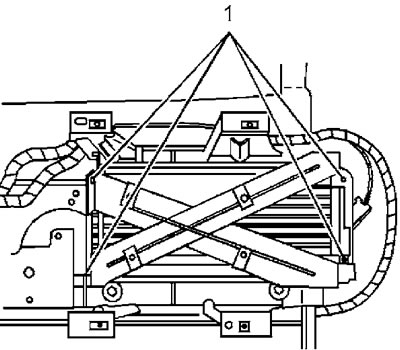
4. Disconnect the connector from the amplifier.
5. Rotate the top bracket.
6. Remove the amplifier.
7. Unscrew the four nuts (replace nuts during installation).
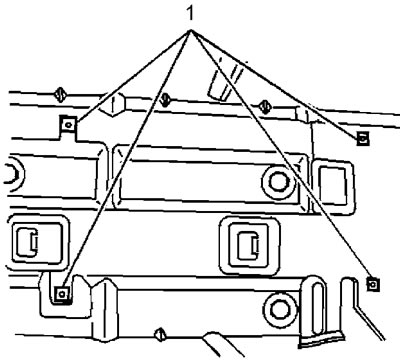
8. Install in the reverse order of removal.
Yukon
1. Remove the luggage compartment side trim.
2. Loosen the bolts (1). Tightening torque 2.5 Nm.
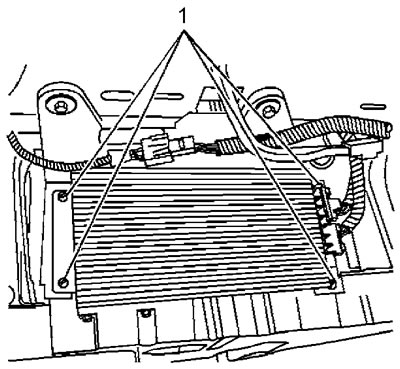
3. Disconnect the connector.
4. Remove the amplifier.
5. Install in the reverse order of removal.
Suburban
1. Remove the luggage compartment side trim.
2. Loosen the bolts (2). Tightening torque 9 Nm.
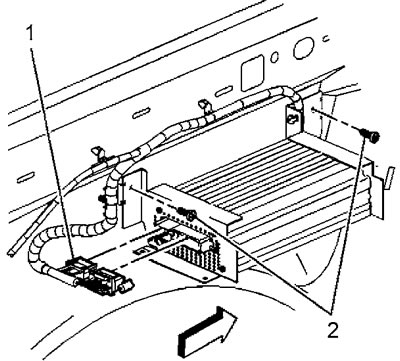
3. Disconnect the connector (1).
4. Remove the amplifier.
5. Install in the reverse order of removal.
Models produced since 2003.
1. If a Bose audio system is installed, remove the amplifier fuse before starting work.
2. Remove the center console bezel.
3. Remove the cup holder.
4. Unscrew the bolts (1).
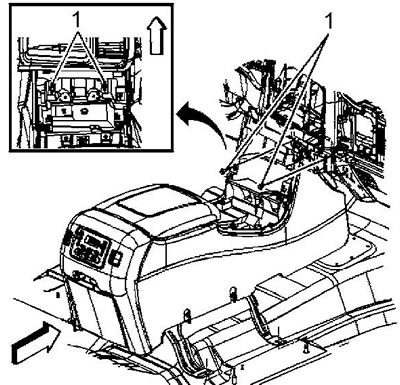
5. Remove the center console storage compartment.
6. Remove the front and rear center console trim.
7. Disconnect the connectors from the amplifier.
8. Remove the four screws securing the upper console bracket to the lower bracket and the two screws (1) shown in the figure.
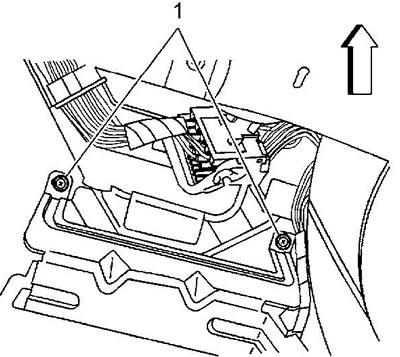
9. Move both front seats forward as far as they will go.
10. Lift the seat trim (1) to access the screw (2).
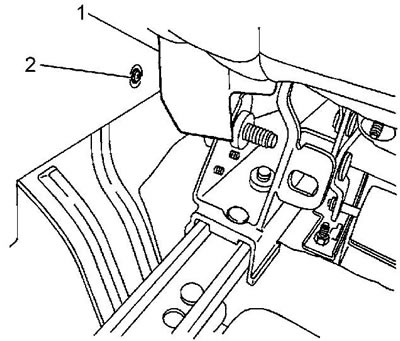
11. Loosen the screws securing the side trim of the center console.
12. Move both front seats back as far as they will go.
13. Loosen the screws (1) securing the side trim of the center console.
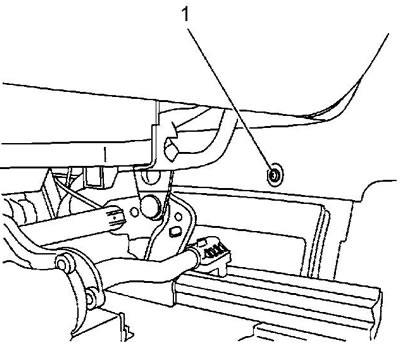
14. Disconnect the center console connectors.
15. Remove the center console
16. Loosen the screws (1) securing the amplifier. Tightening torque 3.5 Nm.
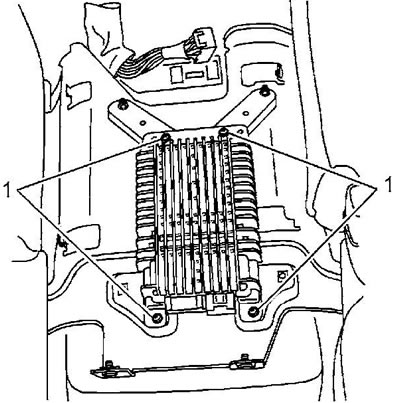
17. Remove the amplifier.
18. Install in the reverse order of removal.