
Caution! The air conditioning system is under high pressure. Do not loosen any connections or remove any parts until the system has been depressurized in a workshop or service station. Always wear safety glasses when disconnecting the air conditioning hose.
1. Have your air conditioning system discharged for you (see above for precautions).
2. Disconnect the negative cable from the battery.
3. Disconnect the refrigerant lines from the battery. To prevent the pipeline from twisting, use a second wrench (see illustrations).
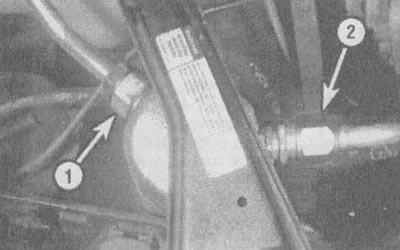
14.3a. The air conditioning system filter-drier is located in the right front corner of the engine compartment in front of the expansion tank: 1 - inlet pipe, 2 - outlet pipe |
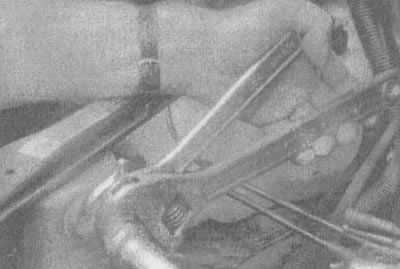
14.3b. To prevent the pipes from twisting, use a special key when unscrewing the refrigerant lines |
4. To prevent dirt and moisture from entering, plug any open connections.
5. Loosen the mounting bracket bolt (see illustration) and remove the filter.
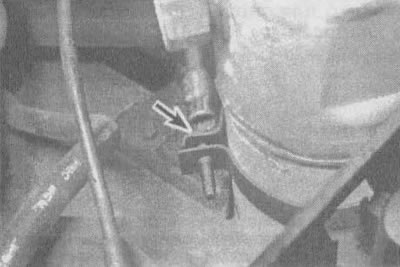
14.5. Loosen the mounting bolt (indicated by the arrow) and separate the bracket to remove the filter
6. If a new filter is to be installed, remove the Schrader valve (see illustration) and pour the oil into a measuring cup, measuring its quantity. Add to the new filter as much fresh oil as was removed from the old filter, plus 1 ounce.
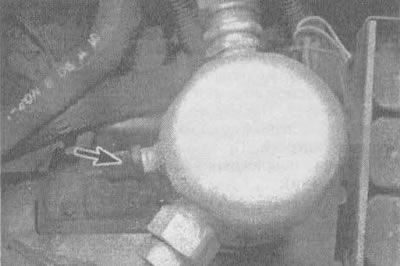
14.6. To remove the Schrader valve, unscrew the protective plastic cap (indicated by the arrow)
7. Remove the old refrigerant line sealing rings and replace them with new ones. This should be done regardless of whether a new filter is installed on the vehicle or an old one is used.
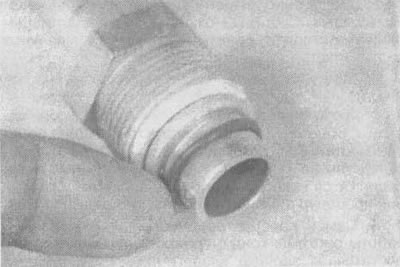
14.7. Do not forget to replace the sealing rings of the refrigerant lines
8. Assembly is carried out in the reverse order, but do not forget to lubricate the sealing rings on the pipes with refrigerant oil before connecting the pipes.
9. Have the system pumped, recharged and leak tested at the same workshop that discharged it.