
12. Remove the left support of the middle row (see chapter 11, section 23) and the middle trim panel (see chapter 11, section 12).
13. To remove the rear blower motor, the entire assembly must be removed from the door.
Caution: Although it is not necessary to disconnect any of the supercharger or air conditioner lines, special precautions must be taken when working with these hoses and fittings. Under no circumstances should they be loosened or disconnected unless the system has been discharged in a workshop or service station.
14. When removing the supercharger motor, follow the sequence of actions as in the photographs, pay attention to the signatures. If it is necessary to remove the fan from the electric motor, unscrew the nut on the motor shaft (see illustration 10.5).
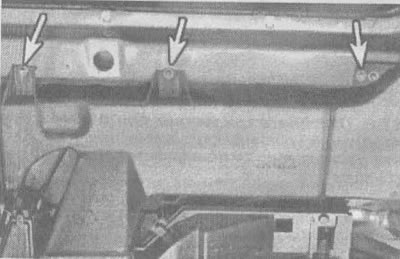
10.14a. Unscrew the upper air duct bolts (indicated by arrows) |
10.14b. Unscrew the screws located on the right (indicated by the arrow)... |
10.14v....and on the left (indicated by the arrow) supercharger unit |
10.14g. Disconnect all electrical connectors (one of them, shown here, has a stopper that needs to be removed before connecting) |
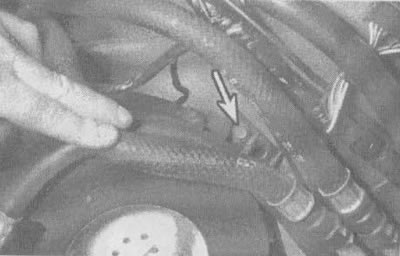
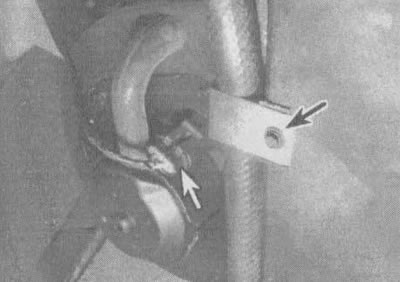
10.14d. Disconnect the vacuum line |
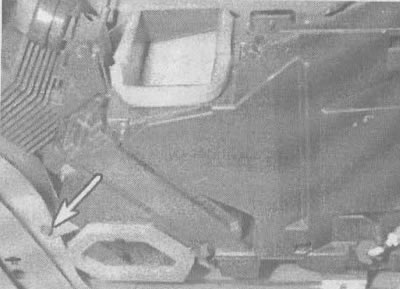
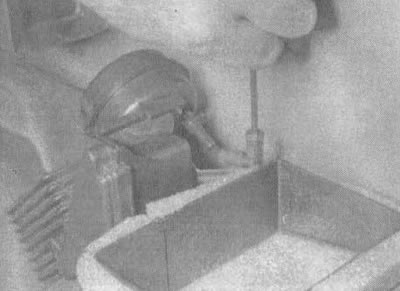
10.14e. Pull the supercharger upwards to disconnect it from the rubber drain plug (indicated by the arrow) |
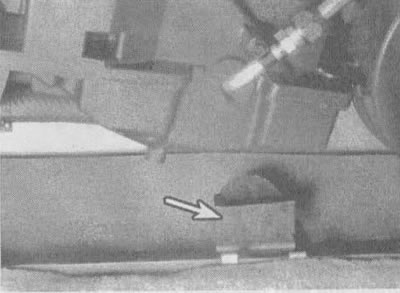
10.14zh. The blower motor is located at the rear - disconnect the electrical connector and unscrew the hose mounting screw (indicated by arrows) |
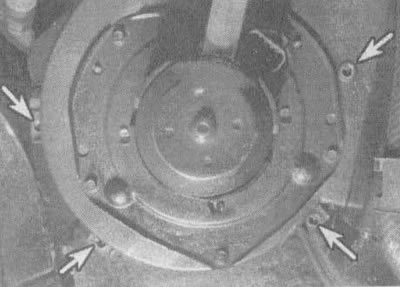
10.14z. Unscrew the screws (indicated by arrows), which secure the supercharger cover to the rear heater and air conditioner housing |
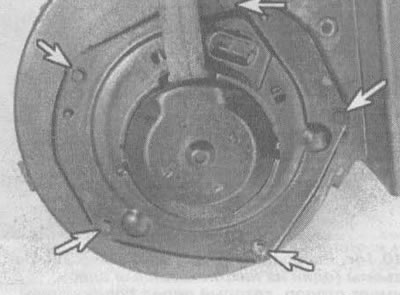
10.14i. Unscrew the screws (indicated by arrows) and pull the blower motor out of the cover |
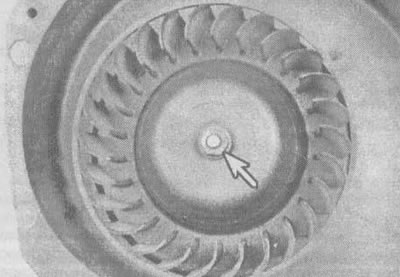
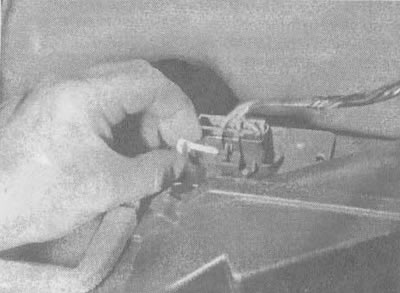
10.5. Unscrew the nut (indicated by the arrow) from the motor shaft and pull out the fan (the nut is unscrewed clockwise) |
15. Installation is carried out in reverse order.