
Contents: Replacement ↧ Adjustment ↧
Note: If your vehicle is equipped with the Delco Loc II audio system, be sure to disable the system lock before disconnecting the battery.
1. Disconnect the cable from the negative terminal of the battery.
Replacement
2. From the engine compartment side, remove the "cruise control" system unit (if it is present on the car), then disconnect the cable from the lever and selector (see illustration).
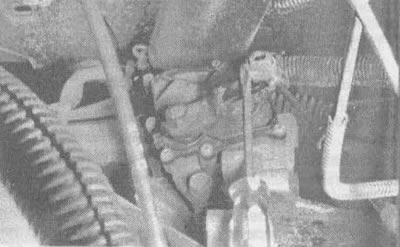
5.2a. Use a screwdriver to disconnect the cable from the gear selector lever
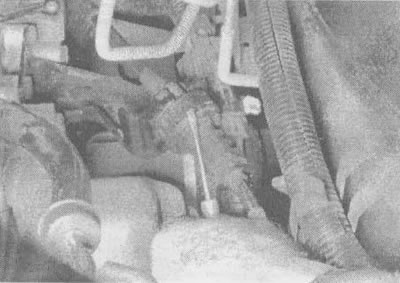
5.2b. Remove the clip to release the cable from the end, then...
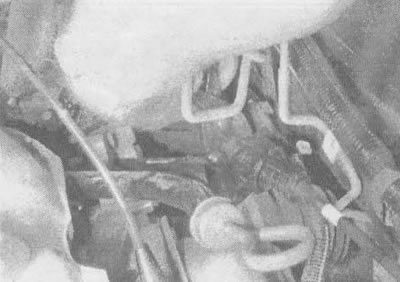
5.2v....use pliers to separate the cable and push it back through the bracket
3. While inside the vehicle, remove the left soundproofing panel located under the dashboard.
4. Use a large screwdriver to remove the cable from the bracket at the base of the steering column.
5. Move the rubber bushing (sealing ring), located in the thermal insulation bulkhead and remove the cable from the vehicle.
6. Installation is carried out in reverse order. Once the cable is installed, adjust it as described below.
Adjustment
7. Move the gear shift lever and selector to the neutral position and press the bracket on the gear shift cable. This will automatically adjust the position of the cable (see illustration 5.2b).
8. Connect the cable to the negative terminal of the battery.
[The source of the article is available on the website «chevyman.ru»]