
1. We prepare the car for maintenance and repair.
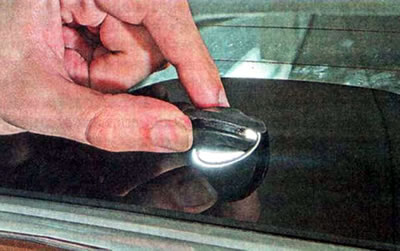
2. Remove the protective cap of the windshield wiper arm mounting nut.
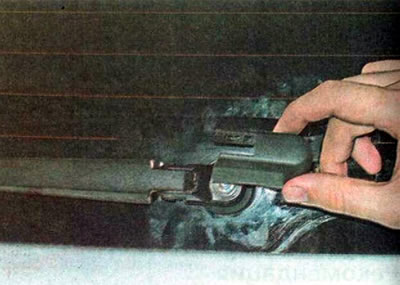
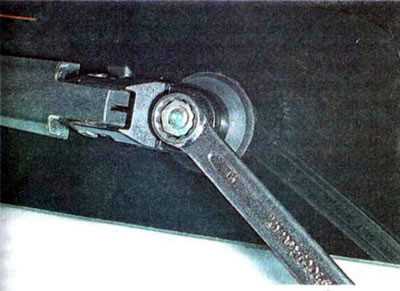
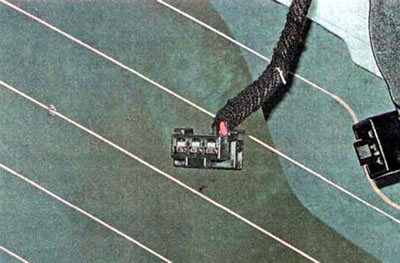
3. Using a 13 mm wrench, loosen the nut a few turns and, rocking it from side to side, move the lever from its place. We unscrew the nut completely and remove the lever with the brush from the motor-reducer shaft.
Recommendation. If the lever is strongly stuck to the motor-reducer axle, use a universal puller.
4. Remove the trunk door trim.
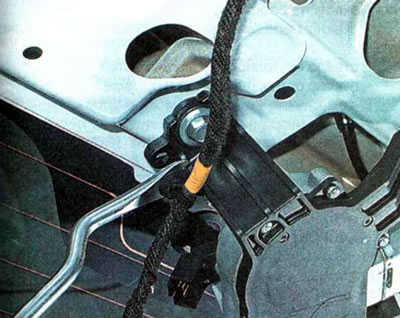
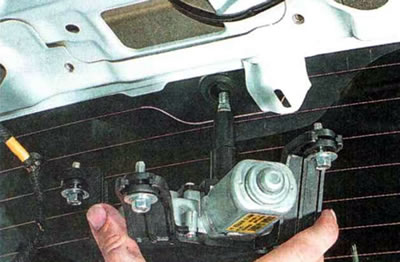
5. Using a special puller, disconnect the wiring harness holder from the gear motor.
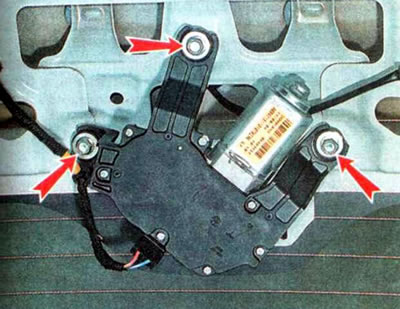
6. Using a 10 mm wrench, unscrew the three bolts securing the rear wiper motor-reducer.
7. Press the lock and disconnect the wiring harness connector from the gearmotor.
8. We take the motor-reducer axis out of the hole in the door glass and remove it.
9. We check the condition of the terminals of the wiring block; if oxides are found, we treat them with a special agent for cleaning and protecting electrical contacts.
10. If necessary, remove the sealing ring from the glass hole and replace it.
11. Install the parts in reverse order. Before installing the windshield wiper arm, clean the motor-reducer shaft from dirt and rust.
12. Install the lever with the brush on the axis so that the brush lies on the lower coil of the rear window heating.
13. After installation is complete, turn on the ignition and check the operation of the windshield wiper.