
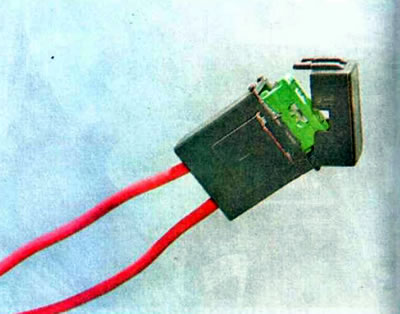
To perform the test, you will need two pieces of wire to supply voltage from the battery to the gear motor. One of the wires should have a 30 A fuse built into it
We carry out the work in the following order:
1. We prepare the car for maintenance and repair.
2. Open the hood.
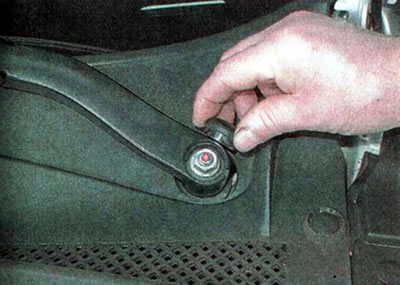
3. Using a slotted screwdriver, pry up and remove the protective cap of the left wiper arm mounting nut.
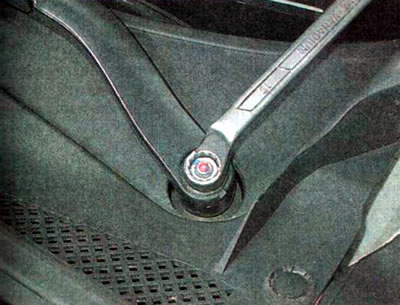
4. Mark the location of the lever on the motor-reducer axis.
5. Using a 15 mm wrench, unscrew the nut...
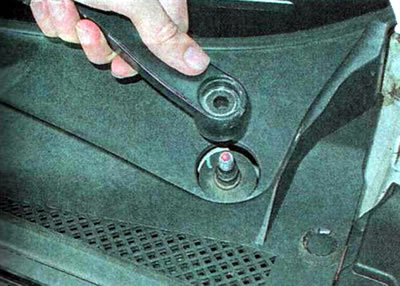
...and remove the left lever from the splines of the gear motor shaft, rocking it from side to side.
Recommendation. If the lever is stuck to the motor-reducer axle, use a universal puller.
6. Remove the right lever in the same way.
7. Disconnect the rubber seal from the ventilation grille.

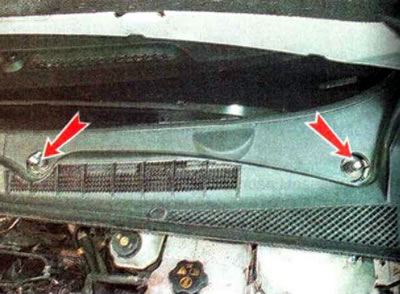
8. Disconnect the three holders of the left part of the ventilation grille.
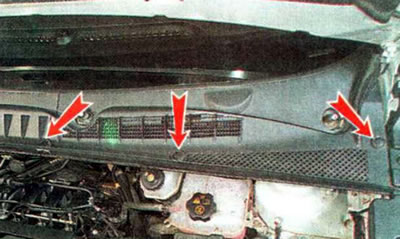
9. To detach the holder, use a thin slotted screwdriver to push the central lock upwards...
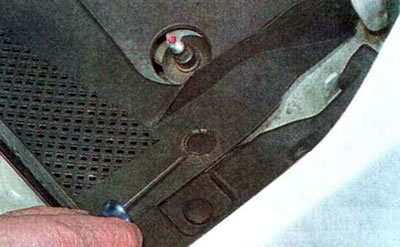
..and we remove the holder with a special puller.
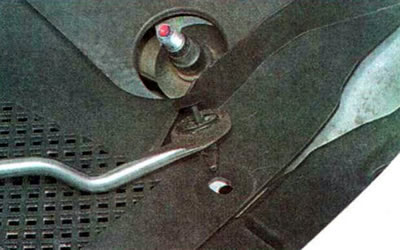
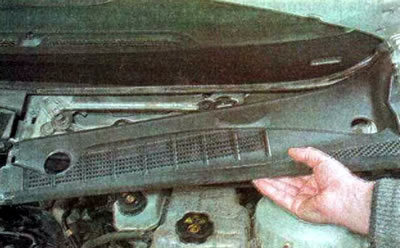
10. Remove the left part of the ventilation grille.
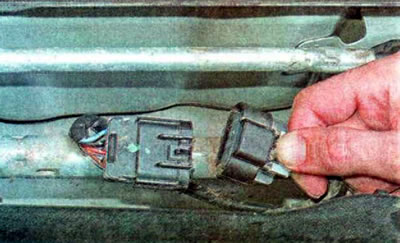
11. Press the lock and disconnect the wiring harness block from the gearmotor.
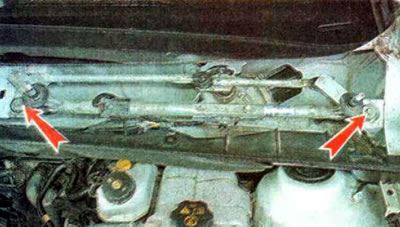
12. Using a 10 mm wrench, unscrew the two bolts securing the windshield wiper mechanism.
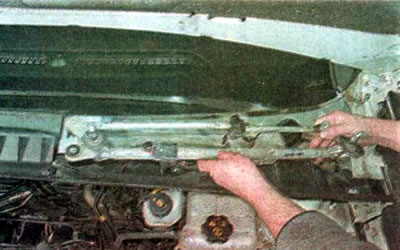
13. Remove the windshield wiper mechanism as a whole. We check the condition of the windshield wiper linkage by visual inspection.
14. We replace the faulty motor-reducer.
15. Before installation, connect the wiring harness block to the gear motor and turn on the windshield wiper for one cycle to set the axle to the extreme lower position.
16. Install the parts in reverse order.
17. Before installing the windshield wiper arms, use a small metal brush to clean the trapezoid axles from dirt.
18. Install the windshield wiper arms on the axles so that the brushes of the left and right arms coincide with the marks or marks applied on the windshield.
[The article is reprinted from the website: CHEVYMAN.RU]