


If the fuel pump screen often becomes clogged, remove and flush the tank.
To wash the fuel tank, use detergents "Lobomid", MS or ML. Then, to remove the detergent residue, rinse and steam the tank with a stream of hot water. Dry the tank thoroughly.
It is more convenient to remove an empty tank when working on a lift, overpass or inspection pit. To remove fuel residues remove the fuel module and pump out the fuel through the opened hole in the tank.
You will need: 10 mm and 13 mm wrenches, pliers, and a flat-blade screwdriver.
1. Reduce the pressure in the fuel system (see "Reducing pressure in the engine fuel system").
2. Disconnect the wire from the negative terminal of the battery.
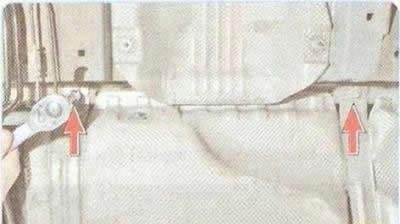
3. Unscrew the bolts of the fuel tank mounting clamps on the left and right sides.
Note: For clarity, the work is shown with the additional muffler removed.
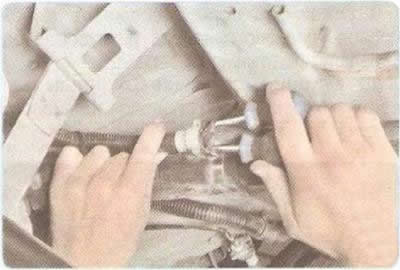
4. Using a screwdriver, pry up the plastic fasteners...
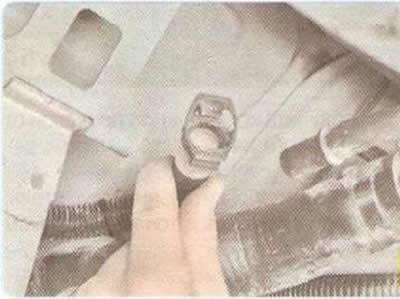
5. ...disconnect the fuel tank ventilation hose from the fuel line.
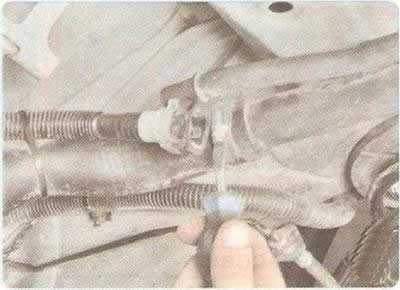
6. Loosen the filler pipe hose clamp...
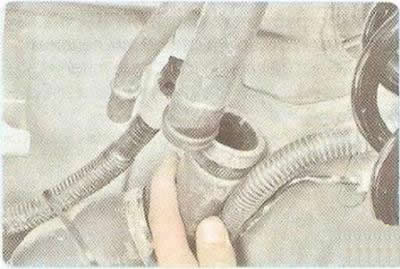
7. ...and remove the hose from the fuel tank pipe.
8. Place a support under the fuel tank.
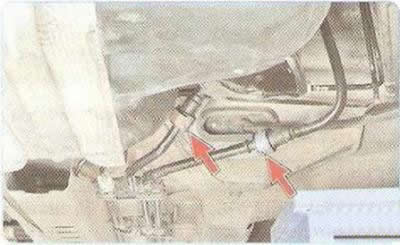
9. After pressing the clamps, disconnect the fuel pump line and the line to the purge valve of the adsorber.
10. Lower the fuel tank to gain access to the fuel module wiring harness connector.
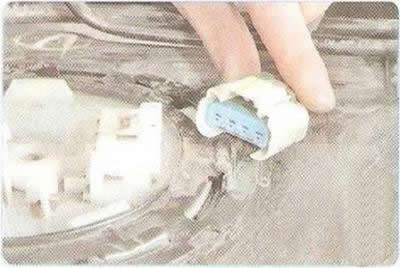
11. Disconnect the wiring harness connector from the fuel pump module
12. Remove the additional muffler, as it is located under the fuel tank and interferes with its removal.
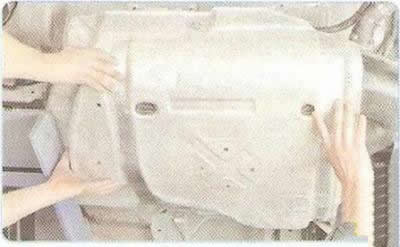
13. Carefully lower the fuel tank assembly with the heat shield.
Helpful Hint: Remove the fuel tank with an assistant as it is quite heavy and has an awkward shape to hold.
14. If necessary, remove the fuel tank mounting clamps by removing their pins from the holes in the body panel.
15. Install the fuel tank in the reverse order of removal.
16. After connecting the pipes and the fuel pump wiring harness, fill the tank with gasoline, start the engine and check the tightness of all pipe connections.
If you need to remove filling pipe fuel tank, do the following.
1. Remove the right rear wheel and place the vehicle on a secure support.
2. Disconnect the filler and ventilation hoses from the fuel tank pipes (see pp. 4-7 above in this subsection).
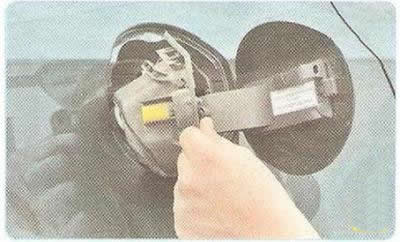
3. Open the fuel tank filler neck hatch and remove the filler neck (see "Removal and installation the fuel tank filler pipe hatch cover").
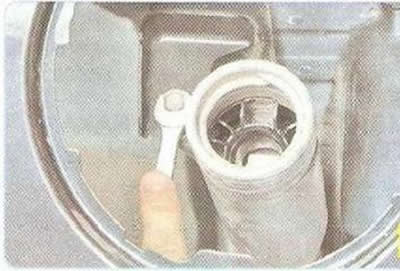
4. Unscrew the bolt securing the filler pipe to the side of the body...
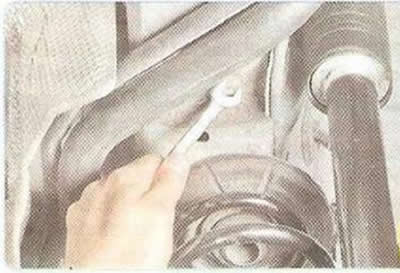
5. ...and the bolt securing the lower bracket of the filler pipe to the body.
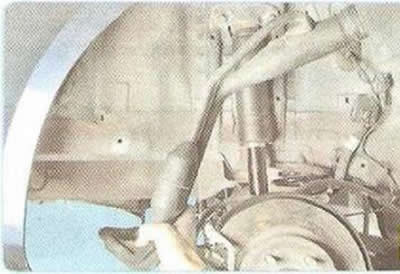
6. Remove the filler pipe assembly with the ventilation hose.
7. Install the fuel tank filler pipe in the reverse order of removal.