


- difficult engine starting;
- unstable engine operation;
- engine stalls at idle;
- increased crankshaft speed at idle;
- engine does not develop full power, insufficient engine response;
- jerks and dips in engine operation when the car is moving;
- increased fuel consumption;
- increased content of CO and CH in exhaust gases;
- pre-ignition due to leaky injectors.
You will need: pliers, autotester.
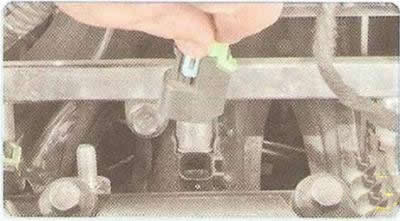
1. Preliminarily check the serviceability of the injector windings. To do this, disconnect the wiring harness blocks from the injectors by moving the clamps.
2. Check the resistance of the injector winding. The resistance of a serviceable injector should be 14-16 Ohms. If the winding resistance is not normal, replace the injector, as it cannot be repaired.
Note: Check the injectors for the shape of the sprayed fuel torch and for leaks at specialized service stations: such a check directly on the vehicle is very fire hazardous.
3. Remove the fuel rail (see "Removal and installation the fuel rail").
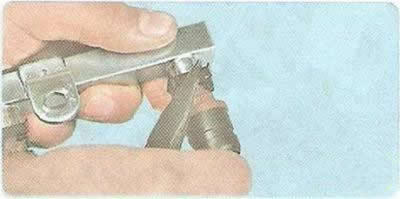
4. Pry up the injector retainer...
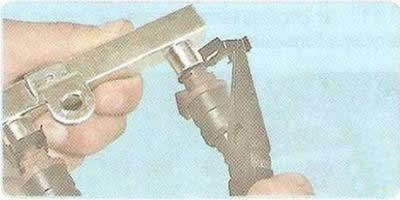
5. ...and remove it from the fuel rail.
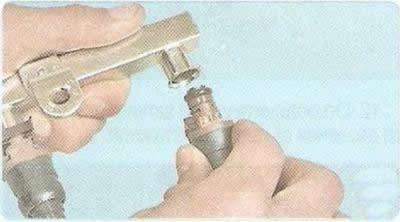
6. Remove the nozzle tail from the ramp hole. Remove the remaining nozzles in the same way.
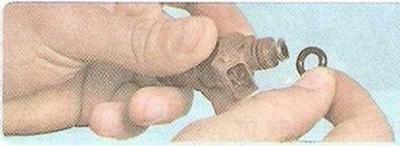
7. Each time you remove the injectors, be sure to replace the sealing rings on all injectors on the fuel rail side...
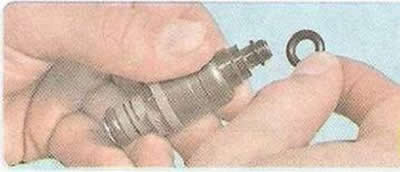
8. ...and from the sprayer side.
9. If you are installing the old injectors, carefully wash their nozzles with solvent or carburetor cleaner.
Warning: Do not wash the injectors by dipping them in a cleaning solution, as this will damage their electrical part.
10. Install the injectors in the reverse order of removal. Before installing the injectors, lubricate the sealing rings with engine oil.
11. After installing the injectors in the fuel rail, the rail on the intake pipe and connecting the pipelines to the rail, start the engine and check the tightness of the pipeline connection and the injector seals.
[Information taken from the official website: chevyman.ru]