
If a fuel leak is detected from the tank, it is recommended to replace the tank, since soldering it requires a certain qualification of the performer and special equipment. In addition, it is necessary to thoroughly wash and steam the tank, otherwise an explosion of fuel vapors is possible during soldering.
If the fuel filter screen often becomes clogged, remove and clean the tank.
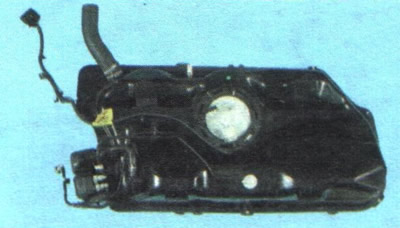
USEFUL TIP: It is easier to remove an empty tank when working on a lift, overpass or inspection pit. To remove the remaining fuel, pump it out through the open hole in the tank (after removing the connecting hose of the filler pipe).
1. Reduce the pressure in the fuel system (see "Reducing pressure in the fuel system").
2. Disconnect the wire from the negative terminal of the battery.
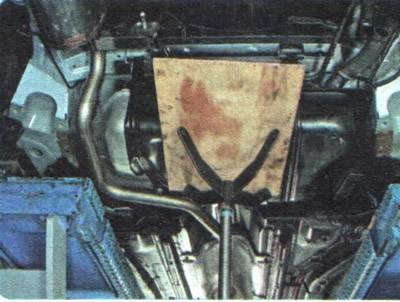
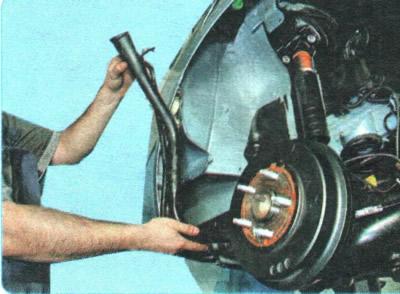
NOTE: The rear suspension has been removed from the vehicle for clarity in the photographs. It is not necessary to remove the suspension to replace the fuel tank.

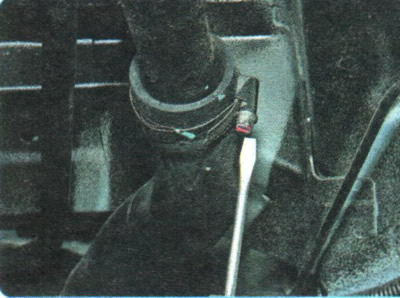
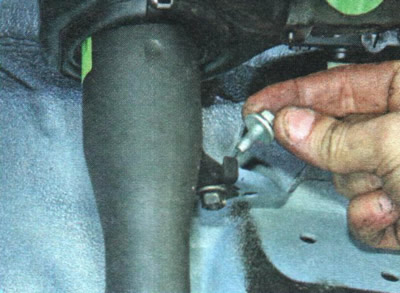
3. Loosen the clamp securing the connecting hose to the filler pipe...
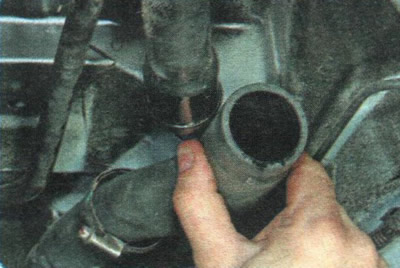
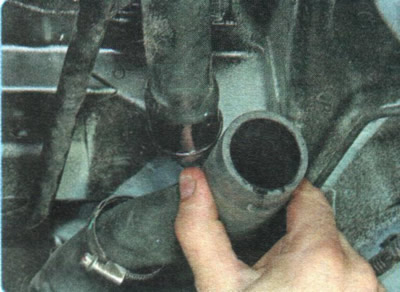
4. ...and disconnect the hose from the pipe, while removing the clamp from the hose so as not to lose it.
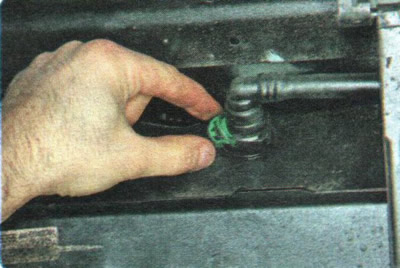
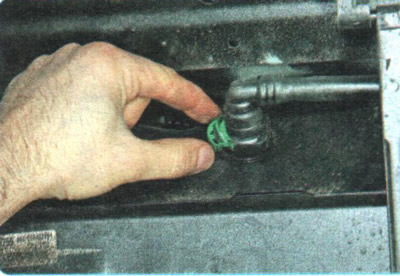
5. Pull out the air bleed tube retainer...
6. ...and disconnect it from the fuel tank hose.

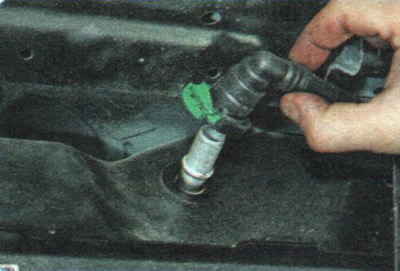
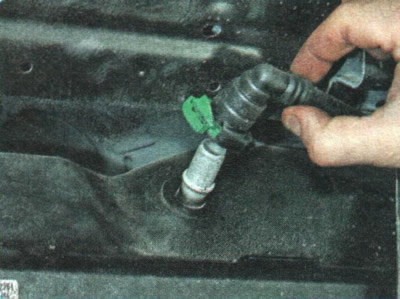
7. Press the pressure pipe tip retainer...
8. ...and disconnect the pipeline from the fuel supply line.
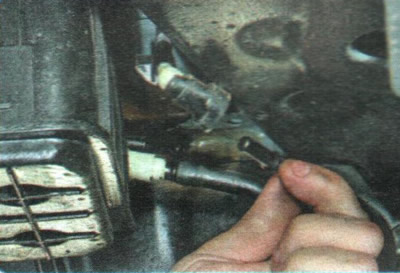
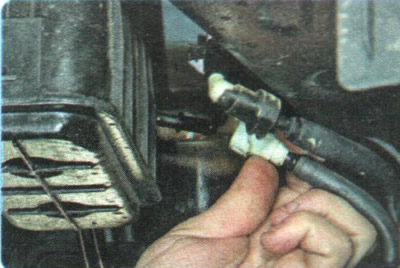
9. Disconnect the fuel vapor recovery system canister pipe in the same way.
10. Remove the right rear wheel and place the vehicle on a secure support.
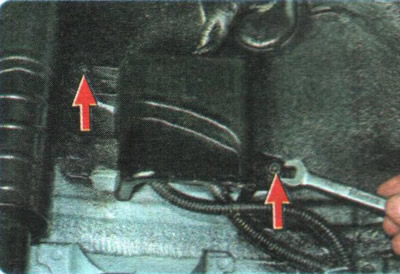
11. In the right rear wheel arch, unscrew the two nuts...
12. ...and remove the protective cover of the electrical connectors.
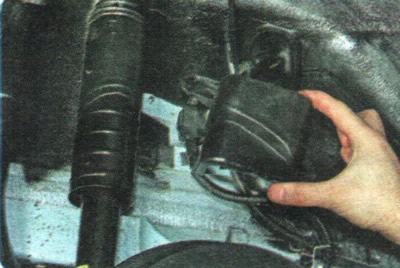
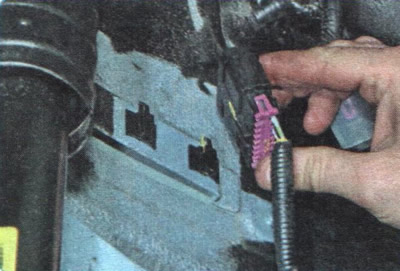
13. Lift the protective cover of the fuel module wiring harness connector.
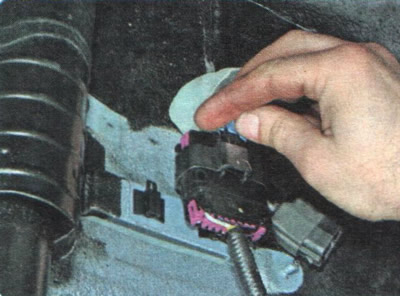
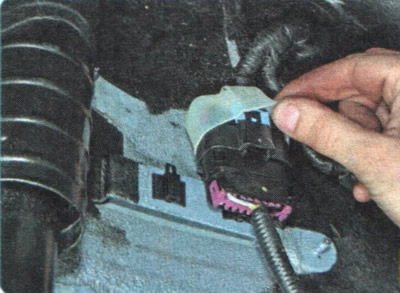
14. Pull out the locking bracket...
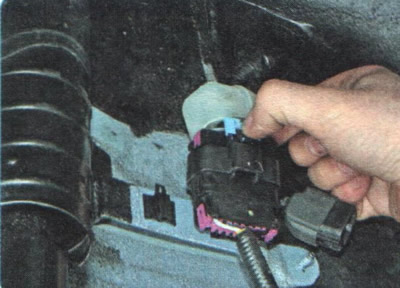
15. ...and squeeze the fuel module wiring harness connector retainer...
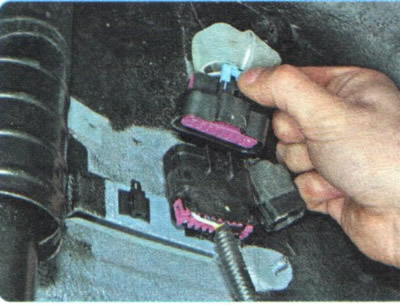
16. ...then disconnect the connector.
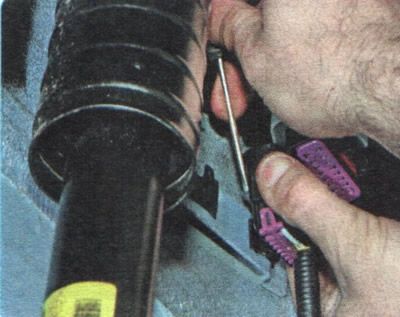
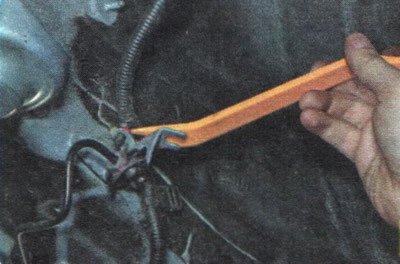
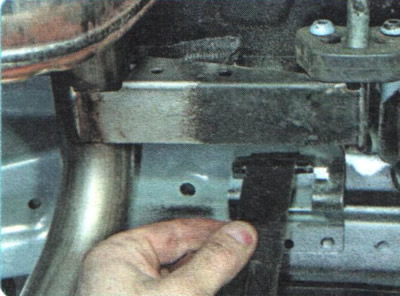
17. Use a screwdriver to pry up the latch...
18. ...and remove the lower part of the shoe from the holder on the body.
19. Pry the wire harness holder out of the brake hose bracket hole.
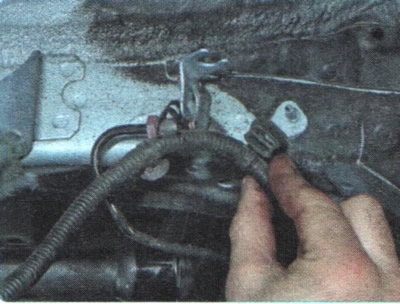
20. Remove the second wire harness holder from the stud.
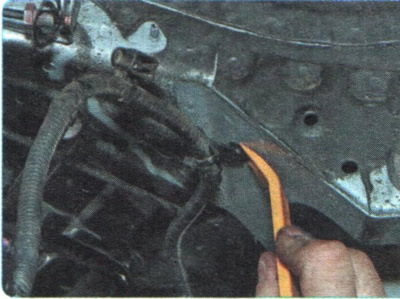
21. Pry the third holder and remove it from the side member hole.
22. Place a secure support under the tank.

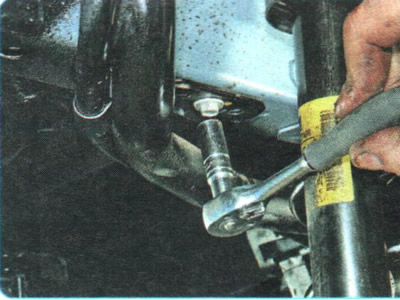
23. Unscrew the nuts securing the two fuel tank suspension clamps.
24. Remove the clamp pins from the brackets on the body...
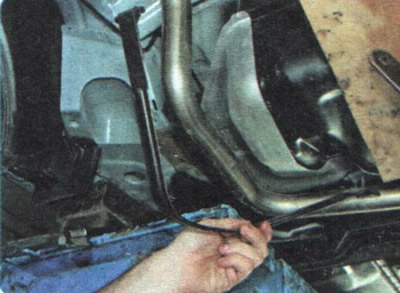
25. ...and remove the clamps.
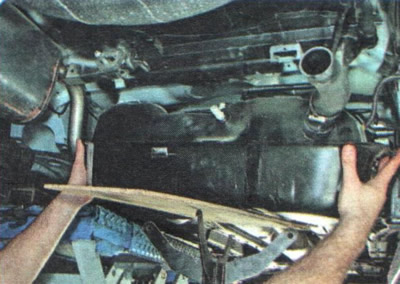
26. Remove the support and lower the fuel tank slightly, gradually moving it down and to the right.
27. Remove the fuel tank completely.
28. Install the fuel tank in the reverse order of removal.
29. After connecting the pipes and the fuel pump wiring harness, fill the tank with gasoline, start the engine and check the tightness of all pipe connections.
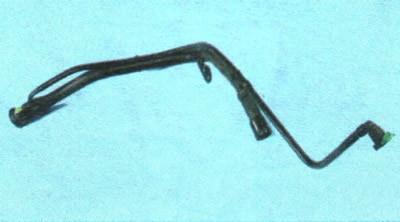
If you need to remove fuel tank filler pipe, do the following.
1. Remove the right rear wheel and place the vehicle on a secure support.
2. Remove the right rear fender liner (see "Removal and installation wheel arch liners and mudguards").
3. Loosen the clamp securing the connecting hose to the filler pipe...
4. ...and disconnect the hose from the pipe, while removing the clamp from the hose so as not to lose it.
5. Pull out the air bleed tube retainer...
6. ...and disconnect the tube from the fuel tank pipe.
7. Unscrew the bolts securing the filler pipe to the side member...
8. ...and the bracket on the side of the body.
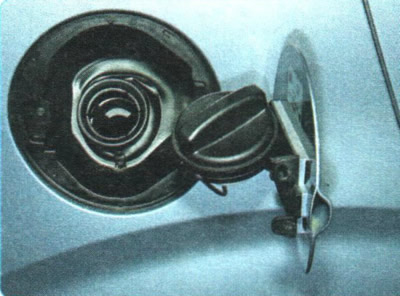
9. Open the fuel tank filler cap and unscrew the filler cap.
10. Remove the filler pipe from the rubber hatch seal and remove it.
11. Install the fuel tank filler pipe and all removed parts in the reverse order of removal.