


We release the pressure in the fuel system (see Replacing the fuel filter). Disconnect the wire terminal from the negative terminal of the battery. In the car, remove the rear seat cushion.
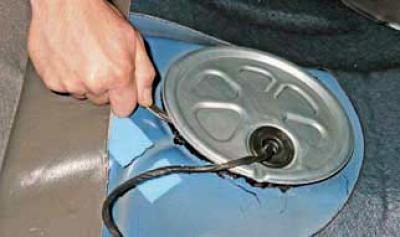
Using a slotted screwdriver, pry off the fuel module hatch cover…
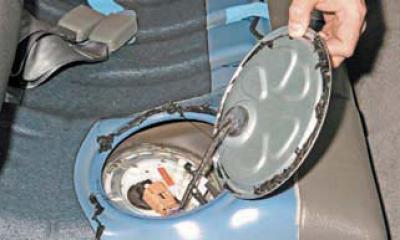
…we remove the cover, overcoming the resistance of the mastic applied to the surface where the cover meets the hatch.
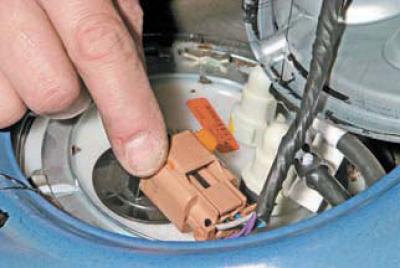
Move the blocker (orange color) wiring harness pads and, pressing the pad lock…
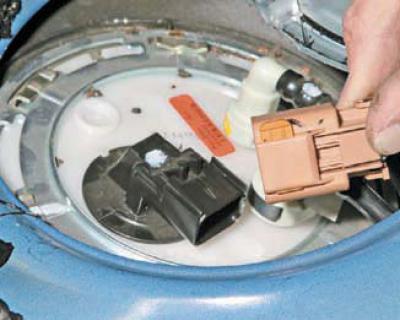
…we remove the wiring harness block.
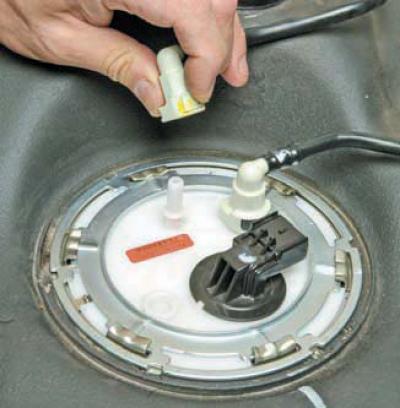
By squeezing the retainer of the drain line tube tip, we remove the tube tip from the fuel module cover fitting.
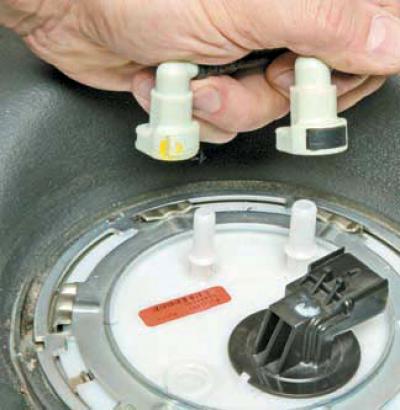
Similarly, we remove the tip of the discharge line tube from the other fitting on the module cover.
To loosen the locking washer, it is best to use sliding pliers.
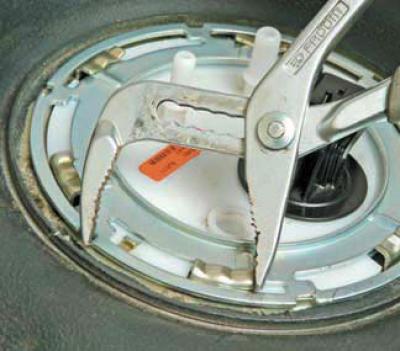
Having hooked one jaw of the pliers onto the recess on the washer and the other onto the protrusion of the fuel tank, we squeeze the handles of the pliers.
The washer will turn at a small angle. Again (or several times) using this technique on the protrusions located diametrically opposite, we turn the locking washer of the fuel module cover counterclockwise until the grooves in the washer and the protrusions in the flange of the fuel tank coincide..
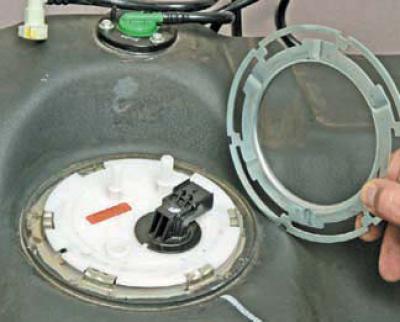
…and remove the washer.
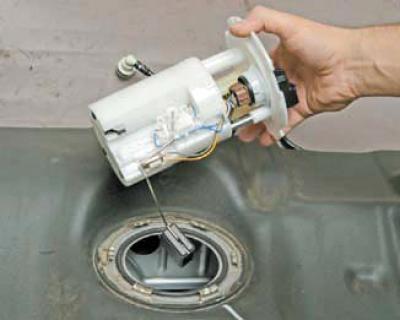
We remove the fuel module from the fuel tank opening, carefully removing the fuel level sensor float.
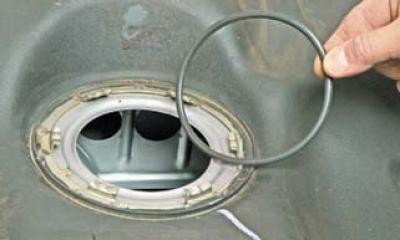
The connection between the fuel module cover and the tank opening flange is sealed with a rubber ring.
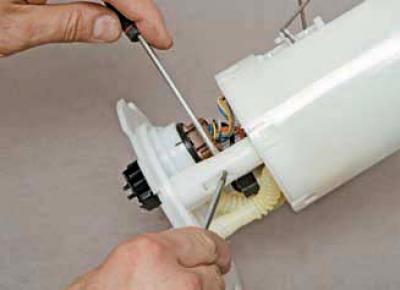
Using screwdrivers, press in two fasteners and slide the module cover along the housing guide.
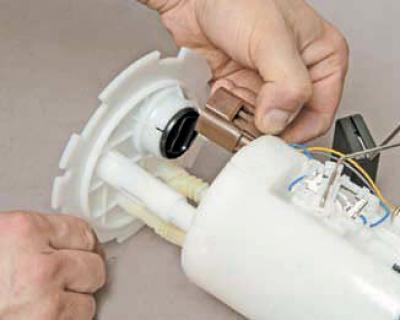
By pressing the lock of the wire block, we disconnect the block from the connector of the module cover.
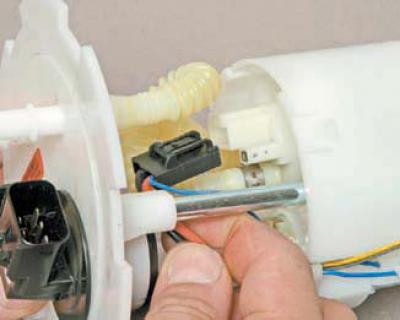
By pressing the locking device of the wiring block, we disconnect the block from the fuel pump connector.
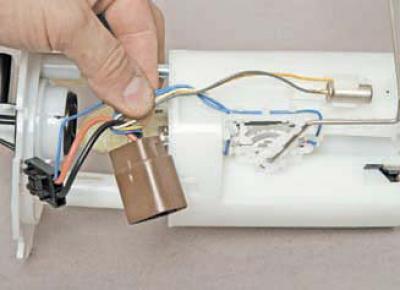
We remove the wires from the holder on the module body.
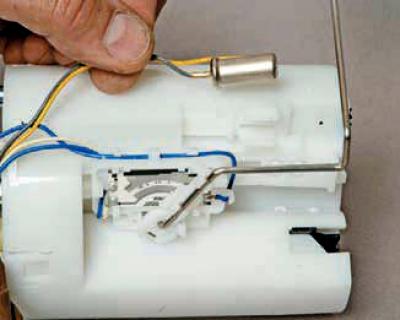
We remove the fuel reserve indicator lamp resistor from the holder.
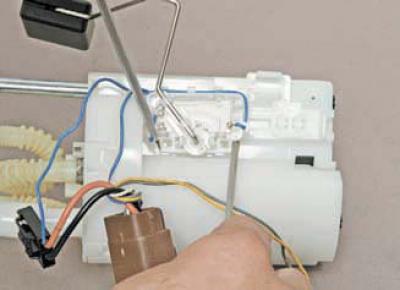
We move the fuel level indicator sensor along the guides of the module housing..
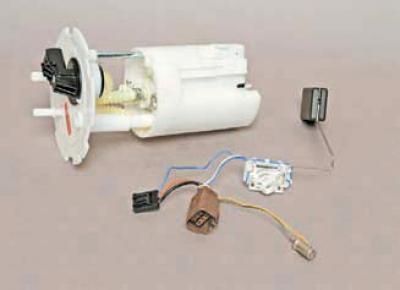
…and we remove the unit, consisting of a fuel level indicator sensor with a float, a fuel reserve indicator lamp resistor and two connectors with wires.
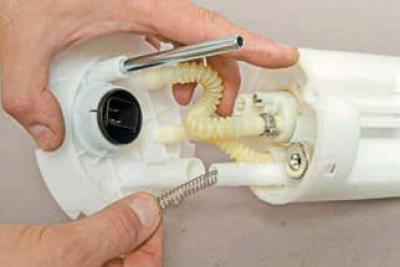
We move the module cover away from its body and remove the guide spring.
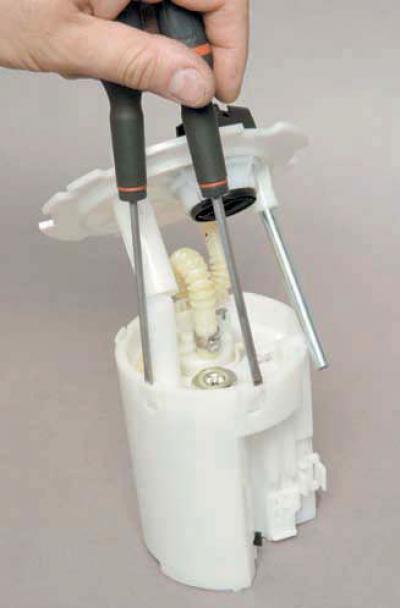
Using flat-head screwdrivers, press down the four fasteners of the fuel pump holder and slide the holder out of the module housing.
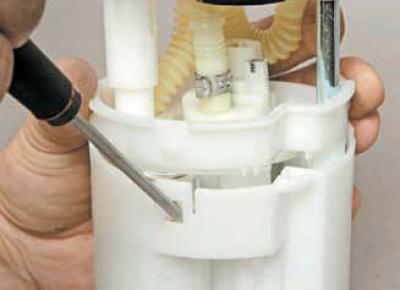
We use a screwdriver to pry the fuel pressure regulator through the hole in the module body.
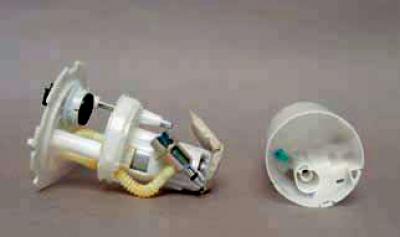
Overcoming the resistance of the rubber ring placed on the drain pipe of the regulator, we remove the regulator from the well of the fuel module housing and disconnect the pump holder and the module housing.
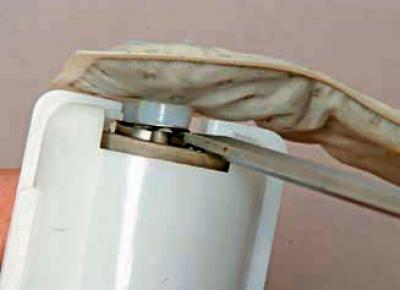
Using a flat-head screwdriver, pry off the mesh filter…
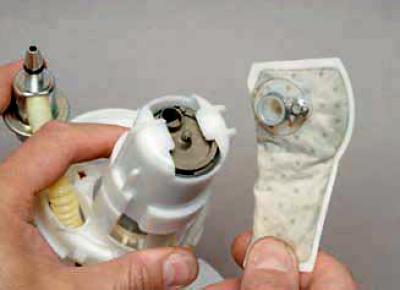
…we remove it from the nipple and the pump pin.
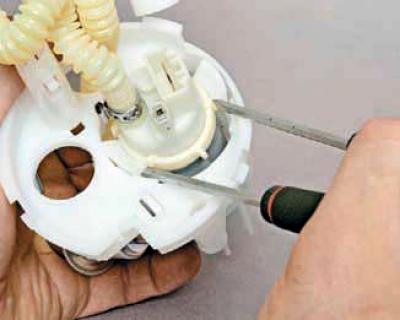
Using two flat-head screwdrivers, press the pump holder clamps away from its clamping ring..
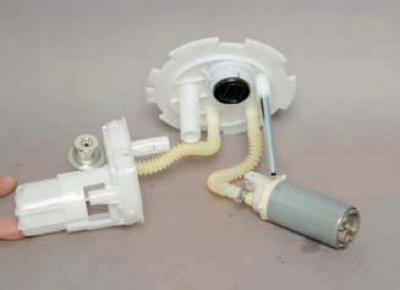
…we remove the pump from the holder.
To replace the pump…
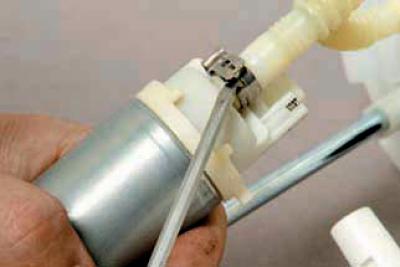
…use a screwdriver to loosen the clamp lock on the plastic corrugated pump tube and slide the clamp along the tube.
The tube is installed on the pump branch with tension. Therefore, to remove the tube, we heat it with a hair dryer or pour boiling water on it.
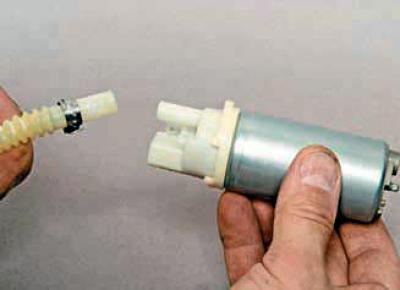
We remove the tube from the pump branch pipe.
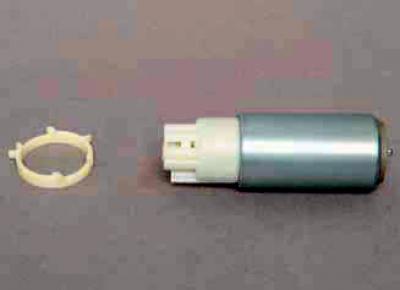
We remove the pressure ring from the pump body.
To replace the fuel pressure regulator…
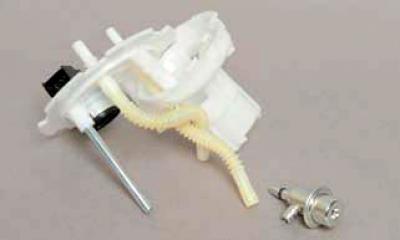
…we remove the plastic corrugated tube from the regulator branch pipe.
If you have difficulty removing the tube, heat it with a hair dryer or pour boiling water over it.
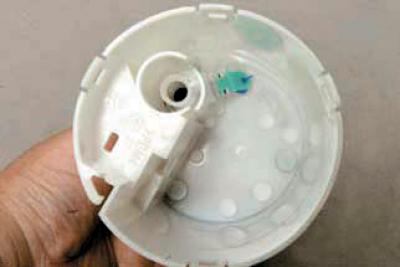
A valve is installed at the bottom of the fuel module housing to prevent fuel from leaking out of the housing.
We assemble and install the fuel module in the reverse order.
We replace the clamp that secures the corrugated tube to the pump branch pipe with a new one (you can use a worm gear clamp).
If the module cover sealing ring fails, replace it with a new one.
Before installing the mesh filter, pay attention to the condition of the lock washer, which fits onto the pump pin.
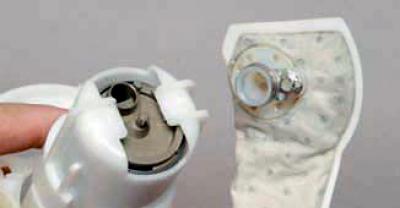
If the washer is badly dented, it must be straightened with pliers or replaced.
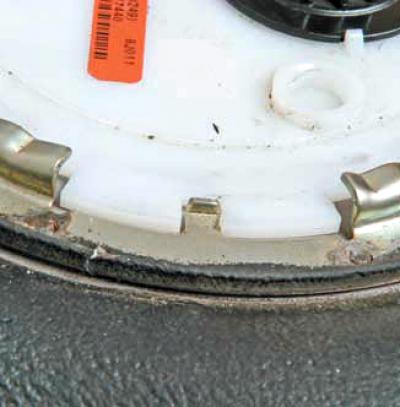
When installing the fuel module into the tank, align the cutout in the fuel module cover with the tongue on the flange of the tank opening.
Before closing the hatch cover in the floor of the body under the rear seat, it is necessary to check the tightness of the fuel module connections. To do this, connect the wire terminal to the "minus" terminal of the battery and turn on the ignition. There should be no fuel leakage.