
General information about the Delco Loc II radio
1. Some audio systems installed in the vehicles described in this manual are equipped with a Delco Loc II coded radio. In such a system, the owner can install (program) a secret code that will automatically block the operation of the radio when the battery power is interrupted (removed), making it inoperative.
2. Before performing any operation that requires disconnecting the battery or removing the radio, make sure you remember the code. This code must be entered after connecting the battery.
3. The radio can also be unlocked before disconnecting the power supply by entering the code. After this, the display will immediately show and then the current time will be displayed.
4. If you do not know the code for your radio or you have difficulty unlocking the radio, contact the service department.
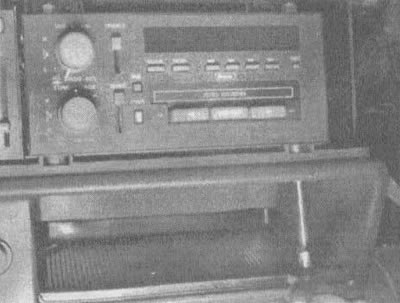
Radio tape recorder
5. Disconnect the cable from the negative terminal of the battery.
6. Remove the decorative trim from the instrument panel (chapter 11, Section 22).
7. Remove the two hex head screws at the top of the radio and the two bolts at the bottom (see illustration).

15.7a. Use a Torx screwdriver with a hex head to remove the two screws securing the top of the radio |
15.7b. Unscrew the two bolts at the bottom of the radio using a socket wrench |
8. Remove the radio and disconnect the electrical connector and antenna wire (see illustration).
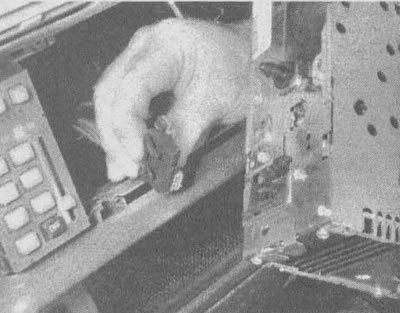
15.8a. Press the clamps and disconnect the connector from the radio |
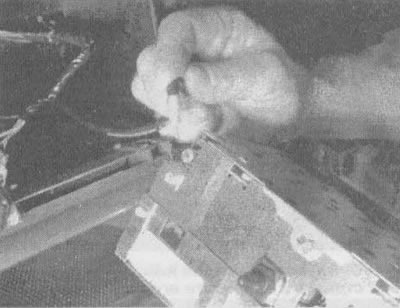
15.8b. Disconnect the antenna connector from the socket on the back of the radio |
9. Remove the radio from the dashboard.
10. The radio is installed in the reverse order.
Speakers
11. Using a small screwdriver, remove the speaker panel (see illustration).
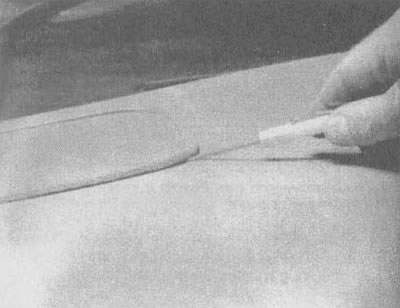
15.11 Remove the speaker panel by carefully lifting the edges
12. Remove the screws, disconnect the speaker and electrical connector (see illustration).
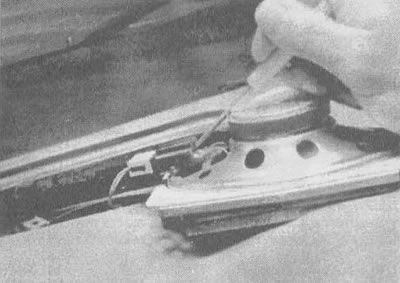
15.12. Push out the electrical connector with a small screwdriver
13. The speaker is installed in the reverse order.