
Front of the car
Side light
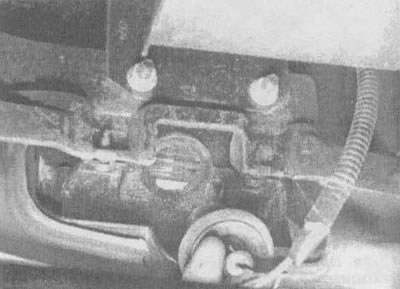
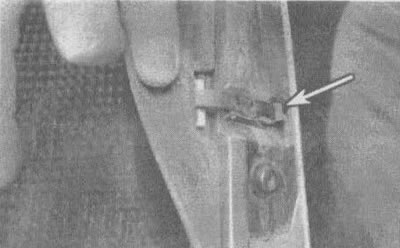
1. Tilt the headlight housing forward to access the inside (section 12), then unscrew the nuts securing the side light housing (see illustration).
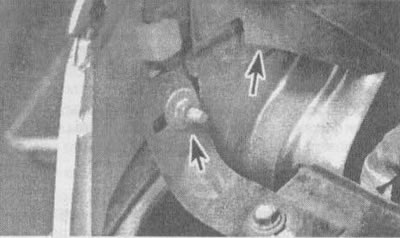
14.1. Position of nuts of fastening of the body of a marker lamp (indicated by arrows)
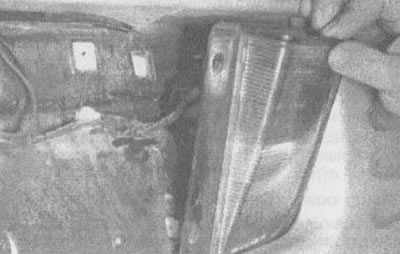
2. Slide the lamp housing forward, then pull it out to access the lamp holder (see illustration).
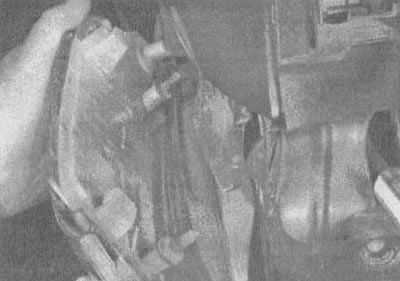
14.2. Slide the housing forward to release it from the fender, then pull it back to access the lamp holder
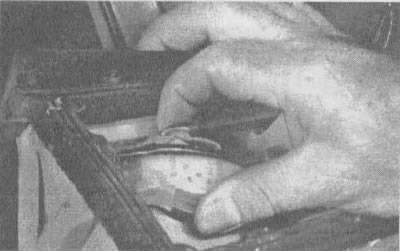
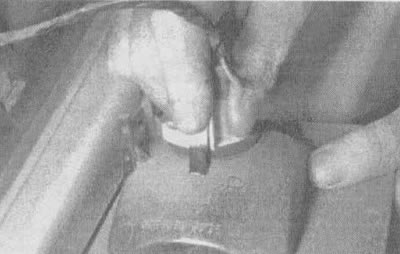
3. Detach the lamp holder by turning it counterclockwise, then remove the lamp from the lamp holder (see illustration).
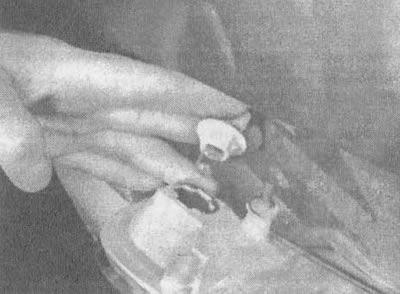
14.3a. Remove the lamp holder from the housing | 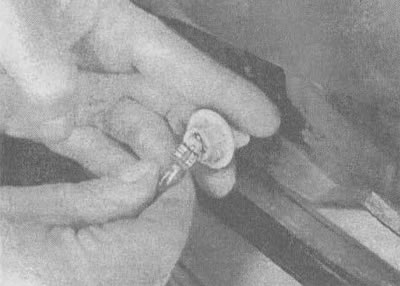
14.3b. The lamp is inserted into the holder |
Parking and turn signal lamps
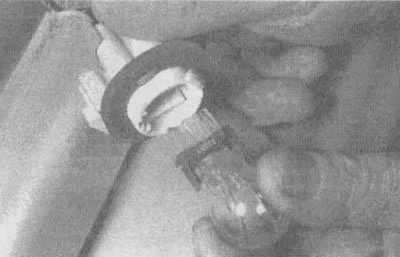
4. With your hand under the front bumper, turn the holder counterclockwise and remove it from the housing (see illustration).
14.4. With your hand under the front bumper, grab the lamp holder with your fingers and remove it from the housing
5. Remove the lamp from the holder (see illustration).
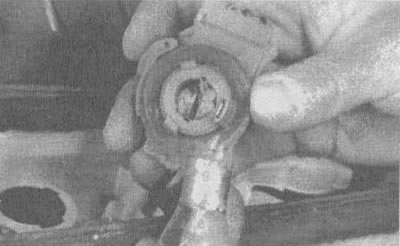
14.5. Grasping the lamp with your fingers, remove it from the holder
Vehicle interior
Door sill lamp
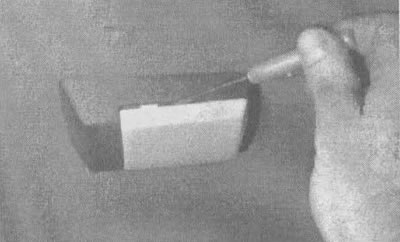
6. Pry out the flashlight housing with a small screwdriver (see illustration).
14.6. Use a small screwdriver to remove the lamp
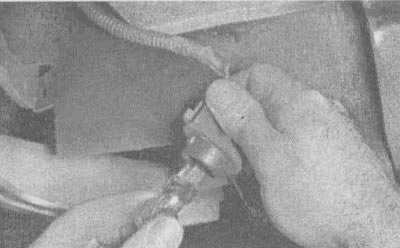
7. Disconnect the electrical connector, remove the lamp end retaining clip and unscrew the lamp from the housing (see illustrations).
14.7a. Disconnect the electrical connector with a screwdriver | 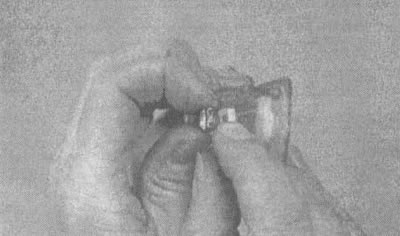
14.7b. The lamp base is installed in the socket in the housing |
Interior lamp
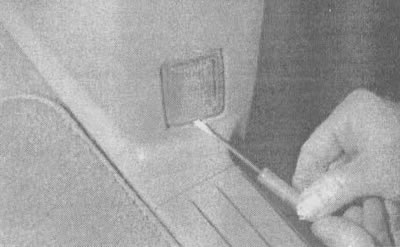
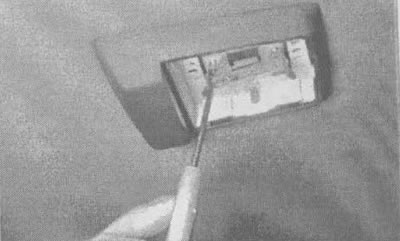
8. Use a small screwdriver to remove the lens (see illustration).
14.8. Remove the lens with a small screwdriver
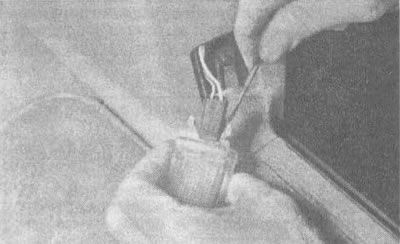
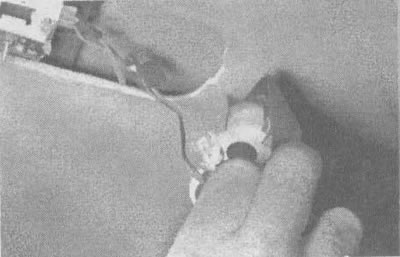
9. Release the lamp from the retaining pins (see illustration).
14.9. Using a small screwdriver, gently pry the clip at the end of the lamp
Individual illumination lamp
10. Remove the lens and lamp, then use pliers to remove the nuts and lower the lamp housing (see illustration).

14.10. Using pliers, remove the compression nuts (indicated by arrows) and lower the cover
11. Remove the bulb holder from the housing, then remove the bulb by pushing it in and turning it counterclockwise (see illustration).
14.11. Detach the holder from the housing, then remove the lamp
Dashboard lamp
12. To gain access to the dashboard lamps, you must first remove the dashboard (see section 16). To remove the lamp socket, turn it counterclockwise and remove it from the board (see illustration). To remove the lamp from the socket, simply pull it out.
14.12. Rotate the lamp and remove it from the board
Rear of the car
Rear lights
13. Loosen the two screws on the side of the case (see illustration).
14.13. A Phillips screwdriver is required to loosen the two screws securing the rear light cover
14. Depress two clips and, turning, remove the casing, opening access to the cartridges (see illustration).
14.14a. Release both case retaining clips (shown by arrow) | 
14.14b. Rotate and remove the lamp housing |
15. Turning the cartridge counterclockwise, remove it from the body (see illustration).
14.15a. For some lamps, it is necessary to depress the clip, then turn the socket counterclockwise and remove it | 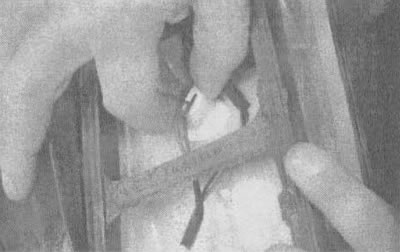
14.15b. Sockets of smaller lamps can simply be turned and removed |
16. Remove the lamp from the socket (see illustration).
14.16a. Large lamps are removed by pressing and turning them | 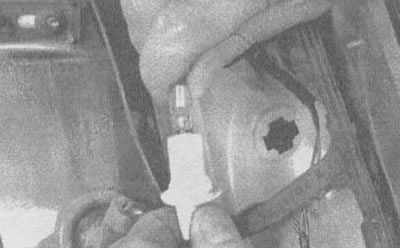
14.16b. Smaller lamps are simply pulled out of the holder |
Duplicate lights
17. Remove the rear license plate.
18. Remove the two screws and remove the lamp housing (see illustration).
14.18. Disconnect the screws and the backup light housing
19. Turning the lamp socket counterclockwise, remove it from the housing (see illustration).
14.19. Turn the bulb holder counterclockwise and remove it from the housing
20. Remove the lamp from the socket (see illustration).
14.20. The lamp is removed from the socket
License plate light
21. Remove the license plate.
22. Remove the two Tox head screws and disconnect the lamp.
23. Remove the cartridge from the housing, then remove the lamp.