


2. Disconnect the electrical connector for the heated rear hatch glass.
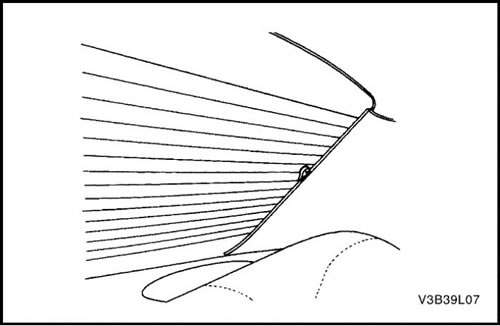
3. Inspect the rear hatch glass heating grid lines.
4. Mark the location of the break in the grid line on the outside of the glass with a wax pencil or crayon.
5. Clean the grid lines to be repaired with steel wool. Wipe the lines clean with a cloth dampened with alcohol. Clean and strip approximately 6 mm (0.25 inches) on each side of the grid line break.
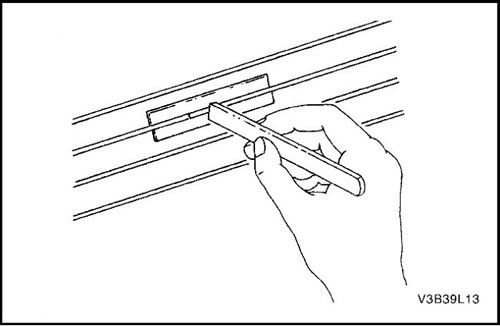
6. Apply a repair stencil or two strips of tape above and below the repair area.
- A repair stencil or tape should be used to control the width of the repair area.
- If a stencil is used, the cut slit should be the same width as the grid line.
7. Apply the mesh repair material to the repair area using a small wooden stick or spatula. The mesh repair material should be at room temperature.
8. Carefully remove the stencil or tape.
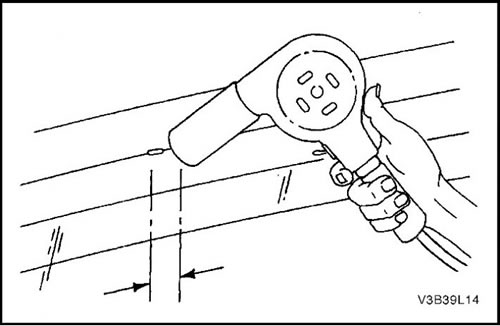
Note: The repair material for the grid lines must be hot vulcanized. To avoid damage to the interior finish by heat radiation, the finish at the heat treatment site must be protected.
9. Heat the repair area for 1-2 minutes.
10. Hold the jet dryer nozzle 25 mm (1 in) from the surface. A minimum temperature of 149°C (300°F) is required.
11. Inspect the repair area of the grid line. If discoloration is observed at the repair area, apply iodine solution to the area using a pipe cleaner or straight brush. Allow the iodine to dry for 30 seconds. Gently wipe off excess iodine with a lint-free cloth.
12. Check the operation of the rear window heating and ensure that the repair was completed successfully.
Important: At least 24 hours are required for the restoration materials to fully harden. Until this time has passed, the repair site should not be subjected to physical impact.
The original source of the article is the website CHEVYMAN.RU