


Necessary equipment
- J-28585 Snap Ring Remover
- J-45186 Forward and Direct Drive Clutch Spring Compressor
- J-25024-A Clutch Spring/Booster Piston Compressor
- J-23327 Clutch Spring Compressor
1. Remove the sealing ring, thrust bearing and race.
- Remove the seal ring from the input shaft assembly.
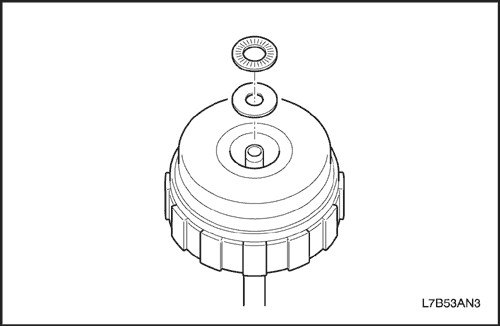
- Remove the thrust bearing and race.
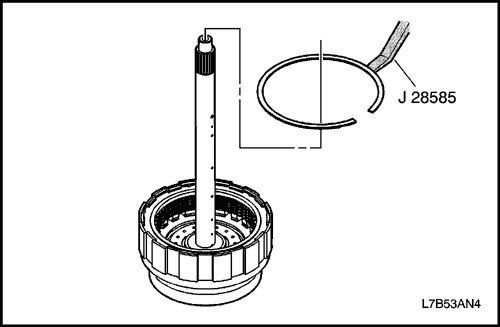
2. Remove the forward clutch flange, disc and plate (C1).
- Using J-28585, remove the snap ring.
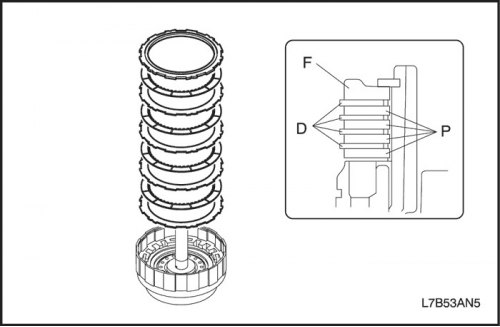
- Remove 1 flange, 4 discs and 4 plates.
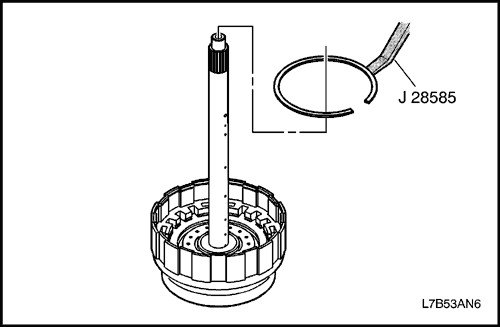
3. Remove the flange, disc, plate and flexible disc of the direct drive clutch (C2).
- Using J-28585, remove the snap ring.
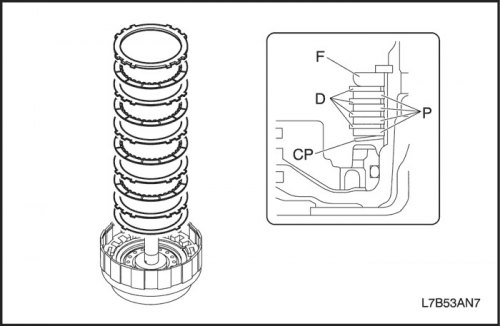
- Remove 1 flange, 4 discs, 4 plates and 1 elastic disc.
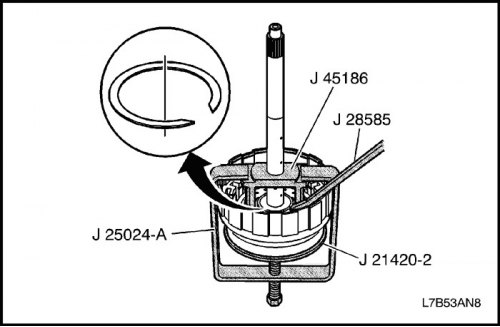
4. Remove the return spring assembly.
- Place J-25024-A in a vise with the clamp bolt down and pulled back.
- Install J-45186 to the direct/forward clutch housing shaft and input shaft assembly.
- Place J-21420-2 from J-23327 on top of J-24024-A jack bolt.
- Use the pressure bolt to compress the clutch spring so that the retaining ring can be removed.
- Using J-28585 or snap ring pliers, remove the snap ring.
- Remove the tools.
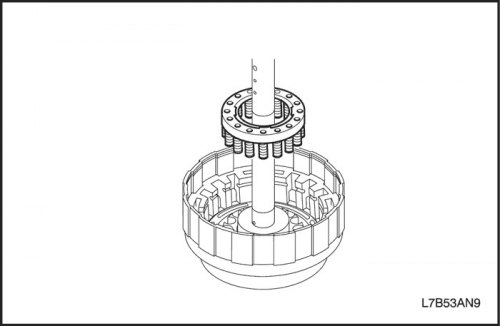
- Remove the return spring assembly.
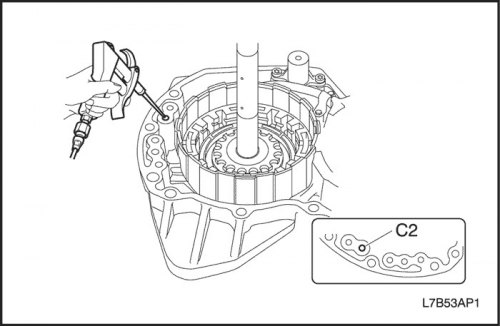
Caution: When working with compressed air, wear protective glasses to prevent eye injury.
5. Remove the direct drive clutch piston (C2).
- Install the primary shaft assembly into the rear crankcase.
While pressing the piston by hand, supply compressed air (4 kg/cm?) to the lubrication channel as shown in the figure and remove piston C2.
Important: Be careful not to damage the O-rings in the rear crankcase.
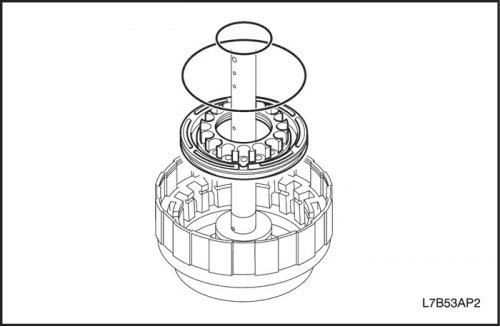
- Remove the sealing ring from the C2 piston.
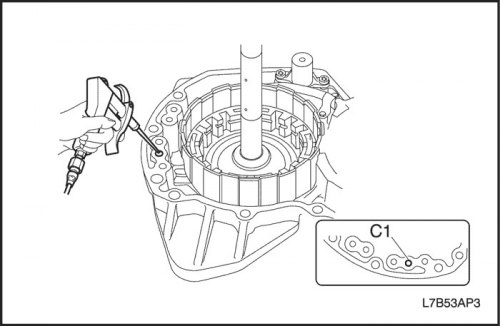
Caution: When working with compressed air, wear protective glasses to prevent eye injury.
6. Remove the forward clutch piston (C1).
- While pressing piston C1 by hand, supply compressed air (4 kg/cm?) to the lubrication channel as shown in the figure, and remove piston C1.
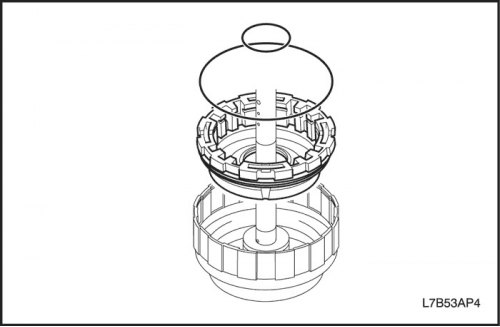
- Remove the sealing ring from piston C1.