Contents: Removal procedure ↧ Installation procedure ↧
Necessary equipment
J-41239-1 Radiator Line Seal Installer
J-45201 Radiator Line Seal Remover
Removal procedure
1. Raise the vehicle and place it on the supports provided for this purpose.
2. Place a tray or suitable container under the vehicle.
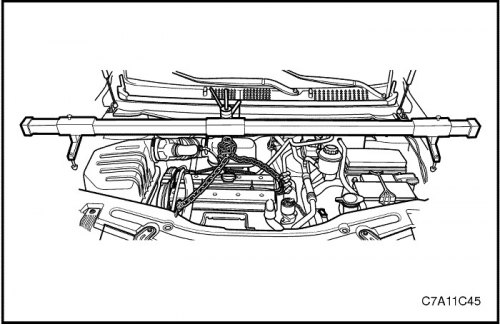
3. Remove the oil cooler line assembly from the transaxle assembly. See "Oil Radiator Pipe Assembly" in this section.
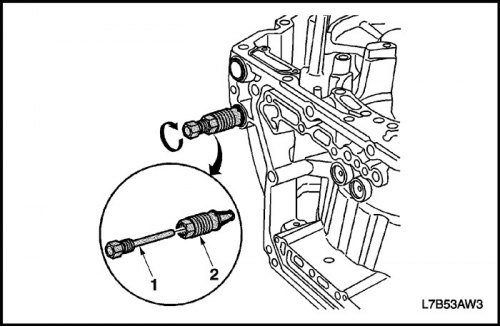
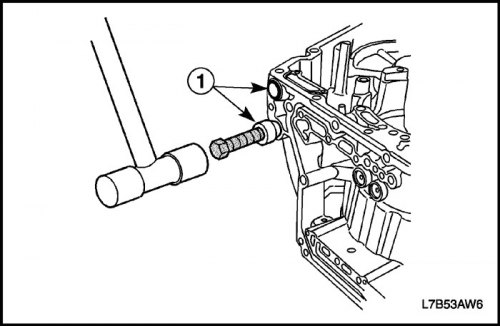
Important: Ensure J-45201 is fully seated in the transaxle seal bore.
4. Insert the collet portion (2) of the J-45201 puller into the radiator line seal.
5. Insert the push bolt (1) of the J-45201 puller into the collet part (2).
6. Tighten the pressure bolt (1) until it fits snugly.
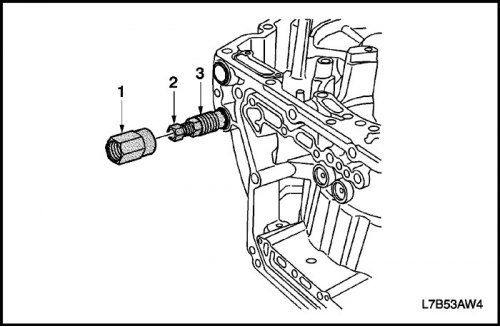
7. Screw the sleeve part (1) of the J-45201 puller onto the collet (3) until it fits tightly.
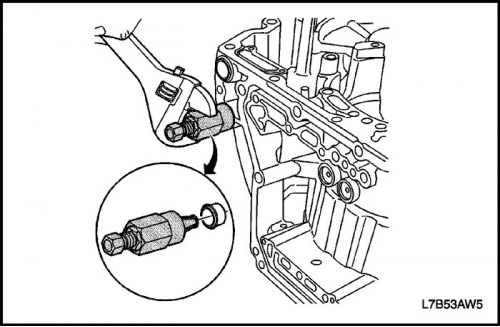
8. Turn the sleeve clockwise to remove the radiator line seal.
9. Discard the seal.
10. Clean the holes in the housing for the radiator pipe seals.
Installation procedure
1. Insert 2 new transmission cooler pipe seals (1) into the housing holes.
2. Remove the thickening from J-41239-1.
3. Install the J-41239-1 tool boss onto the transaxle cooler line seals.
4. Using light blows, tap 2 new seals (1) of the transmission cooler pipe with the final drive assembly into the holes in the housing.
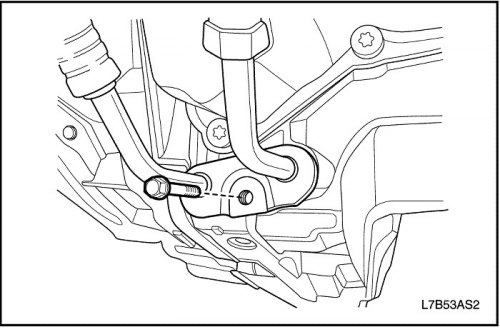
5. Install the oil cooler line assembly. See "Oil Radiator Pipe Assembly" in this section.
6. Lower the car.
7. Add fluid to the gearbox with the final drive assembly.
8. Check fluid level. See "Transaxle Fluid Check Procedure" in this section.