


Note! These parts can be removed without dismantling the cylinder head. To do this, the valve must be held with compressed air or a special device.
Note! Broken valve springs and damaged valve stem seals can be replaced without removing the cylinder head. To do this, you will need compressed air and a hose with a nipple that is screwed into the spark plug hole. If you do not have a compressor, the valve can be held with a piece of thick nylon cord.
1. Remove the cylinder head cover.
2. Remove the spark plug from the cylinder on which the valve train components will be changed, or all the spark plugs if all the caps will be changed.
3. Set the piston of the desired cylinder to TDC of the compression stroke. If all the oil seals are to be replaced, start the replacement with the 1st cylinder and then change sequentially, setting each cylinder to TDC in accordance with the engine operating order.
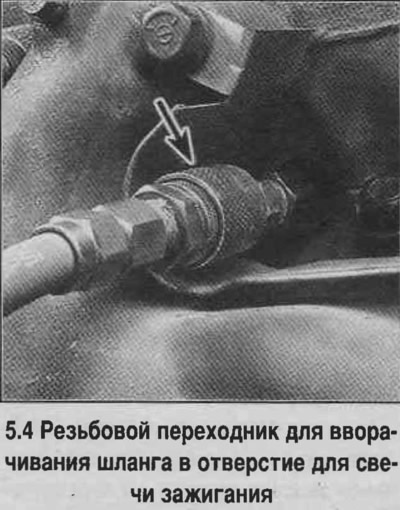
4. Screw the GM N J-23590 adapter or equivalent into the spark plug hole (see photo).
5. Unscrew the nut and remove the ball shaft and rocker arm of the desired valve, and take out the pushrod. If the valve stem seals of all valves are being changed, then remove all the rocker arms and pushrods.
6. Apply compressed air to the cylinder. The valves should be held by the air pressure. If the valves and seats burn, the combustion chamber will not be tight enough, which indicates the need to repair the valves and seats.
7. If there is no compressed air, set the piston just before TDC on the compression stroke, then insert a nylon cord through the spark plug hole until the cord fills the combustion chamber. Make sure the end of the cord comes out of the hole. Turn the crankshaft in the direction of normal rotation until you feel a slight resistance (as the piston begins to hit the cord in the combustion chamber).
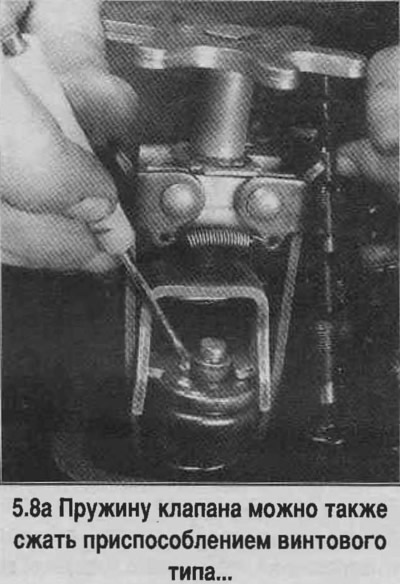
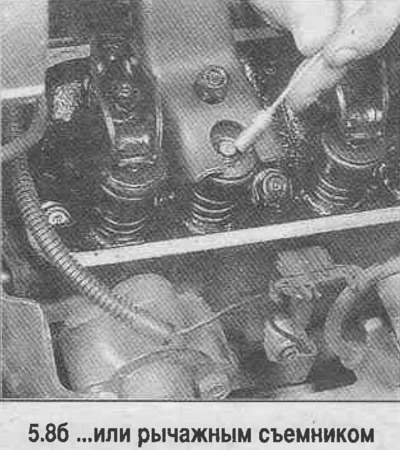
8. Cover the cylinder head openings around the valves with a rag to prevent removed parts from getting into the combustion chambers, compress the valve spring with a tool and remove the crackers (see photo).
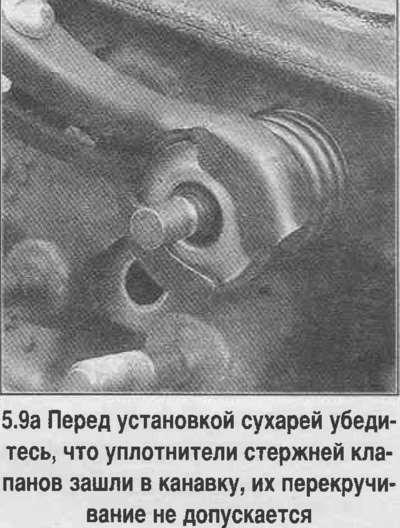
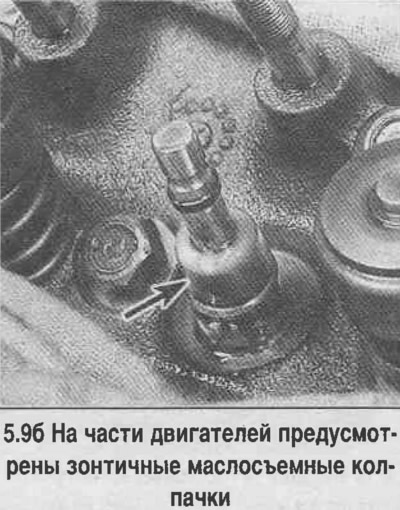
9. Release the valve spring, remove the spring plate or valve rotator, spring and oil deflector, remove the oil seal. On the engines in question, three different types of caps are used, depending on the year of manufacture, displacement and power. As a rule, annular caps are installed, which are put on the guide sleeve. Flat seals are also used, which are inserted into the groove on the valve stem directly under the groove for crackers (see photo). Some engines are equipped with umbrella caps (see photo). Most often, umbrella caps are installed together with flat seals. Flat seals tend to harden and will break when removed. They should always be replaced when disassembled.
10. Wrap the top of the valve stem with tape to prevent it from falling into the combustion chamber, then release the pressure or remove the cord from the combustion chamber.
11. Check the valve condition (bending and wear of the rod), moving it up and down in the bushing, turning and rocking. If you feel jamming or increased play, you should remove the cylinder head and repair it.
12. Inspect the rocker shaft. Worn shafts on 5.0 and 5.7 liter engines are replaced only in a car service center, since the depth of their pressing must be maintained with high precision. On some 7.4 liter engines, as well as on a small number of 5.0 and 5.7 liter engines (the latter are not installed on trucks) the rocker arm ball shafts are threaded and can be replaced. In addition, some designs include a guide bushing that fits between the rocker arm shaft and the cylinder head to help center the pushrod relative to the rocker arm. When unscrewing the ball shafts, this bushing should be replaced. Tighten the shafts with sealant.
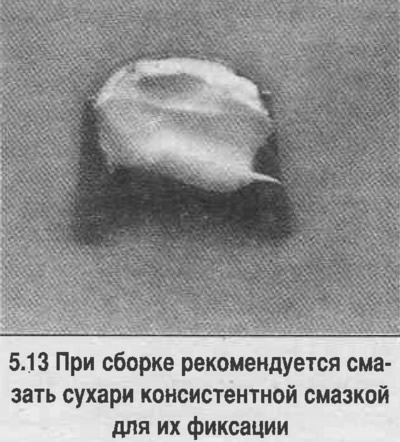
13. Remove the tape from the valve and install the new spring, cracker, cap and other removed parts in the reverse order, applying compressed air or inserting a cord-shaped packing into the combustion chamber. When assembling, it is recommended to lubricate the crackers with consistent grease to fix them (see photo), lubricate the valve stems with engine oil. When finished, release the pressure or remove the packing.
14. Replace the cylinder head cover, tighten the spark plugs and connect the wires to them. Connect all hoses and tubes. Start the engine, check for leaks and abnormal noises coming from the valve mechanism.
The article was reprinted from the website chevyman