


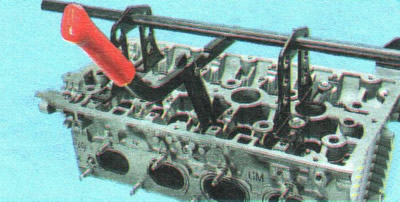
...a device for compressing valve springs...
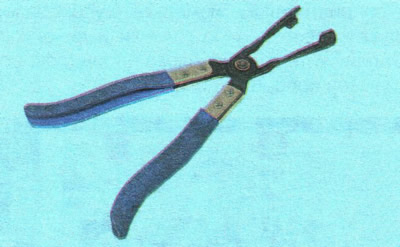
...tick-borne...
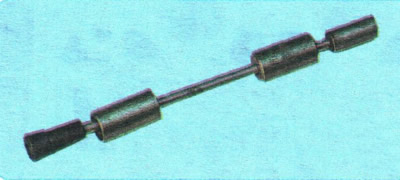
...or an inertial valve stem seal puller. The other end of the puller shown has a mandrel for pressing the caps on. If you don't have such a puller, you'll need pliers to remove the caps and a mandrel of the appropriate diameter to press them onto the valve guides.
An external sign of wear of the oil scraper caps is the short-term appearance of blue smoke from the exhaust pipe after starting the engine and during engine braking after a long period of movement under load. Moreover, constant smoking is usually not observed. Indirect signs are increased oil consumption in the absence of external leaks and oily spark plug electrodes.
1. Remove the cylinder head (see "Replacing the cylinder head gasket").
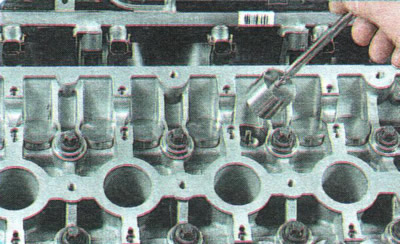
2. Remove the valve lifters.
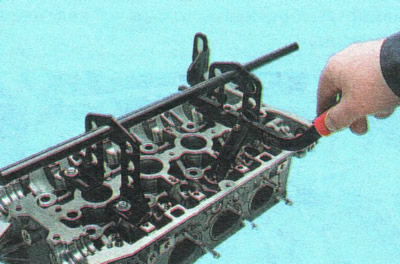
3. Install the valve spring compressor on the cylinder head.
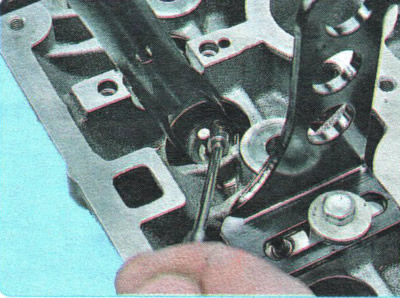
4. Compress the spring of one of the valves with the device and remove two crackers from the spring plate using tweezers or a magnetized screwdriver.
HELPFUL TIP: If the force required to move the tool lever increases significantly and the crackers do not come out of the valve groove, lightly tap the spring plate with a hammer to release the crackers.
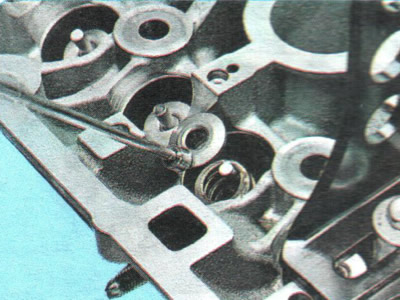
5. Remove the spring plate...
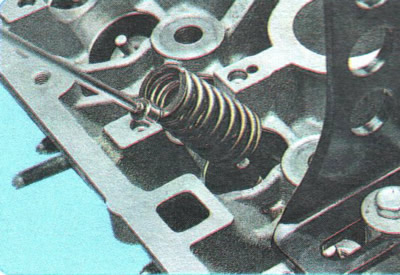
6. ...and the valve spring.
7. Press the valve stem seal off the valve guide bushing. To do this, install the collet of the inertial valve stem seal puller on the seal and sharply hit the collet bushing with the striker. Then, just as sharply hit the handle of the tool with the striker, thereby pressing the seal off the bushing.
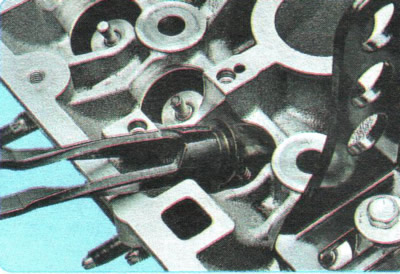
8. If there is no inertial cap puller, remove the cap with a special pliers-type puller or pliers, applying force strictly upwards and without turning the cap, so as not to damage the valve guide sleeve.
WARNING: Do not remove the cap by prying it from both sides with screwdrivers. The guide sleeve on which the cap is placed is made of metal ceramics and its edge easily chips off.
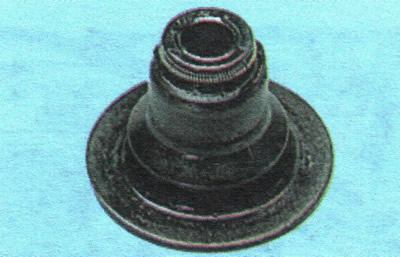
9. Lubricate the inside surface of the valve stem seal with engine oil and slide the seal along the valve stem to the guide bushing.
10. Install the mandrel for pressing the cap. Press the cap in with light blows of the striker on the mandrel until it stops. If you don't have a special device, you can select a cylindrical mandrel of a suitable diameter and press the cap in with it by lightly striking the mandrel with a hammer.
11. Install the spring and valve plate in the reverse order of removal. Install the crackers using the device so that they fit into the grooves of the valve stem. After installing the crackers, hit the end of the valve with a hammer through a metal rod so that the crackers fit into place.
WARNING: If the cross-installed valve keepers are left unsecured, the "loose" valve will fall into the cylinder when the engine is started, which will result in serious engine failure.
12. Similarly, replace the oil seals of the remaining valves in the cylinder head.
13. Install the removed parts in the reverse order of removal. After installing the camshafts and timing belt, check the valve actuator clearances and adjust them if necessary. "Adjusting valve clearances").
[The article is reprinted from the website «chevyman.ru»]