


If traces of oil leakage through the camshaft seals are detected, first check whether the crankcase ventilation system is clogged or whether its hoses are pinched, and repair the faults if necessary. If the oil leakage does not stop, replace the seal.
1. Disconnect the wire from the negative terminal of the battery.
2. Set the piston of the 1st cylinder to the TDC position of the compression stroke (see "Setting the piston of the first cylinder to the TDC position of the compression stroke").
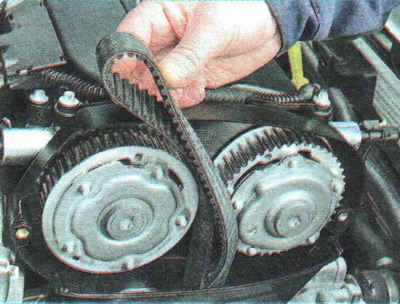
3. Remove the timing belt (see "Replacing the timing belt").
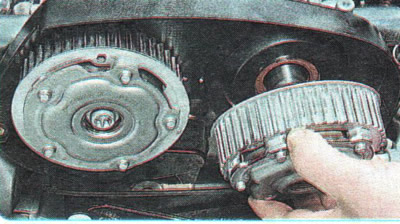
4. Remove the camshaft timing pulleys (see "Removal, inspection and installation of camshafts").
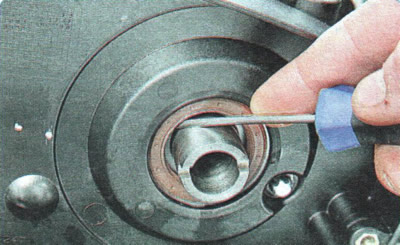
5. Using a screwdriver, remove the exhaust camshaft oil seal from the cylinder head socket.
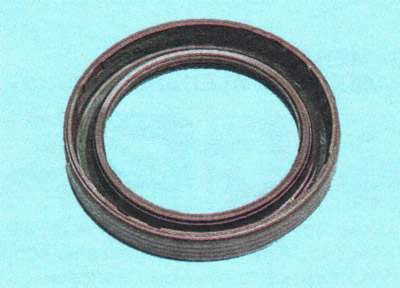
6. Before installing a new oil seal, inspect its working edge. It should be smooth, without tears, dents, or rubber buildup. The oil seal spring should be intact and unstretched. Lubricate the working edge with engine oil.
USEFUL TIP: To make it easier to press the seal in, apply a small chamfer to its seating edge using a file or fine emery wheel.
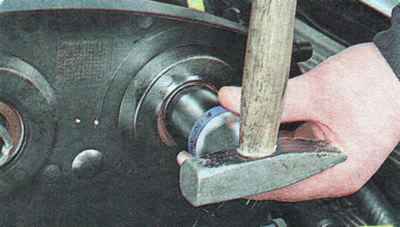
7. Install the oil seal with the working edge inside the cylinder head socket, carefully tuck the working edge onto the camshaft (for example, with a wooden stick) and press it in until it stops using a suitable mandrel. An inner ring from a bearing of a suitable size or an old oil seal can be used as a mandrel.
8. Replace the intake camshaft oil seal in the same way.
9. Install all removed parts and assemblies in the reverse order of removal.
[The original text can be found on the website ChevyMan]