


The engine's gas distribution mechanism is driven by a rubber reinforced toothed belt. Replacing the timing belt is part of routine maintenance work.
According to the manufacturer's recommendation, the timing belt should be replaced after 150,000 km or 10 years of operation. The timing belt is also replaced if, during inspection, you discover:
- traces of oil on any surface of the belt;
- traces of wear on the toothed surface, cracks, cuts, folds and separation of the fabric from the rubber;
- cracks, folds, depressions or bulges on the outer surface of the belt;
- fraying or delamination on the end surfaces of the belt.
WARNING: A belt with traces of motor oil on any of its surfaces must be replaced, as oil quickly destroys rubber. The reason for oil getting on the belt (usually this is a leak in the crankshaft and camshaft seals) must be eliminated immediately.
NOTE: Carry out work on an inspection pit, overpass or, if possible, on a lift.
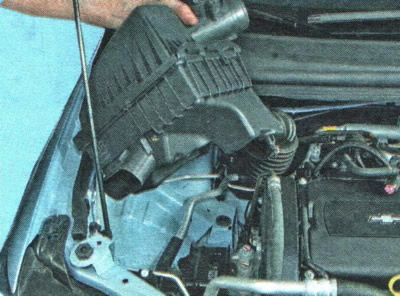
1. Remove the air filter housing (see "Removal and installation the air filter and air duct").
2. Remove the right front wheel.
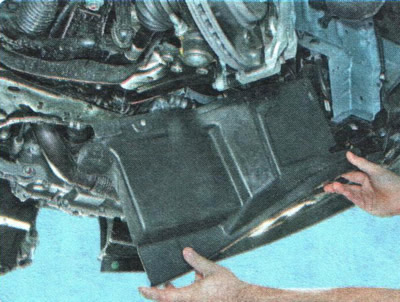
3. Remove the mudguard liner and the right engine splash guard (see "Removal and installation mudguards and engine crankcase protection").
4. Remove the accessory drive belts (see "Replacement of auxiliary drive belts").
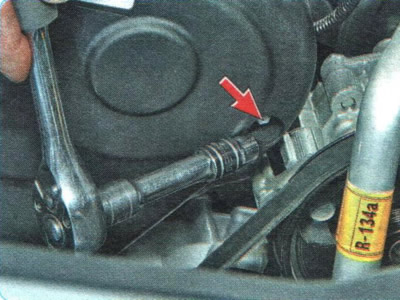
5. Remove the two bolts securing the upper timing cover...
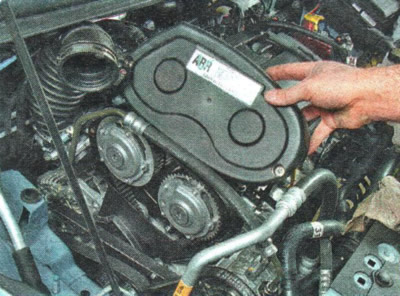
6. ...and remove the lid.
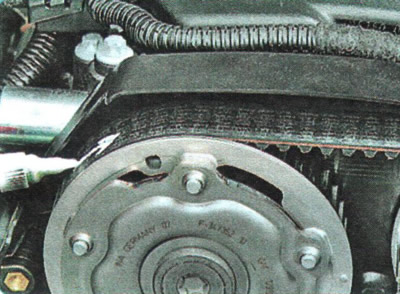
7. If you are removing the belt not for replacement, mark the direction of belt movement with a felt-tip pen while the engine is running so that this direction is not changed when reinstalling it.
NOTE: The timing belt teeth are run in to the crankshaft and camshaft toothed pulleys in one direction. Changing the direction of the belt will result in accelerated wear due to repeated running in.
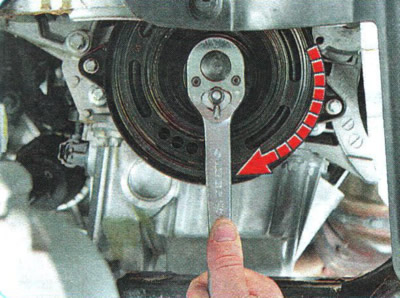
8. Remove the crankshaft pulley mounting bolt...
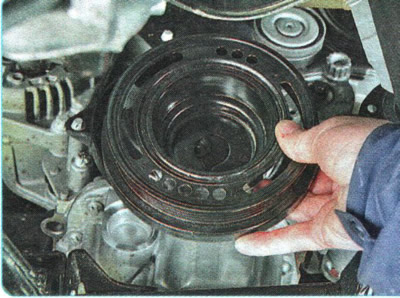
9. ...and remove the pulley.
USEFUL TIP: The crankshaft pulley mounting bolt is tightened to a very high torque. To prevent the crankshaft from turning, on a car with a manual transmission, engage 5th gear and press the brake pedal (an assistant should do this).
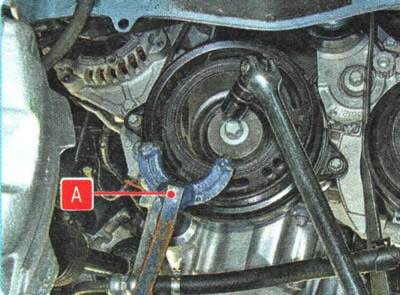
On a vehicle with an automatic transmission, use a special holding device A for the pulley.
10. Set the piston of the 1st cylinder to the TDC position of the compression stroke (see "Setting the piston of the first cylinder to the TDC position of the compression stroke").
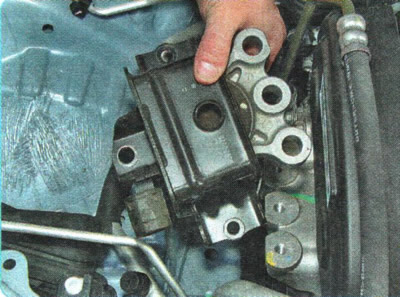
11. Remove the right powertrain suspension support...
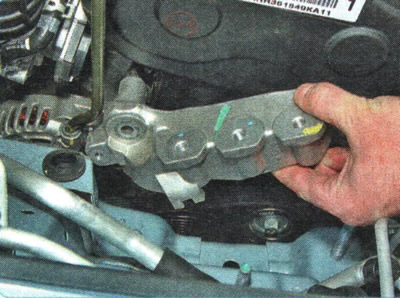
12. ...and the support bracket (see "Replacing the right powertrain suspension support").
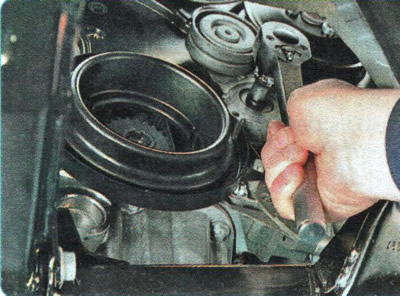
13. Remove the bolt securing the auxiliary drive belt tension roller...
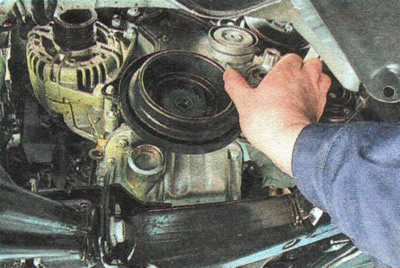
14. ...and remove the video.
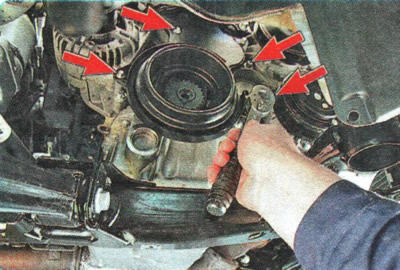
15. Remove the four bolts securing the lower timing cover...
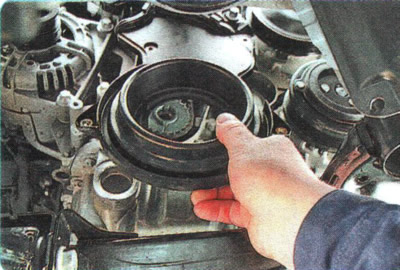
16. ...and remove the lid.
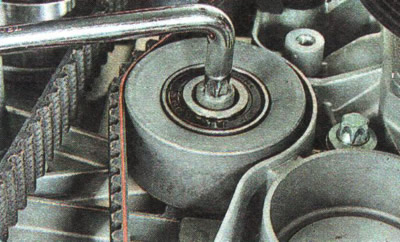
17. Loosen the idler roller mounting bolt, but do not remove it completely.
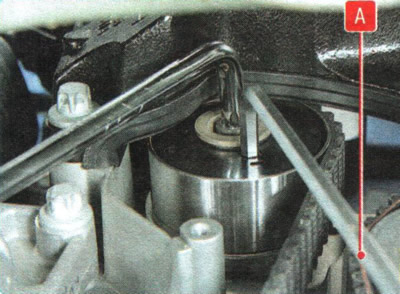
18. Loosen the tension of the timing belt by using key A to turn the roller clockwise until it stops, overcoming the resistance of the roller spring...
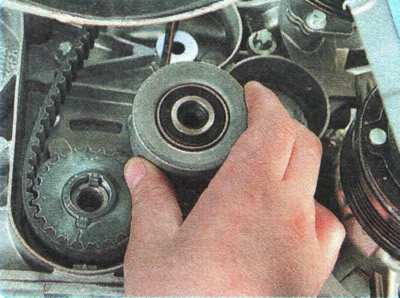
19. ...and then, holding the tension roller in this position, unscrew the intermediate roller mounting bolt and remove it.
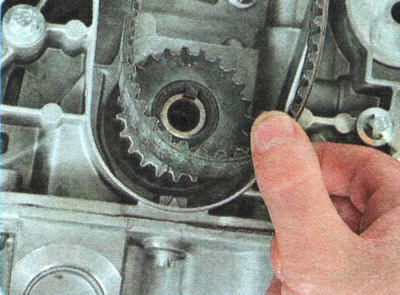
20. Remove the belt from the crankshaft toothed pulley...
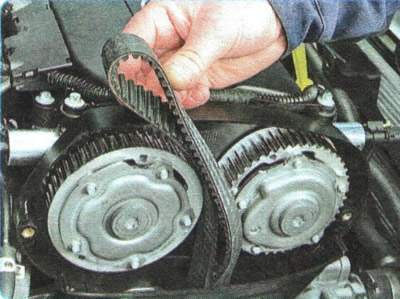
21. ...and remove it from the engine.
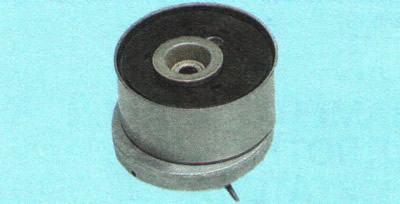
HELPFUL TIP: Whenever you replace the timing belt, replace the timing belt tensioner...
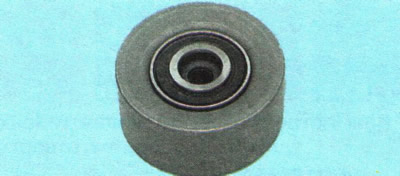
...and intermediate rollers, since their service life has already been reduced and when installing the previous rollers after a relatively short period of time, repeated disassembly may be required to replace them. In addition, there is a high risk of destruction of rollers that have been in operation for a long time, which will lead to emergency engine failure. Removal of the intermediate roller is described above in this subsection (see pp. 17-19)...
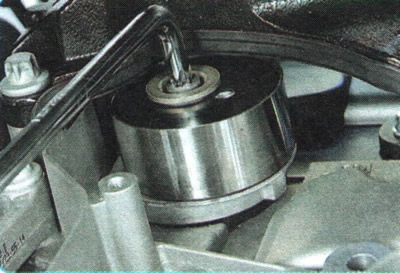
...to remove the tension roller, unscrew its mounting bolt.
22. Install the rollers, if removed, in the reverse order of removal.
23. Check the alignment of the timing marks on the crankshaft and camshafts (see "Setting the piston of the first cylinder to the TDC position of the compression stroke").
24. Put the belt on the toothed pulley of the crankshaft. Place the leading branch of the belt behind the intermediate roller and, having pulled it, put it on the pulleys of the camshafts. Place the rear branch of the belt behind the tension roller, having first turned it clockwise until it stops (see item 18).
NOTE: After the tension roller is no longer pressed, it will assume the position required for normal belt tension under the action of the spring.
25. Screw the pulley mounting bolt into the crankshaft tailstock and turn the crankshaft two turns so that the tension roller provides the nominal belt tension.
26. Check that the timing marks on the crankshaft and camshafts match. If they do not match, reinstall the belt.
27. Install all previously removed parts in the reverse order of removal.
[The article is reprinted from the website: «chevyman»]