


Note: It is more convenient to perform the work on a lift.
1. Loosen the wheel mounting nuts on the side of the tie rod being replaced, lift and place the front of the vehicle on a support.
2. Remove the wheel.
3. Remove the outer tie rod end (see "Replacing the outer tie rod end").
4. Unscrew the lock nut 3 (see fig. 8.2) from the steering rod.
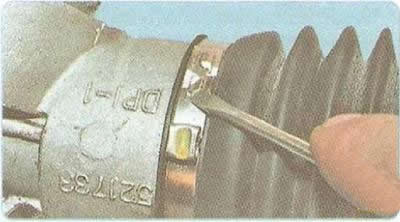
5. Use a screwdriver to pry up the lock of the inner clamp of the traction boot...
Note: For clarity, the work is shown on a removed steering gear.
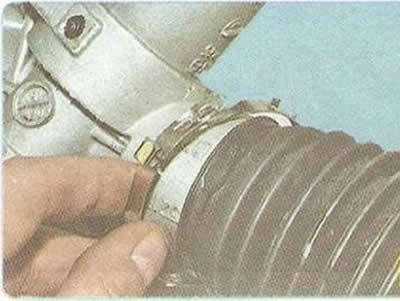
6. ...and remove the clamp from the steering gear.
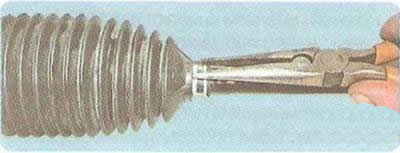
7. Squeeze the bent ears, slide the clamp along the steering rod and remove it.
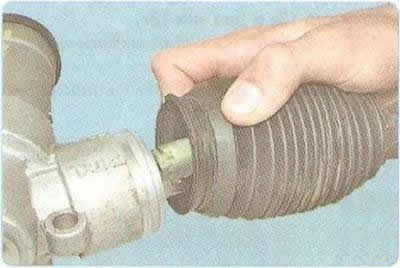
8. Remove the steering rod boot from the steering gear housing.
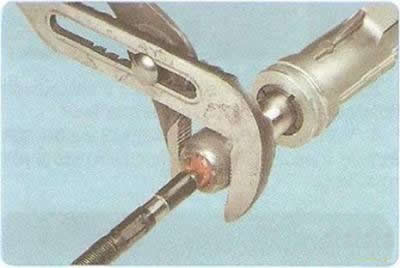
9. Unscrew the inner ball joint of the steering rod and disconnect the rod from the rack.
10. Install the parts in the reverse order of removal, taking into account the following:
- before screwing in, lubricate the steering rod threads with locking grease;
- tighten the steering rod to a torque of 90 Nm;
- check the steering rod protective boot. If the boot has cracks, replace it;
- install new clamps for the steering rod protective boot.
11. Check and adjust if necessary wheel alignment angles.
The article is based on data from the website: «chevyman.ru»