
ChevyMan.ru
Mazda Mitsubishi Toyota Land Rover Honda Kia Nissan
English Русский
Български
Беларускі
Український
Српски
Hrvatski
Română
Polski
Slovenský
Magyar
|
Articles | Sitemap | Contacts |


Home   Aveo   Captiva   Cruze   Lacetti   Lanos   Niva   Tahoe   Others  
Tahoe 2 and 3 (2000-2014) Tahoe 1 (1992-2000)
  • Home
  • Tahoe
  • 1 (1992-2000)
  • General information
  • User manual
  • Replacing lamps

Replacing lamps (Chevrolet Tahoe 1)

            0

Contents: Sealed headlight ↧ Detachable headlight ↧ Front Parking/Turn Signal Lights… ↧ Front Parking/Turn Signal Lights… ↧ Clearance lamps ↧ Central High Stop Lamp (CHMSL) ↧ Marker lamps on the roof ↧ Rear lights ↧
Before replacing bulbs, make sure all bulbs are off and the engine is not running.

Sealed headlight
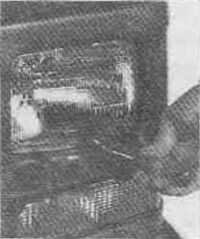


Sealed headlight


Remove the four screws from the headlight holder. Pull out the headlight and remove the holder.
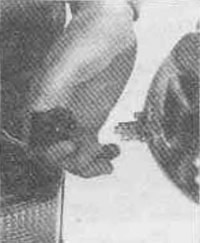
Remove the four screws from the headlight holder. Pull out the headlight and remove the holder.


Disconnect and remove the headlight. Connect the new headlight. Install the holder on the headlight and tighten the screws.

Detachable headlight


Remove the two screws at the top of the radiator bracket.
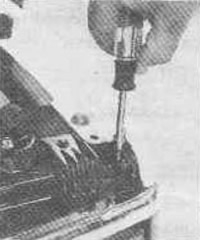
Remove the two screws at the top of the radiator bracket.


Remove the headlight assembly.


Disconnect the electrical connector.

Turn the lamp to the left and remove it.
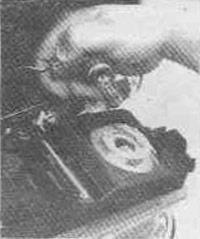
Turn the lamp to the left and remove it.


Place the new bulb and turn it all the way to the right.

Connect the electrical connector.

Place the headlight assembly back and tighten the two screws.

Front Parking/Turn Signal Lights with Sealed Beam
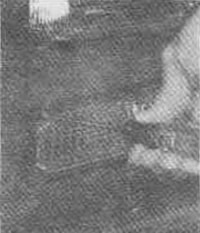


Front Parking/Turn Signal Lights with Sealed Beam


Remove the two screws from the inside of the turn signal light.

Move the lantern, turning it from the inside to the outside.

Squeeze the tip of the lamp socket by turning it to the left.
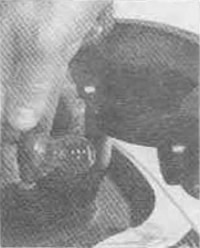
Squeeze the tip of the lamp socket by turning it to the left.


Remove the socket from the flashlight.


Press lightly on the lamp, turn left.

Insert the new bulb into the socket, press it lightly and turn it to the right.

Place the socket back into the flashlight and turn the socket to the right until it locks into place.

Place the light back on the car and tighten the screws.

Front Parking/Turn Signal Lights with Detachable Headlight
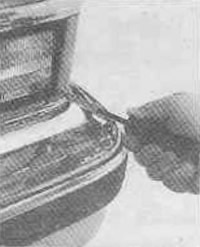


Front Parking/Turn Signal Lights with Detachable Headlight


Remove the screws and take out the turn signal light.

Squeeze the base of the lamp socket and turn the socket to the left.

Remove the socket from the flashlight.
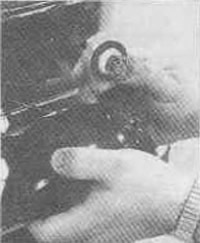
Remove the socket from the flashlight.


Press lightly on the bulb, turn it to the left and pull it out of the socket.

Insert the new bulb, press it lightly and turn it to the right

Place the socket back into the flashlight and turn it to the right until it locks into place.


Place the light back in place and tighten the screws.

Clearance lamps


Remove the screws and pull out the turn signal light.
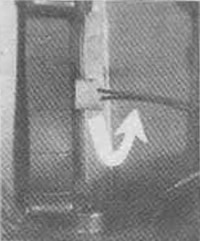
Remove the screws and pull out the turn signal light.


Through the resulting hole, reach in with your hand and turn the side light bulb holder to the left and remove it.
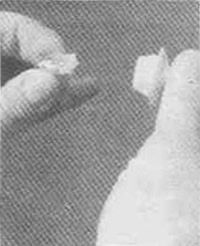
Through the resulting hole, reach in with your hand and turn the side light bulb holder to the left…


Pull the bulb straight out of the socket.

Insert the new bulb into the socket tightly.

Insert the socket back into the parking light and turn it to the right until it stops.

Replace the turn signal light and tighten the screws.

Central High Stop Lamp (CHMSL)


It is not replaceable, please contact your dealer for assistance.

Marker lamps on the roof


Remove the screws and lift the light.

Pull the bulb straight out of the socket.

Insert the new bulb into the socket.

Close the lantern and tighten the screws.


Rear lights


Open the rear doors or the trunk.

Remove the two black plastic plugs from the rear lamp access holes.
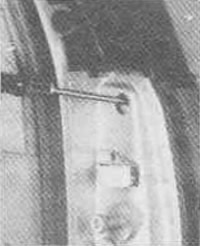
Remove the two black plastic plugs from the rear lamp access holes.


Remove the two screws inside the wing and pull out the light. You may need a magnetic screwdriver.

Remove the screws from the light holder and remove the holder.
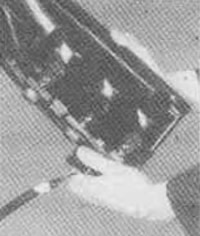
Remove the screws from the light holder and remove the holder.


Pull the old bulb straight out of the socket.

Insert the new bulb and press it in.

Put the holder back in place.

Replace the light and tighten the screws. You may need the magnetic screwdriver again.

Close the rear doors.

The article was checked: Vladimir Romannikov
This article is available at russian, bulgarian, belarusian, ukrainian, serbian, croatian, romanian, polish, slovak, hungarian

Share information:

Previous articles
Tahoe 1: User manual
Next articles

Battery packs
Checking for fluid leaks
Brake fluid and pads
Windshield Washer Fluid
Power steering fluid
Replacing wiper blades
Vehicle Identification Numbers
Electrical system of the car
Spare parts and filling tanks


See similar articles on the topic of Chevrolet cars:
Replacing the left support of the powertrain suspension Chevrolet Aveo T300 (2012-2018)
Replacing lamps Chevrolet Captiva 1 (2006-2018)
Replacing lamps Chevrolet Cruze 1 (2008-2016)
Replacement of outdoor lighting lamps Chevrolet Lacetti 1 (2002-2009)
Replacement of outdoor lighting lamps Chevrolet Lanos T150 (2002-2009)
Replacing lamps Chevrolet Niva 1 (2002-2016)
Replacing lamps in lighting fixtures Chevrolet Lumina 1 (1989-1994)
Link in different formats to this page


Visitor comments

No comments yet


How much will 26 + 41 =


Tahoe 2 and 3 (2000-2014) 
  • General information
  • Vehicle characteristics
  • Vehicle device
  • Manual
  • Maintenance
  • Power unit
  • Engine repair
  • Engine overhaul
  • Cooling system
  • Injection and control system
  • Exhaust system
  • Engine electrical equipment
  • Transmission
  • Automatic gearbox 4L60, 4L65, 4L70
  • Automatic gearbox 6L50, 6L80, 6L90
  • Transfer case
  • Drive shafts and cardan
  • Front drive axle
  • Rear drive axle
  • Chassis
  • Car suspension
  • Steering
  • Brake system
  • Body (until 2007)
  • Exterior (external elements)
  • Interior (internal elements)
  • Doors, locks and windows
  • Heating and air conditioning
  • Security System (SRS)
  • Body (since 2007)
  • Exterior (external elements)
  • Doors, locks and windows
  • Interior (internal elements)
  • Electrical equipment
  • Electrical appliances (until 2007)
  • Lighting and lamps (until 2007)
  • Audio system (until 2007)
  • Electrical appliances (since 2007)
  • Lighting and lamps (since 2007)
  • Audio system (since 2007)
  • Wiring diagrams (2000-2005)
  • Wiring diagrams (2005-2007)
  • Wiring diagrams (since 2007)


Tahoe 1 (1992-2000) 
  • General information
  • User manual
  • Maintenance
  • Power unit
  • Engine in a car
  • Engine removed
  • Cooling system
  • Heating and air conditioning
  • Fuel and exhaust systems
  • Decreased toxicity
  • Transmission
  • Manual gearbox
  • Automatic gearbox
  • Transfer case
  • Clutch and drive shafts
  • Chassis
  • Brake system
  • Car suspension
  • Steering
  • Body
  • Repair of body elements
  • Electrical equipment
  • Engine electrics
  • Equipment and devices
  • Electrical circuits


ChevyMan.ru © 2017-2026 · Mobile version · Feedback · Site search · Interesting to read · Sitemap: EN BG BY UA RS HR RO PL SK HU

Aveo 2003-2008 · Aveo 2006-2011 · Aveo 2012-2018 · Captiva 2006-2018 · Cruze 2008-2016 · Lacetti 2002-2009 · Lanos 2002-2009 · Niva 2002-2016 · Tahoe 1992-2000 · Tahoe 2000-2014 · Lumina 1 1989-1994 · Trailblazer 1 2001-2008 · Orlando 1 2010-2018 ·
🛡️ For your security and to improve our service, this site uses cookies. You can disable them in your browser.