


Contents: Removal ↧ Installation ↧
Removal
Warning: when performing the procedure in the area where the exhaust manifold is located, precautions should be taken, taking into account that the sheet metal heat insulation shield may have sharp edges. Before starting this procedure, you should wait until the engine has cooled down completely.
1. Disconnect the negative battery cable.
2. Raise the vehicle with a jack and install vertical supports.
3. While working underneath the vehicle, apply penetrating oil to the studs and nuts that secure the exhaust pipe to the exhaust manifold (as a rule, these fasteners are subject to corrosion) (see illustration).
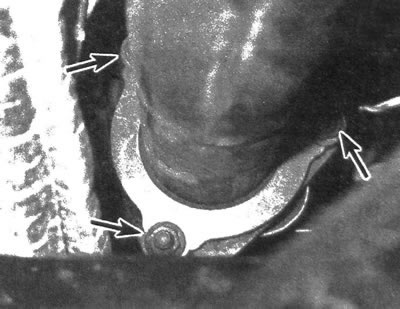
5.3. Access to the exhaust pipe bolts/nuts is from underneath the vehicle
4. Wait for the oil to soak in for a few minutes, then unscrew the nuts securing the pipe to the manifold.
5. Disconnect the oxygen sensor wire plug. Unscrew the nuts and remove the heat-insulating shield (see illustration).
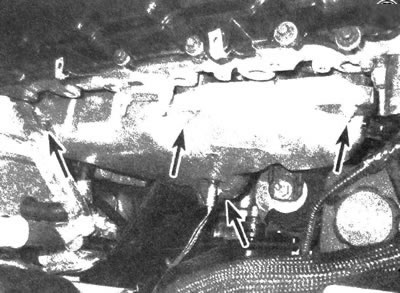
5.5. Exhaust manifold heat shield nuts
6. Unscrew the mounting bolts and disconnect the intake manifold from the cylinder head (see illustration).
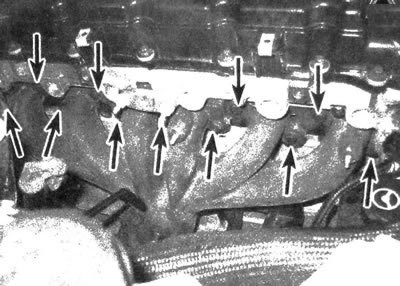
5.6. Location of exhaust manifold bolts (some fasteners are not visible from this angle)
7. Remove the exhaust manifold gasket and clean its mating surface, as well as the surface of the cylinder head.
Installation
8. Inspect the exhaust manifold for cracks and chips. Make sure the bolt threads are clean and undamaged. Before installation, ensure that the mating surfaces of the manifold and cylinder head are undamaged and clean. The remains of the gasket and carbon deposits are removed using a scraper.
9. Determine the degree of curvature of the manifold mating surface using a ruler and a set of flat feeler gauges for measuring gaps. If the surface deviation is outside the limits defined in the specifications, the manifold must be machined and/or replaced.
10. Install the new gasket.
11. Install the manifold onto the cylinder head, apply a high temperature anaerobic sealant to the bolt threads and finger tighten.
12. The rest of the installation procedure is carried out in the reverse order of removal.
13. Start the engine and check that the exhaust system connections are gas-tight.
The article was borrowed from the website: chevyman