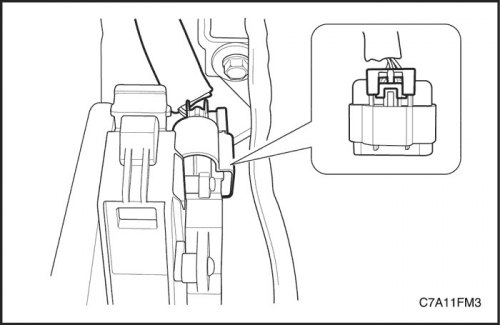
Contents: Removal procedure ↧ Installation procedure ↧
Necessary equipment
EN-48357 Injector Puller
Caution! Do not smoke or use open flames in areas where work is being performed on the fuel system. When working on the fuel system, disconnect the negative battery cable except for those checks that require battery voltage.
Removal procedure
1. Disconnect the negative battery cable.
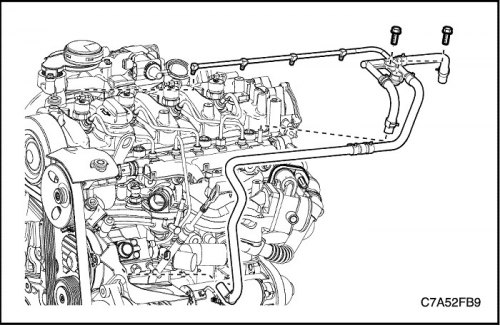
2. Remove the high pressure fuel lines. See "High pressure fuel supply lines" in this section.
3. Remove the injector return hoses. See "Fuel return line assembly" in this section.
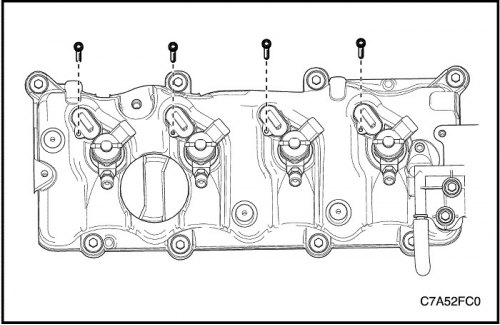
4. Disconnect the injector connector.
5. Remove the injector bracket plug.
6. Unscrew the injector bracket bolt.
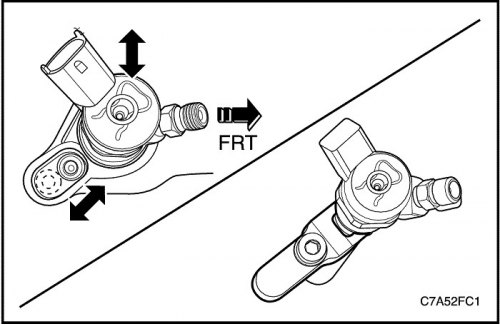
7. Tighten the injector bracket manually using the bolt.
8. Remove the injectors with the washers facing up.
Attention! Number the injectors sequentially with a pencil. If you mix up the ordinal number of the injector, this will affect the engine performance.
Caution! Protect the nozzle tip from the floor and hard surfaces. If possible, put a cap on the nozzle tip.
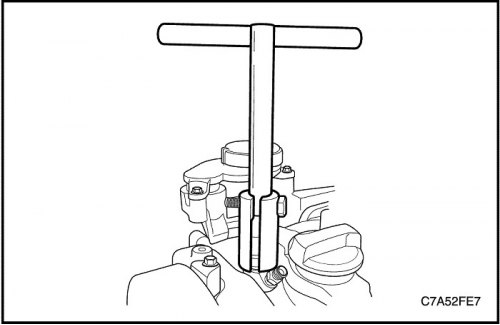
9. If the injector is stuck to the cylinder head, use the EN-48357 injector puller.
Installation procedure
Caution! The injector washer cannot be reused.
1. Inspect and clean the injector and nozzle tip.
Caution! Do not wipe the nozzle tip area. This may damage the nozzle opening.
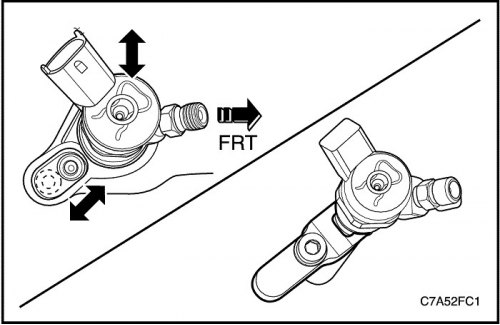
2. Install the injector with a new washer.
3. Insert the injector bracket into the injector groove.
4. Tighten the injector bracket bolt.
Tighten
Tighten the injector bracket bolt to 28 Nm (20.7 ft·lbs).
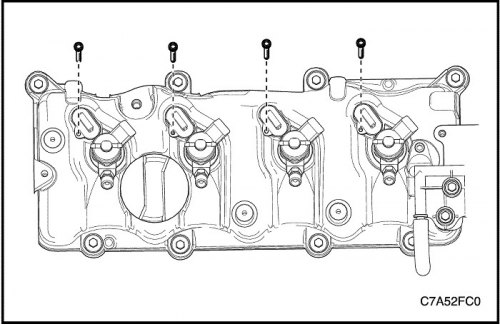
5. Install the injector bracket plug.
Tighten
Tighten the injector bracket plug bolt to 7 Nm (62.0 lbs.in).
Important: Fuel lines cannot be reused. Reusing contaminated lines may cause damage to injectors or leaking lines.
6. Perform fuel bleeding. See "Pumping fuel" in this section.
Important: When replacing an injector or changing the injector sequence order, reprogram and reset the EEPROM values for ZFC (Zero fuel trim) injectors using a diagnostic tool.