


You will need: TORX keys T20, "13", "24".
1. Disconnect the wire from the negative terminal of the battery.
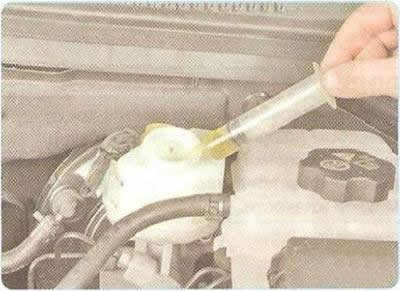
2. Unscrew the cap of the brake master cylinder reservoir and pump out the brake fluid from the reservoir, for example, using a large medical syringe.
Note: For clarity, the following operations are shown with the master cylinder reservoir and air supply pipe removed.
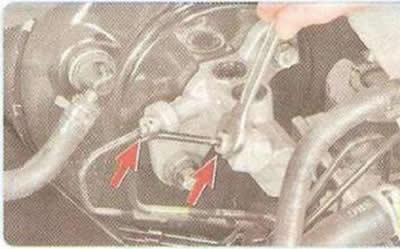
3. Loosen the nuts securing the brake pipes to the master brake cylinder...
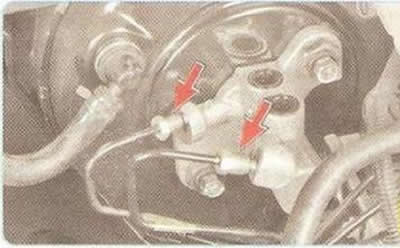
4. ...and move the pipes to the side.
Helpful Hint: Seal the pipes using any available method (for example, by putting protective caps on their ends to release air), to prevent brake fluid from leaking out.
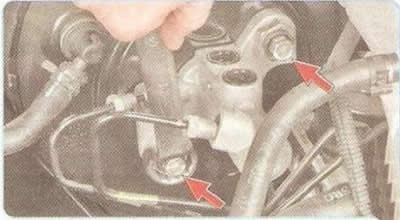
5. Unscrew the two nuts of flange 2 (see fig. 9.7) fastening the main brake to the brake booster...
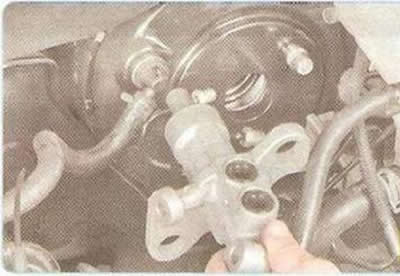
6. ...and remove the master brake cylinder.
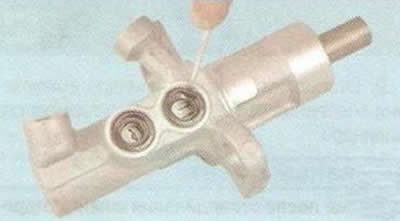
7. If during operation, leakage of brake fluid through the connecting bushings is observed, remove the bushings from the holes in the cylinder body.
Reuse of coupling bushings is not permitted, replace them with new ones.
8. Remove the rubber sealing ring from the master cylinder housing.
Warning: Replace the master cylinder sealing ring with a new one each time the connection is disassembled.
9. Install the brake master cylinder and all removed parts in the reverse order of removal. Fill with brake fluid (see "Replacing brake fluid").
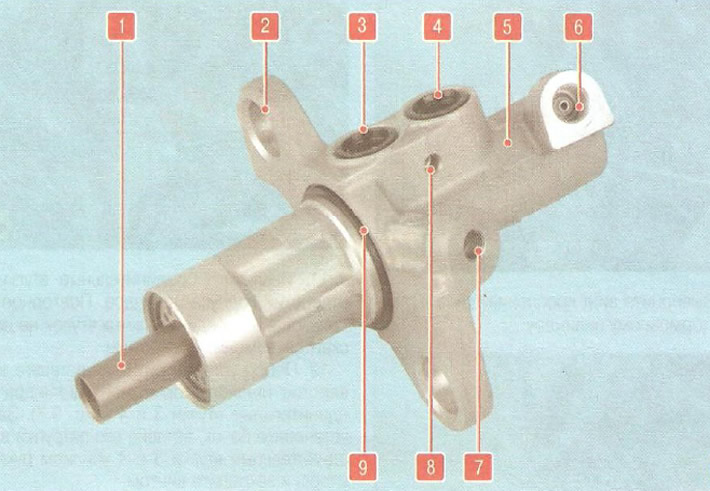
Fig. 9.7. Master brake cylinder: 1 - piston pusher; 2 - cylinder mounting flange; 3, 4 - connecting bushings; 5 - brake cylinder housing; 6, 7 - connecting holes of pipelines; 8 - hole for the tank mounting bolt; 9 - rubber sealing ring
Original version of the article on the website «CHEVYMAN.RU»