


Contents: Removal ↧ Installation ↧
Removal
1. Raise the vehicle and place safety posts under the frame.
2. Apply marks to the relative positions of the propeller shaft (4) and the flange of the drive pinion (3) of the rear axle gearbox.
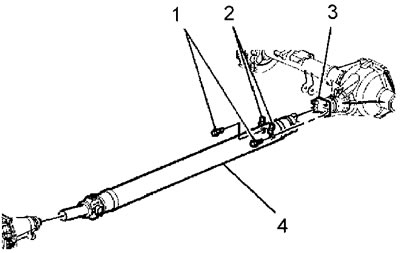
3. Mark the relative positions of the propeller shaft (4) and the output shaft of the transfer case.
4. Loosen the bolts (1) and remove the covers (2) from the fork (3) of the drive gear of the rear axle reducer.
5. Move the propeller shaft forward until the crosspiece of the joint comes out of the fork of the drive pinion of the rear axle gearbox.
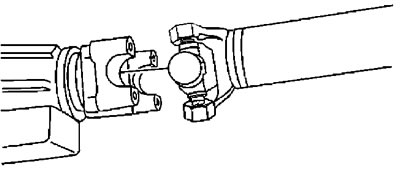
6. Move the propeller shaft back until the shaft exits the splines of the transfer case.
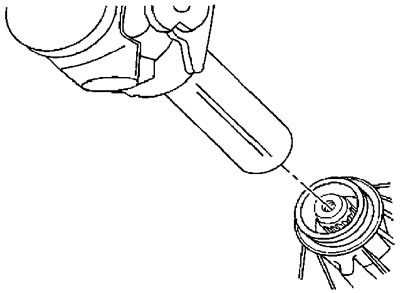
7. Remove the driveshaft.
Installation
1. If necessary, lubricate the transfer case output shaft splines with the recommended lubricant.
2. Insert the cardan shaft into the splines of the transfer case, align the relative position marks made before removal.
3. Install the propeller shaft into the fork of the drive pinion of the rear axle gearbox, align the relative position marks made before removal.
4. Install the covers (2) and bolts (1). Tighten the bolts. Tightening torque 25 N·m.
5. Lower the vehicle.
[The original source of the article is the website «CHEVYMAN.RU»]