


Contents: Removal ↧ Installation ↧
Removal
1. Raise the vehicle and place safety posts under the frame.
2. If installed, remove the transfer case guard.
3. If a length compensator boot with a double clamp is installed, remove the clamp (4) securing the boot to the transfer case.
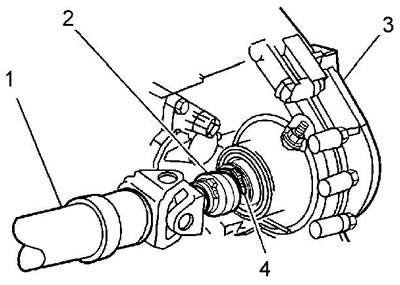
4. Mark the relative positions of the propeller shaft (2) and the flange of the drive pinion (1) of the front axle gearbox (8).
5. Loosen the bolts (6) and remove the covers (7) from the fork (1) of the front axle drive gear.
Warning: Do not drop fork bearing caps.
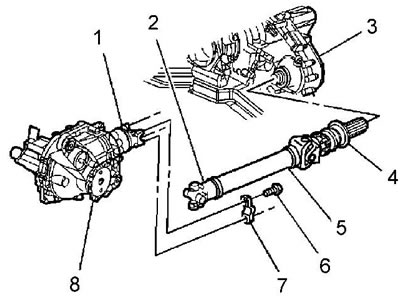
6. Disconnect the propeller shaft (2) from the fork (1). Wrap the bearing caps with insulating tape to prevent loss of the bearing rollers.
7. Remove the joint boot from the groove of the transfer case output shaft.
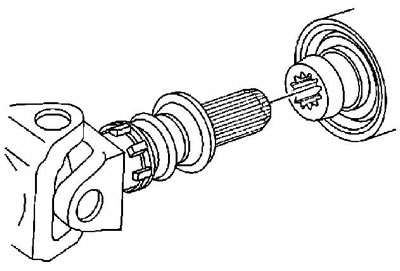
Case with one clamp |
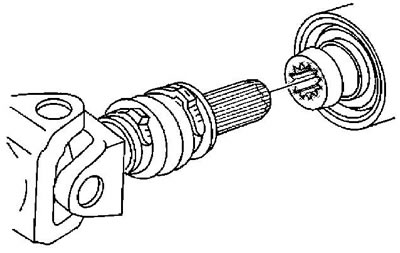
Case with two clamps |
8. Remove the cardan shaft from the output shaft of the transfer case, remove the shaft.
Installation
1. If necessary, lubricate the transfer case output shaft splines with the recommended lubricant.
2. If the cardan shaft has a cover with two clamps:
- a) Install a new clamp on the boot at the driveshaft groove.
- b) Insert the cardan shaft into the splines of the output shaft of the transfer case.
3. If the driveshaft has a length compensator boot with one clamp, insert the driveshaft into the splines of the transfer case output shaft.
4. Install the cardan shaft into the bearings and the drive pinion fork of the front axle gearbox.
5. Install the covers (7) and bolts (6). Tighten the bolts. Tightening torque 25 Nm.
6. Install the length compensator boot into the groove of the transfer case output shaft until the clamp snaps into place.
7. If the cover has two clamps, use pliers to tighten the clamp lock until the recommended lock size is obtained.
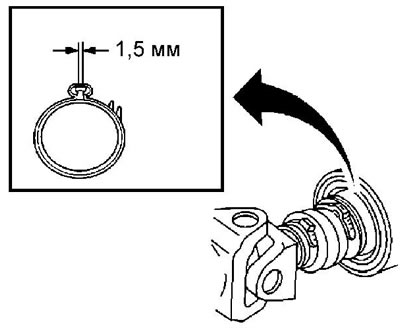
8. If removed, install the transfer case guard.
9. Lower the vehicle.
Original version of the article on the website: «chevyman.ru»