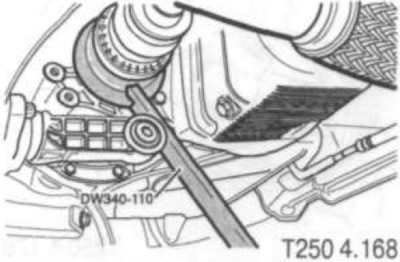
Removal
1. Raise and secure the vehicle.
2. Remove the wheels.
3. Remove the lower engine skid plates.
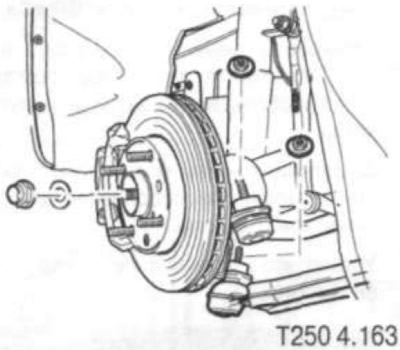
4. Unscrew the drive shaft mounting nut in the front hub.
5. Unscrew the nut securing the steering tip to the steering knuckle.
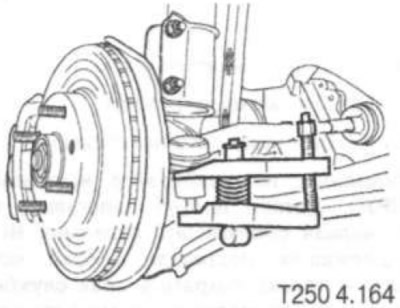
6. Disconnect the tie rod end using a ball joint puller.
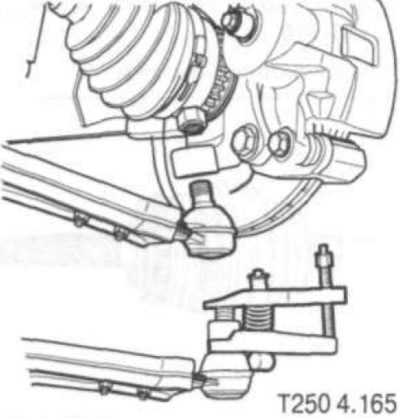
7. Unscrew the nut securing the ball joint to the steering knuckle.
8. Disconnect the steering knuckle from the ball joint using a ball joint puller.
9. Push the hub axle out of the wheel hub.
10. Remove the drive shaft from the transmission housing using a drive shaft puller.
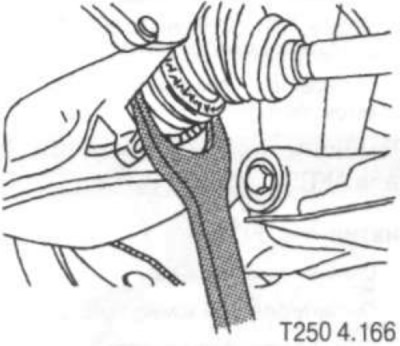
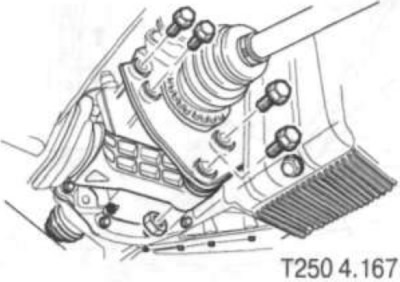
Points 11-16 describe the steps for removing the drive shaft on a vehicle with an automatic transmission.
11. Remove the connecting nut and bolt of the damper block of the rear bracket of the power unit suspension.
12. Remove the rear bracket bolts and the powertrain mount bracket.
13. Remove the connecting nut and bolt of the damper block of the rear bracket of the power unit suspension.
14. Remove the rear bracket bolts and the powertrain mount bracket.
15. Push the main drive shaft out of the wheel hub.
16. Remove the drive shaft from the gearbox housing using a drive shaft puller.
Caution: Support the disconnected end of the drive axle. Do not allow the drive shaft to hang freely from the axle housing after it is disconnected from the wheel hub. Place a container under the gear housing to collect any fluid that leaks out. After removing the drive shaft, cover the opening of the gear housing with a cap to retain fluid in the housing and prevent dirt from entering.