


Contents: Engine 3.1 l ↧ Engine 3.8 l ↧
Engine 3.1 l
1. With the engine idling at normal operating temperature, remove the valve (with attached hose) from the rubber bushing in the valve cover (see illustration).
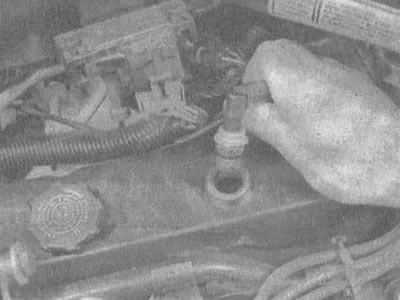
30.1. In 3.1L engines, the crankcase ventilation valve is located on the valve cover. To test it, take it out and see if there is suction, and shake it to make sure it rattles
2. Place your finger on the end of the valve. If there is no vacuum in the valve, check if the hose or the valve itself is dirty. Replace any dirty or frayed hoses.
3. Turn off the engine and shake the crankcase ventilation valve, listening for a "crackling" sound. If the valve does not "crack", replace it with a new one.
4. To replace the valve, pull it off the end of the hose, paying attention to the position and direction in which it was installed.
5. When purchasing a crankcase ventilation valve, make sure that it is suitable for your vehicle, the year of manufacture and the engine displacement. Compare the old valve with the new one to make sure they are the same.
6. Install the valve into the end of the hose so that it fits into place.
7. Check if the rubber bushing is damaged and replace it with a new one if necessary.
8. Press the PCV valve and hose securely into place in the valve cover.
Engine 3.8 l
9. On vehicles with this engine, the crankcase ventilation valve is located in the intake manifold under the cover. Unscrew the three bolts and remove the cover.
10. Using needle-nose pliers, remove the valve and spring from the manifold (see illustration). Be careful not to lose the sealing ring located on the end of the valve.
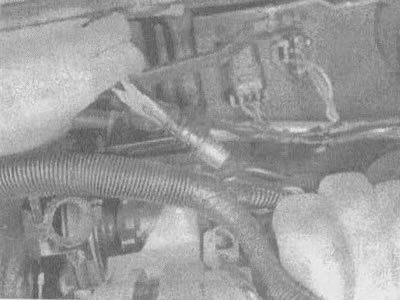
30.10. To remove the crankcase ventilation valve, use pliers with thin jaws, remove the valve and extract the spring from the recess in the intake manifold
11. Shake the crankcase ventilation valve and listen for a "crackling" sound. If the valve does not "crack", replace it with a new one. Check that the new valve is suitable for your vehicle, year of manufacture and engine displacement. Compare the old valve with the new one to make sure they are the same.
12. Install the new PCV valve, O-ring, spring and cover and tighten the bolts.