


2. If the locating pin is missing (see illustration) or the bolt holes are not staggered, scratch or paint a mark on the flywheel and crankshaft to ensure proper installation in the original location.
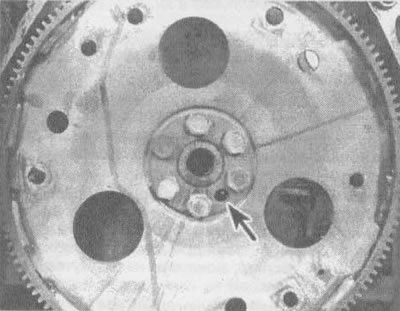
27.2 Most flywheels have dowel pins (indicated by an arrow). If the flywheel does not have such a pin, scratch or draw some marks to ensure proper installation later
3. Remove the bolts securing the flywheel to the crankshaft (see illustration). Prevent the crankshaft from turning by inserting a large screwdriver into the hole in the flywheel.
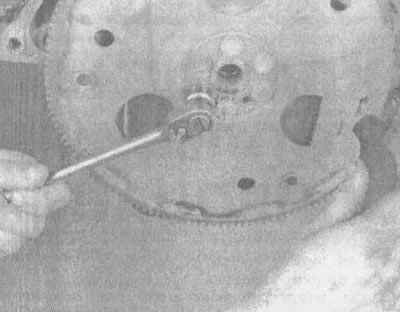
27.3. By inserting a large screwdriver into one of the holes in the flywheel, you can lock the flywheel when loosening and tightening the bolts
4. Remove the flywheel from the crankshaft.
5. Clean the flywheel from grease and oil. Inspect the flywheel surface and its ring gear for damage.
6. Clean and inspect the mating surfaces of the flywheel and crankshaft. If there is a leak through the rear crankshaft oil seal, then before installing the flywheel in its original place, it is necessary to replace this oil seal (see section 25).
7. Position the flywheel near the crankshaft. Ensure that the marks made during removal are aligned (if there is no pin and the bolt holes are staggered). Apply thread sealant to the threads before screwing in the bolts.
8. After locking the flywheel through the hole, tighten the bolts to the torque specified in technical conditions of this chapter.
9. The remaining installation operations are performed in reverse order.
(The article was reprinted from the website «ChevyMan»)