


You will need; tools needed to remove the gearbox and clutch, as well as a 19 mm wrench and a large screwdriver.
1. Remove the gearbox (see "Removal and installation of a manual gearbox") and clutch (see "Removal and installation the clutch").
2. Mark the relative positions of the flywheel and crankshaft in any way.
Note: The flywheel can only be installed on the crankshaft in one position, as one of the holes in the flywheel and crankshaft is located asymmetrically (has an angular offset), however, to facilitate installation of the flywheel, we recommend marking the relative positions of the parts.
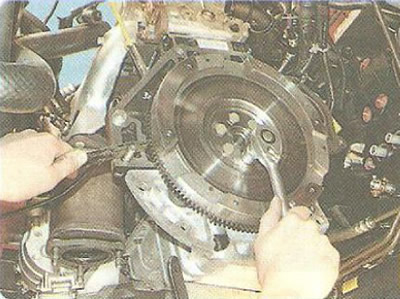
3. Unscrew the five flywheel mounting bolts. At the same time, use a screwdriver or a mounting blade to hold the flywheel from turning, having first screwed in one of the gearbox mounting bolts.
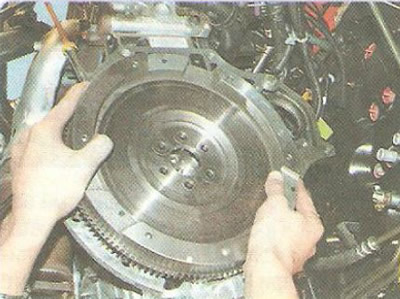
4. Unscrew the sixth bolt and remove the flywheel.
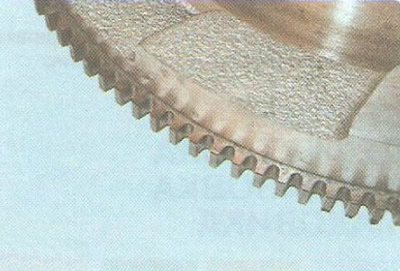
5. Check the condition of the flywheel rim teeth and, if damaged, replace the flywheel.
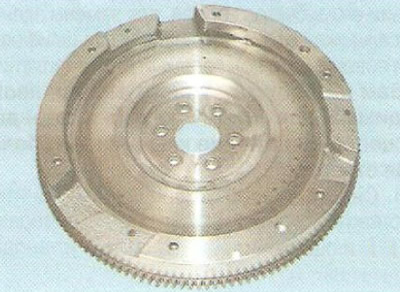
6. Replace or repair the flywheel if the mating surfaces of the driven clutch disc...
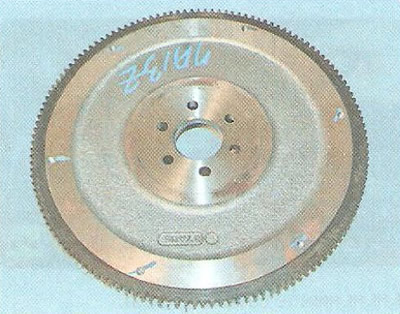
7. ...or the crankshaft flange has scratches and scoring marks.
8. The flywheel can be checked and repaired in a workshop with special equipment. The flywheel runout, measured along the toothed rim, should not exceed 0.5 mm. To remove deep scratches and burrs, the mating surface of the driven disk can be ground, while the layer of metal removed should not exceed 0.3 mm.
9. Install the flywheel and all removed components in the reverse order of removal. Lubricate the threads of the flywheel mounting bolts with anaerobic thread locker, having first degreased the bolts and the threaded holes for them. Tighten the bolts evenly crosswise with a torque of 35 N·m (3.5 kgf·m) and additionally tighten by an angle of 30°, and then by another 15°.