


You will need; the same tools as for removing the timing belt, camshaft pulleys (see "Replacing the timing belt and its tension roller"), the rear cover of the timing drive (see "Removal and installation the oil pump"), cylinder head covers (see "Replacing the cylinder head cover gasket"), as well as keys "12", "13", "14", a torque wrench.
1. Reduce the pressure in the fuel system if you perform work immediately after a ride (see "Reducing pressure in the fuel system").
2. Disconnect the wire from the negative terminal of the battery.
3. Drain the coolant (see "Replacing the coolant").
4. Set the piston of the 1st cylinder to the TDC position of the compression stroke (see "Setting the piston of the first cylinder to the TDC position of the compression stroke").
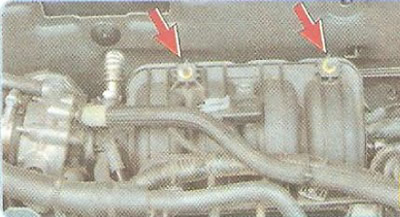
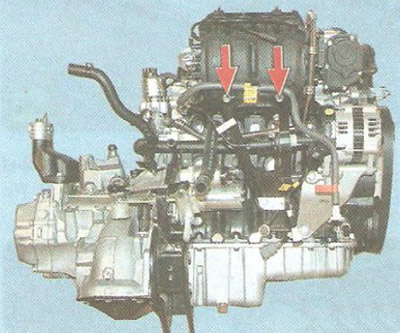
5. Remove the two bolts securing the intake pipe to the support bracket.
Note: This is how the bolts are located that secure the intake manifold to the support bracket (for clarity, the power unit has been removed).
6. Remove the timing belt and camshaft pulleys (see "Replacing the timing belt and its tension roller").
7. Remove the rear timing cover (see "Removal and installation the oil pump").
8. Disconnect the coolant supply and drain hoses, crankcase ventilation system hose, canister purge hose and air supply pipe from the throttle assembly (see "Removal and installation the throttle assembly").
9. Disconnect the wiring harness connector from the throttle body connector (see "Removal and installation the throttle assembly").

10. Press the plastic retainer on the EGR valve wiring harness connector...
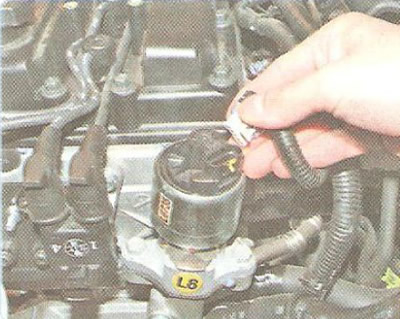
11. ...and disconnect the shoe from the valve.
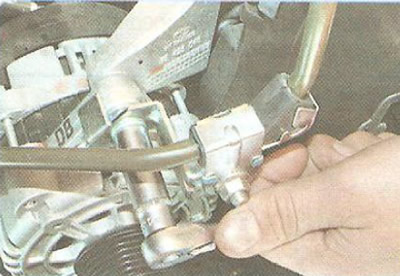
12. Loosen the power steering pipe bracket mounting nut...
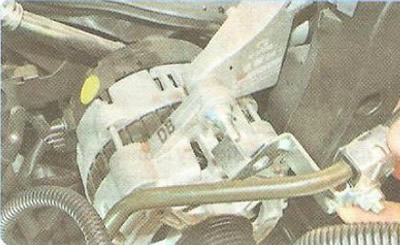
13. ...move the bracket to the side...

14. ...and unscrew the stud of the upper generator mount.
15. Disconnect the wiring harness connectors from the injectors, the absolute pressure sensor in the intake manifold and the air temperature sensor in the intake manifold (see "Removal and installation the fuel rail").
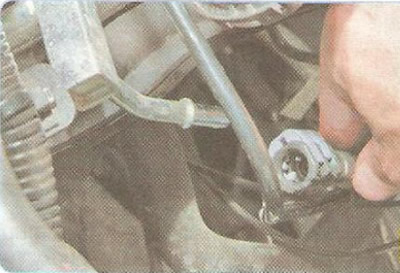
16. Press the fuel hose tip retainers and disconnect the fuel hose from the fuel rail fitting (see "Removal and installation the fuel rail").

17. Disconnect the hoses of the intake pipe length adjustment system from the fittings on the intake pipe and the pneumatic chamber (see "Checking and replacing the pneumatic chamber of the intake manifold flap drive").
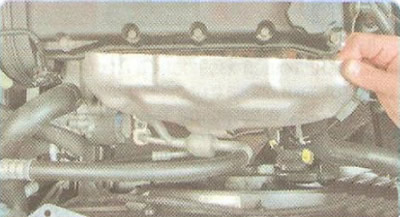
18. Remove the exhaust manifold heat shield (see "Removal and installation of thermal screens").
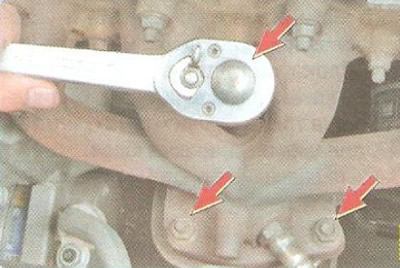
19. Disconnect the flanges of the exhaust manifold and catalytic converter by unscrewing the three nuts of the flange mounting studs (see "Replacing the exhaust manifold").
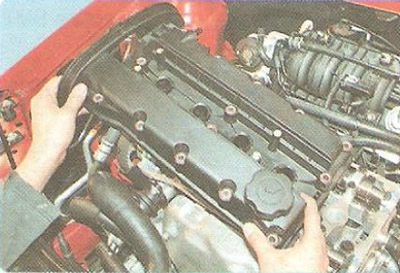
20. Remove the cylinder head cover (see "Replacing the cylinder head cover gasket").
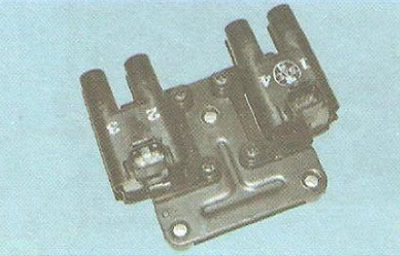
21. Remove the ignition coil (see "Removal and installation ignition coils").
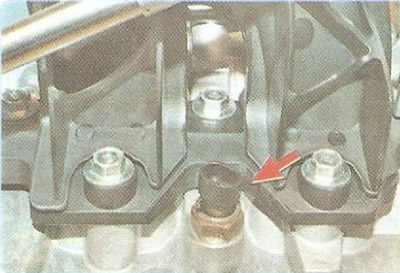
22. Disconnect the wiring harness connector from the coolant temperature sensor (see "Checking and replacing sensors and engine control").
23. Disconnect the cooling system hose from the thermostat (see "Removal and installation the thermostat").
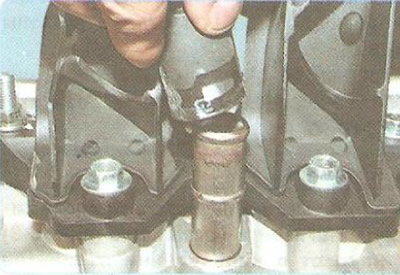
24. Squeeze the tabs of the heater hose clamp and disconnect the hose from the heater pipe.
25. Remove the ten cylinder head mounting bolts in the sequence shown in Fig. 5.4, in three stages:
- 1st - unscrew the bolts by 1/4 turn;
- 2nd - unscrew the bolts another 3/4 turn;
- 3rd - finally unscrew the bolts.
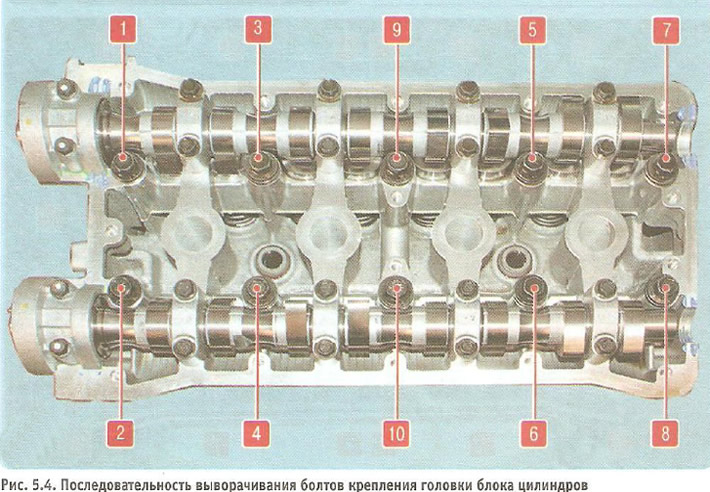
Note: The cylinder head mounting bolts can only be removed when the engine is cold.

26. Remove the bolts...
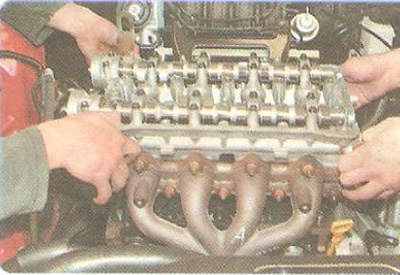
27. ...and remove the cylinder head assembly with the intake pipe and exhaust manifold.
Helpful Hint: It is easier to remove the cylinder head with an assistant, as it is quite heavy.
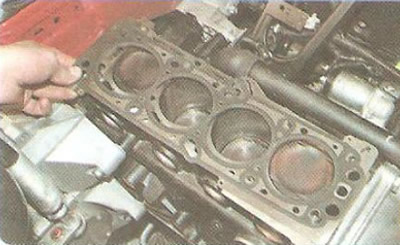
28. Remove the cylinder head gasket.
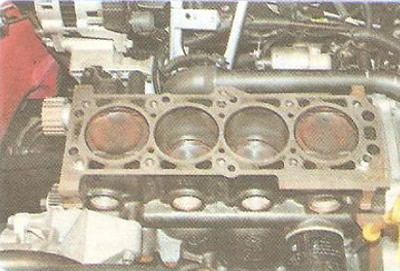
29. Clean the mating surfaces (they must be dry and clean) cylinder head and cylinder block, remove oil from the threaded holes in the block under the head mounting bolts.
Warning: If oil is not removed from the threaded holes for the cylinder head bolts, cracks may appear in the cylinder block when the bolts are tightened, since oil is incompressible.
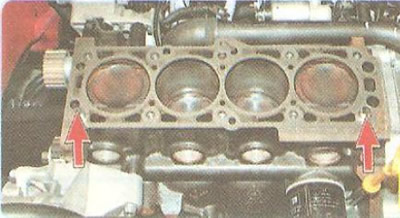
30. Install a new gasket on the cylinder block, centering it on the two guide bushings.
31. Install the cylinder head in the reverse order of removal, taking into account the following:
- be sure to replace the cylinder head gasket with a new one, as it cannot be reused;
- be sure to replace the cylinder head mounting bolts with new ones, as they become deformed when tightened and are not suitable for reuse.
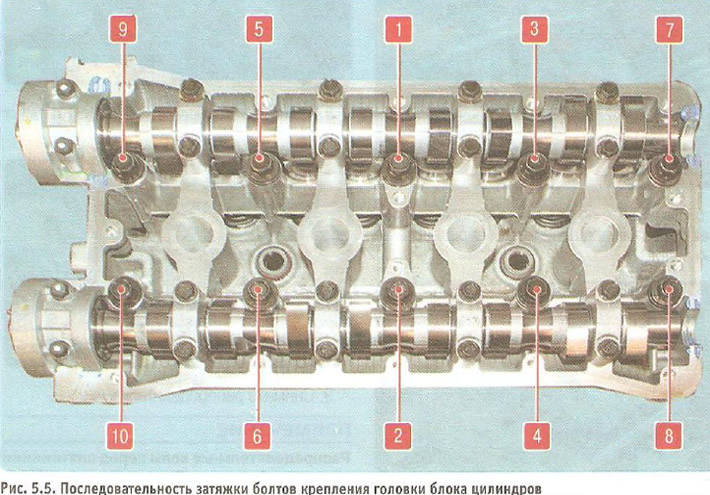
Tighten the bolts on a cold engine in the order shown in Fig. 5.5, in four stages:
- 1st - tighten the bolts to 25 Nm (2.5 kgf·m);
- 2nd and 3rd - each time turn the bolts by an angle of 70°;
- 4th - tighten the bolts to an angle of 50°;
- replace the exhaust manifold gasket with a new one, as it becomes deformed when tightening the mounting nuts.
32. Install the removed parts and assemblies in the reverse order of removal.
[The original article can be found on the resource CHEVYMAN]