


We carry out the work in the following order.
1. Remove the drive assembly (see above).
2. Remove the clamps securing the protective cover (see above).
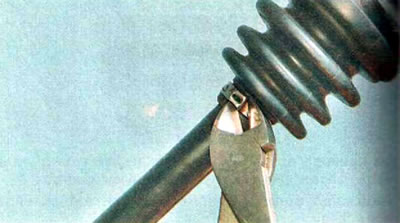
3. Remove the cover from the hinge housing.
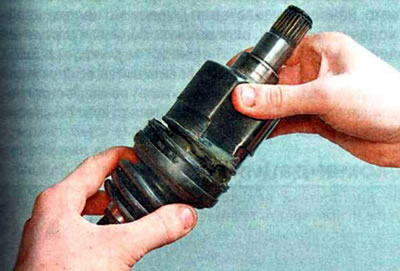
4. Remove the hinge housing.
5. Using an external snap ring plier, loosen and remove the snap ring.
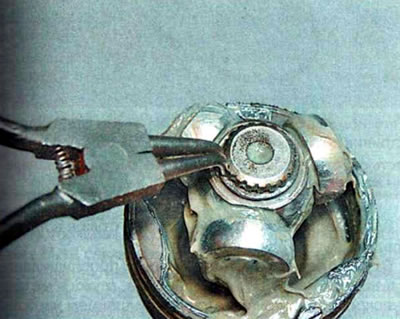
6. Remove the inner part of the joint from the drive shaft.
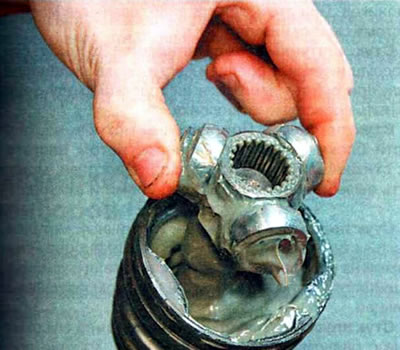
7. Remove the cover from the drive shaft.
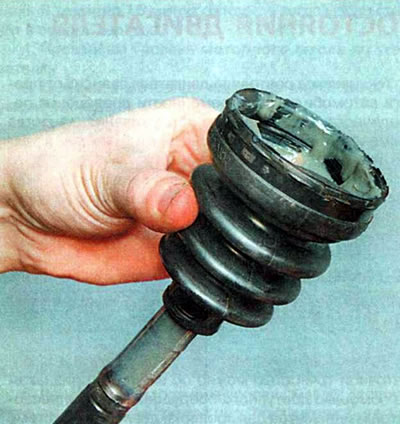
8. If you continue to use the inner joint, wash its parts in kerosene, wipe with a clean cloth and blow with compressed air from a pump or compressor.
9. To avoid damaging the new cover during installation, wrap the shaft splines with tape or insulating tape.
10. Place a new protective cover on the shaft so that the small sealing belt of the cover fits into the annular groove of the shaft.
11. Remove the insulating tape and cover the shaft splines with a thin layer of CV joint grease.
12. Place the inner part of the joint on the drive shaft.
13. Using a puller, place the retaining ring on the drive shaft and install it in the groove of the shaft.
14. Cover the inside of the protective cover and the inside of the joint with CV joint grease. We put the remaining grease into the hinge housing.
15. Install the hinge housing.
16. By lifting the small diameter sealing belt with a slotted screwdriver, we release air from the inner cavity of the cover.
17. Install the clamps of the protective cover (see above).
18. Install the drive assembly onto the vehicle.