


Figure 4.1 Route plan
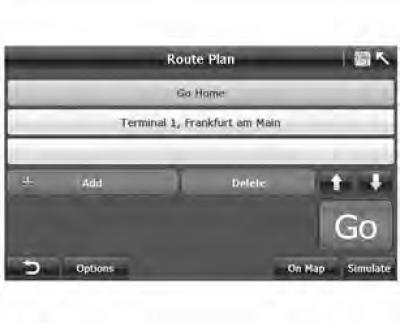
The A-Navi system allows you to enter the desired destination and also specify how the route will be calculated.
The A-Navi system allows you to set two waypoints during navigation. The system calculates the proposed route according to the specified sequence of waypoints and accompanies you to the final destination.
After entering the waypoints/destination, the system goes to the screen "Route Plan" ("Route Plan"). This chapter describes all the functions of this screen.
1. Destination management
(1) Add or remove destination
The A-Navi system allows you to add up to two waypoints and destinations. As a rule, the starting point is the current position, the coordinates of which are determined by GPS.
+ Add: click to go to "Search Menu" (Search menu) to search for waypoints/destinations.
- Removal: Tap to delete the yellow highlighted waypoint/destination.
(2) Changing the order of passing waypoints
 : Tap to move the highlighted waypoint/destination up.
 : Tap to move the highlighted waypoint/destination down.
Gray buttons indicate that the function is disabled.
(3) Display the destination on the map
Figure 4.2 Destination on the map
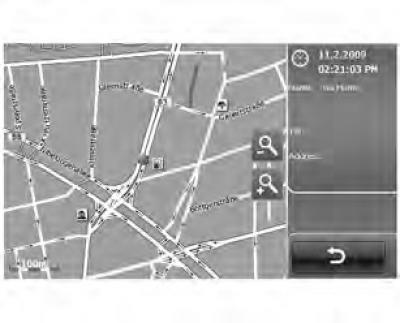
On the screen "Route Plan" ("To create a route plan, tap On Map and enter the location of the highlighted waypoint/destination on the map. Here you can:
- A. Link to the map and check the waypoint/destination information.
- B. Change the scale.
- C. Draw a map in all directions.
2. Route parameters
The A-Navi system offers optimized navigation settings. These settings are the main parameters for calculating the route.
Figure 4.3 Route options
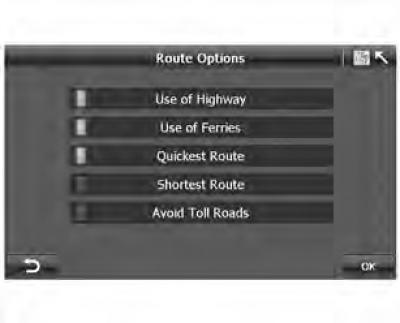
- Click "Options" on the screen "Route Plan" ("Route plan") to go to the screen "Route Options" ("Route parameters") (figure 4.3).
The A-Navi system allows the user to select the road type and route according to different navigation situations. The default setting is Quickest Route (The fastest route), Use of Highway (Using the motorway), Use of Ferries (Using ferry crossings), Allow Toll (Allow the use of toll roads). You can click on each option to change the navigation mode or style.
Road type:
- Motorway Use: Make the Most of Motorways
- Motorway use: Avoid motorways
- Using ferry services: Make the most of ferry services
- Using Ferries: Avoid Ferries
- Avoid toll roads
- Avoid toll roads: allow toll roads to be used
Route type:
- Fastest: Calculates the route you can take with the lowest speed limit.
- Shortest: Takes you to your destination using the shortest route. Therefore, you travel the minimum distance.
 : press to return to screen "Route Plan" ("Route plan").
OK: Press to confirm the route option and return to the screen "Route Plan" ("Route plan")
3. Selecting a navigation mode
The A-Navi system has only three navigation modes, which are listed below:
- Route navigation: Real-time navigation between your starting point, waypoints and destination.
- Simulate Driving: Simulates driving along a route between the starting point, waypoints and the destination. This allows you to check information on points of interest or along the route along the entire length of the route. Simulation mode is most often used when there is no GPS fix.
- Free Navigation: Real-time navigation without a destination after GPS locking.
- Route Navigation: Real-time navigation between a starting point and a destination after GPS locking.
On the screen "Route Plan" ("Route plan") you can choose one of two modes: "Route Navi" ("Route navigation") (figure 4.4) or "Simulate" ("Simulation") (figure 4.5).
Figure 4.4 Route plan go
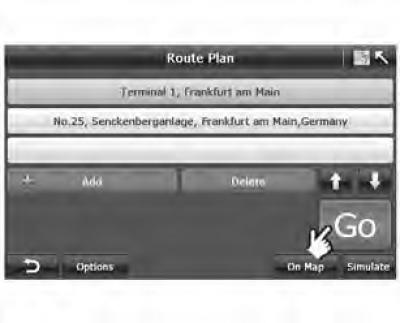
Figure 4.5 Route Plan-Simulation
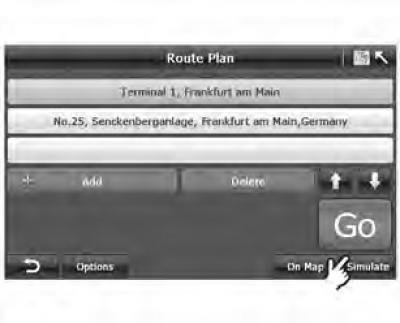
- by pressing "Go" ("Go") the route navigation mode is selected. In this case, the system automatically goes to the screen "Route Calculating" ("Calculating the route") and waits for a GPS signal (Figure 4.5).
Figure 4.6 Route calculation
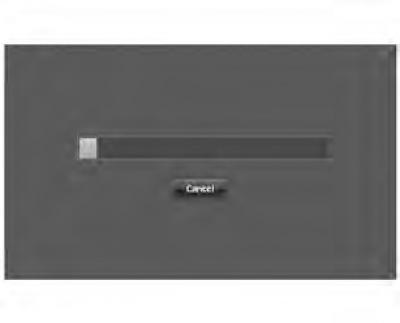
- Before the route calculation is complete, you can click the "Cancel" button at any time to stop the operation.
Figure 4.7 Pop-up system window
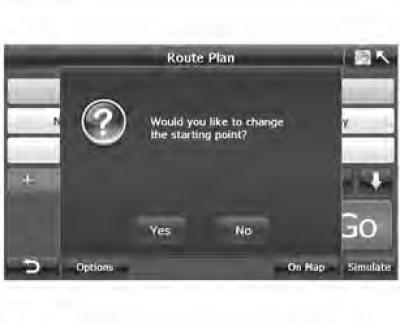
- On the Route Plan screen, tap "Simulate" ("Simulation"), and the system will ask you if you want to change the starting point of the route. If yes, the system enters the search menu. If you answer "No", the screen shown in Figure 4.6 will open.
Figure 4.8 Starting navigation
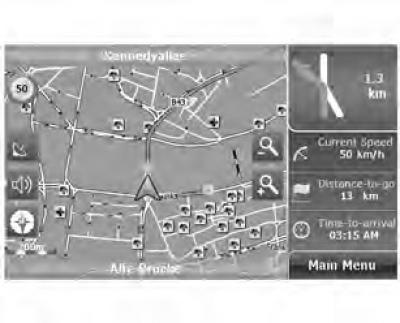
- After calculating the route and after binding the location, the system starts navigation.
- Start navigation.