Contents: Removal procedure ↧ Installation procedure ↧
Removal procedure
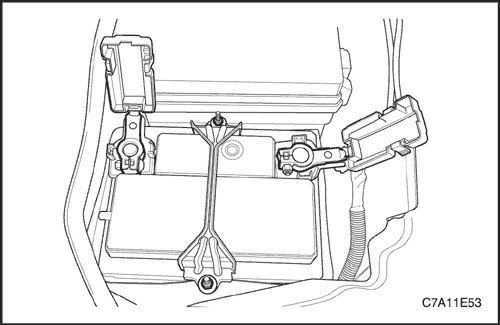
1. Disconnect the negative battery cable.
2. Remove the transmission rear mount bracket with the final drive assembly. See section 1C1, Engine Mechanical Part - FAM II 2.4D.
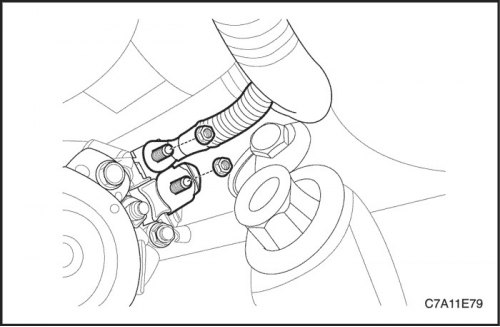
3. Remove the nuts that secure the battery wire terminal and the wire coming from the generator from the terminals of the starter electromagnetic relay.
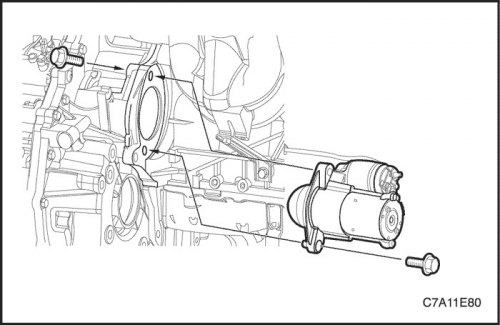
4. Remove the screw securing the starter to the engine cylinder block and the screw securing the starter to the gearbox.
5. Remove the starter assembly.
Installation procedure
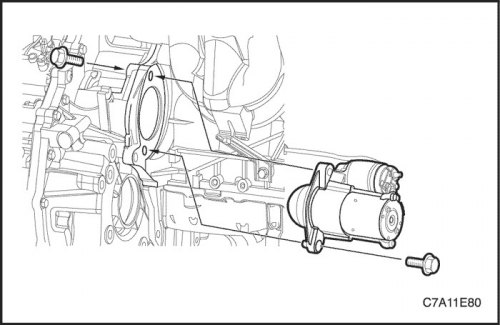
1. Install the starter mounting screws.
Tighten
Tighten the engine block to starter mounting screw to 75 Nm (55 ft·lbs).
Tighten the gearbox-to-starter mounting screw to 75 Nm (55 ft·lbs).
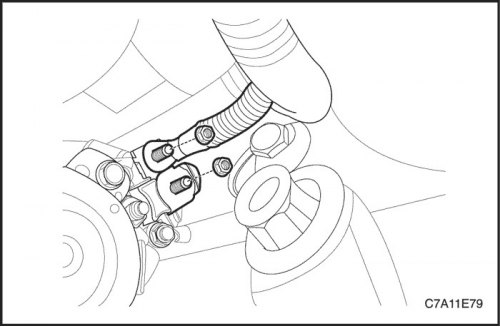
2. Install the ignition solenoid relay nut and the generator wire lead nut onto the starter solenoid relay terminals.
Tighten
Tighten the nut securing the starter electromagnetic relay terminal to the battery wire terminal to 15 N·m (11 ft·lbs).
Tighten the nut securing the starter electromagnetic relay terminal to the generator wire lead to 15 N·m (11 ft·lbs).
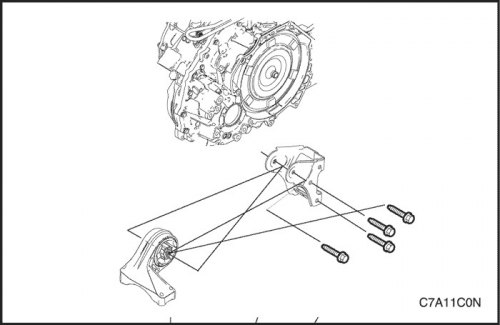
3. Install the transmission rear mount bracket with the final drive assembly. See Section 1C1, Engine Mechanical - FAM II 2.4D.
Tighten
Tighten the rear transmission mount bracket retaining screws to 90 Nm (66 ft·lbs).
Tighten the through bolt and nut securing the rear transmission mount to the bracket to 90 N·m (66 ft·lbs).