


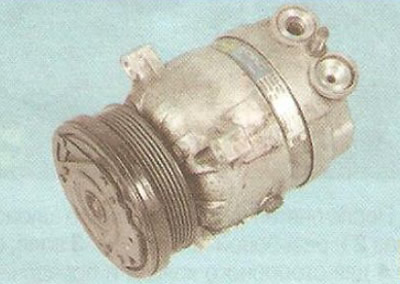
1. Remove the compressor (see "Removal and installation the air conditioning compressor").
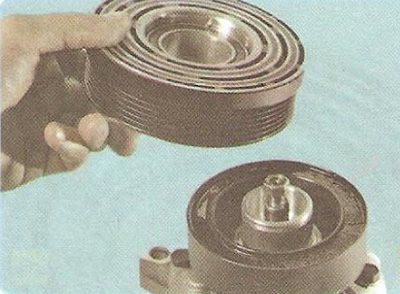
2. Remove the drive pulley (see "Replacing the drive pulley bearing").
3. Mark the position (for example, with a marker) electrical connector of the magnet relative to the compressor housing.
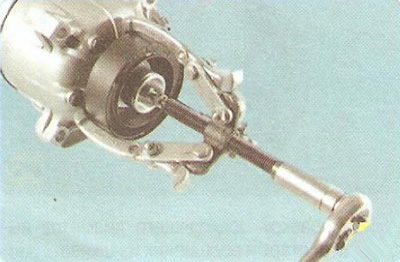
4. Install the three-jaw puller...
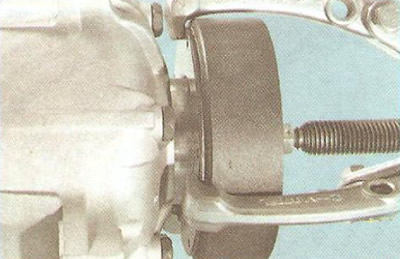
5. ...and press the magnet from the landing belt of the front cover of the compressor.
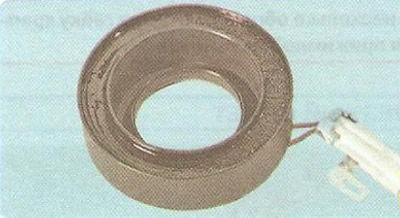
6. Use an ohmmeter to check the resistance of the electromagnet coil winding and the absence of a short circuit to the housing. The resistance of a serviceable coil should be 3.6-3.8 Ohms.
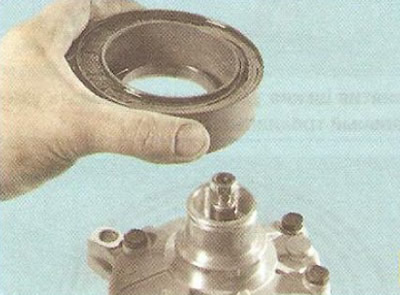
7. Assemble in reverse order. Install the coil and electromagnet on the compressor, aligning the marks applied during installation.
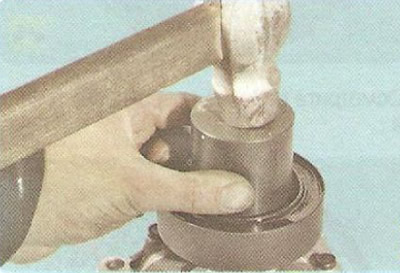
8. Press the magnet. When pressing, apply force only to the inner ring of the magnet housing. Avoid distortions.
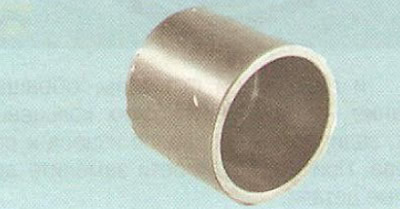
Note: To press the coil, use a special mandrel or a piece of pipe of a suitable diameter.
9. Press on the pulley and pressure plate (see "Replacing the drive pulley bearing").
Warning: After pressing the pulley, check its ease of rotation. Rotation should be uniform, noiseless, without jamming. There should be no contact with the electromagnet housing. If contact of the pulley with the magnet is detected during the check, eliminate it.
10. Install the compressor in the reverse order of removal.
11. Fill the air conditioning system with refrigerant at a specialized center for servicing automotive air conditioners.