


Contents: Removal ↧ Installation ↧
Removal
Note: The window opening molding fills the cavity between the body and the glass. If the molding is damaged, it must be replaced. The molding cannot be repaired.
1. Lift up the loose part of the molding.
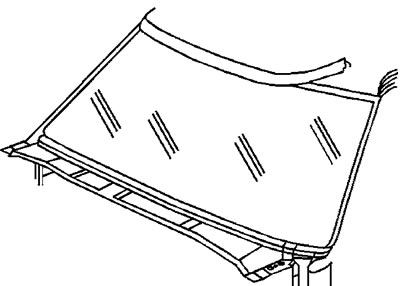
2. Clean the top edge of the glass and molding with a 50/50 mixture of isopropyl alcohol and water by volume. Use only a lint-free cloth.
Installation
1. Make sure primers and urethane adhesive are within their expiration dates.
Note: the primer dries almost instantly, when applying the primer, work carefully so as not to paint over the glass surface.
2. Using a new brush, apply a layer of primer #1 approximately 13mm wide to the top edge of the glass.
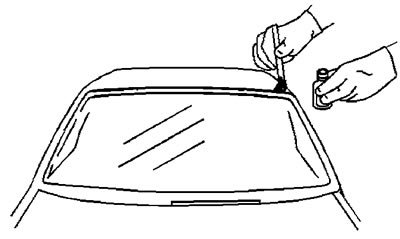
3. Remove any primer spills immediately with a clean, lint-free cloth.
4. Shake the can of primer #2 for at least a minute.
5. Using a new brush, apply a coat of #2 primer approximately 13mm wide to the top edge of the glass.
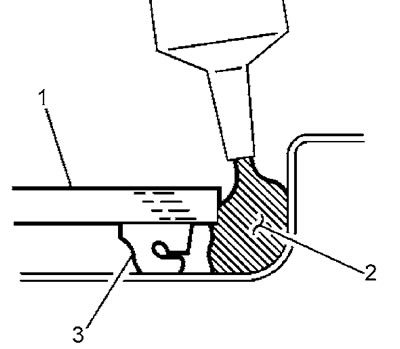
6. Pour urethane adhesive (2) between the glass (1) and the body opening.
7. Install the molding.
- a) Starting from the loose part of the molding, use your hand to guide it into place along the edge of the glass.
- b) Water the molding with warm water to reduce the setting time of the glue.
- c) Before the glue has completely hardened, secure the molding around the perimeter with adhesive tape; this will prevent the molding from coming out of place.
- d) The tape can be removed after 6 hours.