


Warning:
- When working with glass or sheet metal with rough edges, wear safety glasses and gloves.
- If the glass is cracked but still holds together, tape the glass along the cracks.
- Before cutting out the stationary glass, apply a double layer of masking tape along the glass on the body and in the interior to protect the painted surfaces and trim panels.
1. Clean the flange of the body opening for installing the glass.
2. If you are installing old glass, remove any remaining adhesive from it.
3. Check the condition of the glass seat and the opening molding, a defect in which may cause glass breakage.
4. When inspecting the opening flange, pay attention to the height of the welding spots, solder and glue residues, and the uniformity of the flange profile.
Note: If the glass seat flange is heavily corroded, repair the body opening to ensure the required glass opening rigidity. If the corrosion is minor, clean and paint the flange.
5. After restoration of the glass opening:
- a) Remove all broken glass, especially from the heating/air conditioning system ducts.
- b) Wipe the perimeter of the glass with a 50/50 mixture of isopropyl alcohol and water by volume.
6. Make sure the primers and urethane adhesive in the repair kit are within their expiration dates. Caution: Insufficient surface cleaning before applying primer may result in poor glass-to-body bonding.
7. Shake the can of primer #3 for at least one minute.
8. Using a new brush, apply primer to the body opening flange.
9. Allow the primer to dry for approximately 10 minutes.
10. Install the glass, if necessary, select spacers to align the glass with the body panels.
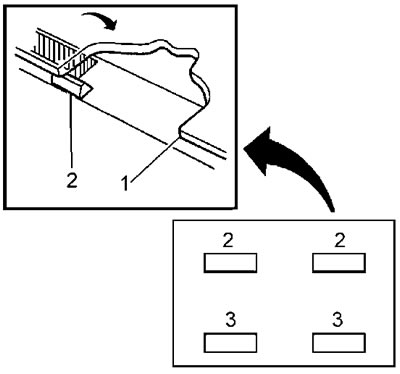
Note: Do not use spacers when installing the windshield. When installing other stationary glass, spacers (2) or blocks (3) must be positioned evenly around the perimeter.
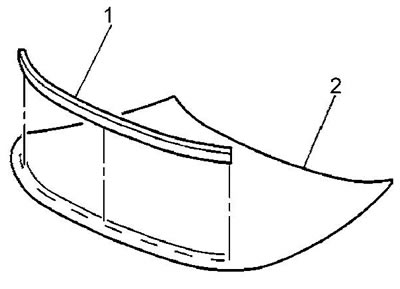
11. When installing the windshield (2), install the acoustic tape (1) on it, which will help reduce noise.
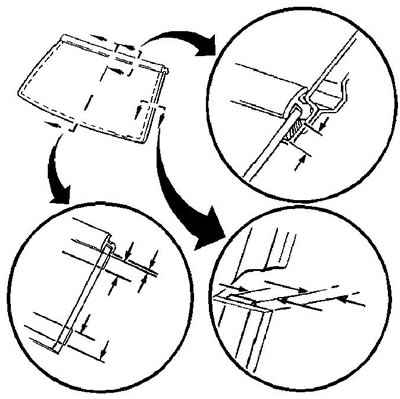
12. Start installing the glass molding from the center to the edges, pushing the molding firmly into place.
13. With the help of an assistant, install the glass and adjust its position.
14. After adjusting the position of the glass (2), stick pieces of masking tape (1) to the glass and body in several places as marks of the relative position.
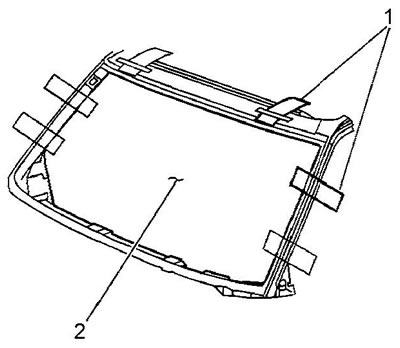
15. Cut the tape along the gap between the glass and the body, remove the glass from the car.
Note: the primer dries almost instantly, when applying the primer, work carefully so as not to paint the viewing surface of the glass.
16. Using a new brush, apply primer No.1 to the inner edge of the glass in a 10-16 mm strip.
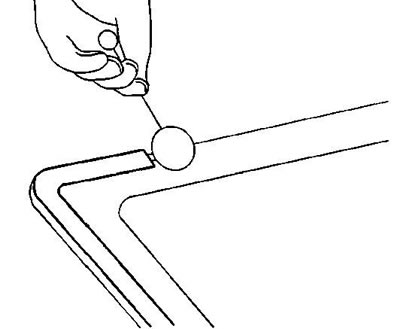
17. Apply a second coat of primer #1 to the same area.
18. Shake the can of primer #2 for at least one minute.
19. Using a new brush, apply primer #2 over the primer #1 layer.
20. Let the primer dry for about 10 minutes.
21. Cut the tip of the adhesive can to ensure that a bead of adhesive is applied approximately 12-13 mm wide and high.
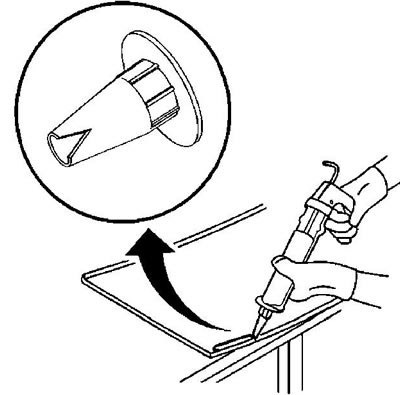
22. Apply a continuous bead of adhesive to the prepared glass area.
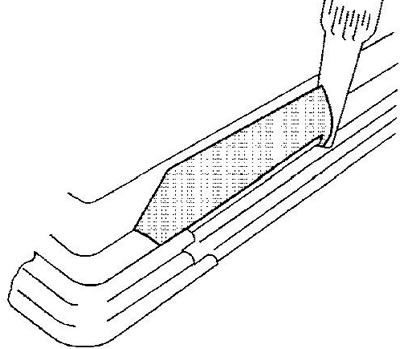
23. With the help of an assistant, install the glass on the car using the previously made marks of the relative position.
24. Press the glass firmly against the body opening.
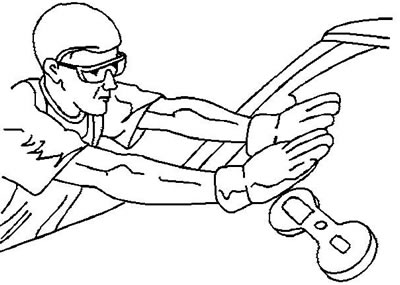
25. Secure the glass to the body with tape to minimize glass movement until the glue dries.
26. Remove excess glue.
27. Pour warm water under low pressure over the edges of the glass and check the tightness of the glass installation.
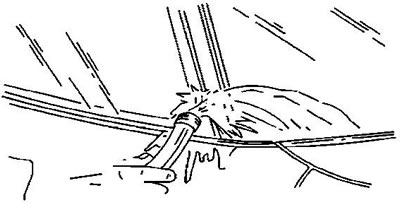
28. If leaks are detected, use a plastic spatula to apply additional adhesive to the leak area.
29. The glue cures in about six hours at room temperature. However, it is advisable not to operate the car for 24 hours.