


Contents: Removal ↧ Installation ↧
Removal
Cadillac Escalade (models before 2005.)
1. Pump the refrigerant out of the air conditioning system.
2. Remove the side trim of the luggage compartment.
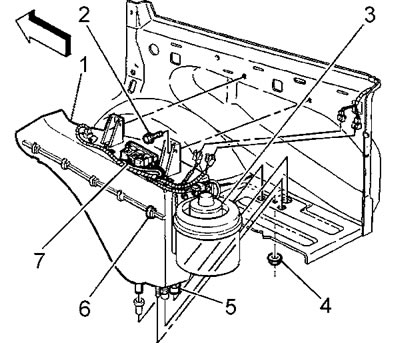
3. Disconnect the hoses from the evaporator (5).
4. Disconnect all wiring connectors.
5. Remove the auxiliary air conditioning system evaporator radiator.
- a) Unscrew the screws (2) securing the radiator to the body.
- b) Remove the fan (3) from the auxiliary air conditioning unit.
- c) Disconnect the fasteners (6) securing the housing of the additional air conditioning unit.
- d) Disconnect the housing of the additional air conditioning unit.
6. Remove the sealing washers.
7. Remove the auxiliary air conditioning system evaporator radiator.
8. Installation is carried out in reverse order.
Tahoe/Yukon
1. Remove the additional air conditioning unit (4).
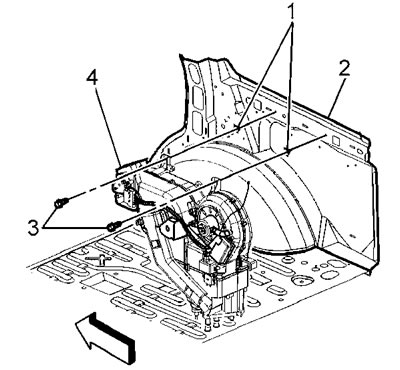
2. Remove the air mixing drive (1).
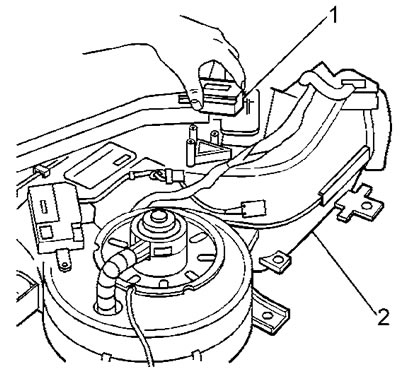
3. Remove the cover (1) of the heater radiator from the additional air conditioning unit.
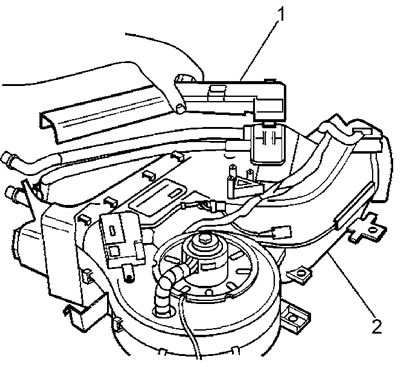
4. Remove the heater radiator from the auxiliary air conditioning unit.
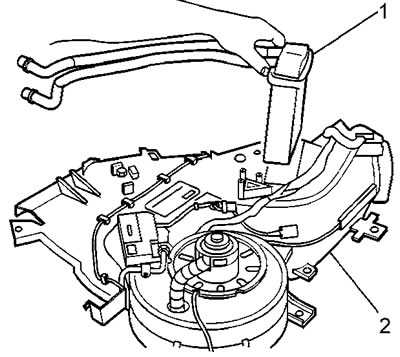
5. Remove the lower part of the air conditioning unit housing.
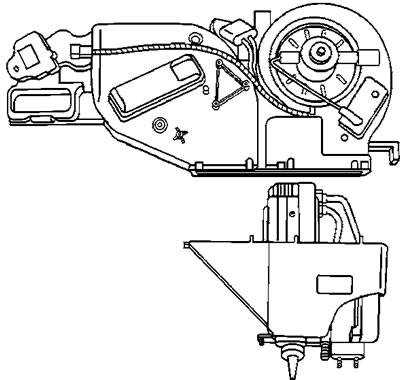
6. Remove the auxiliary evaporator radiator from the bottom of the air conditioning unit housing.
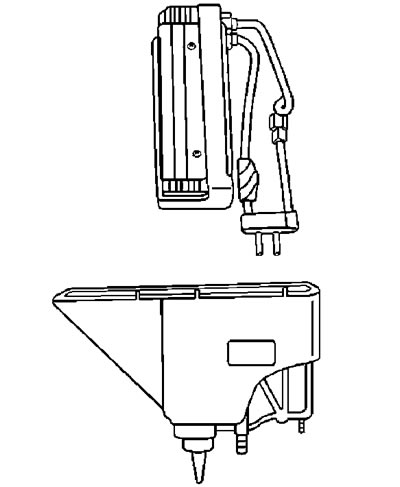
7. Installation is carried out in reverse order.
Suburban/Yukon
1. Remove the additional air conditioning unit (3).
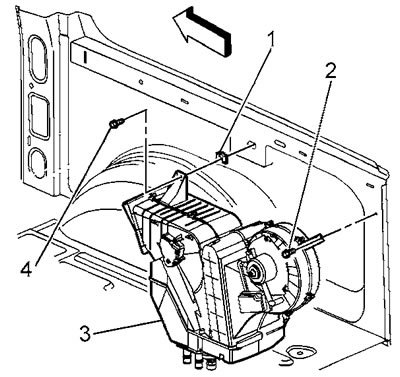
2. Remove the air mixing drive (1).
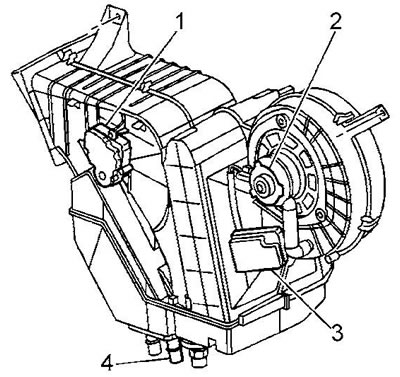
3. Remove the pin from the back of the air conditioning unit, located between the heater radiator inlet and the outlet pipe (4).
4. Carefully disconnect the heater radiator pipe gasket from the housing and remove the radiator pipe holder.
5. Loosen the screws securing the lower part of the air conditioning unit housing. Tightening torque 1.6 N·m.
6. Remove the lower part of the auxiliary air conditioning unit housing.
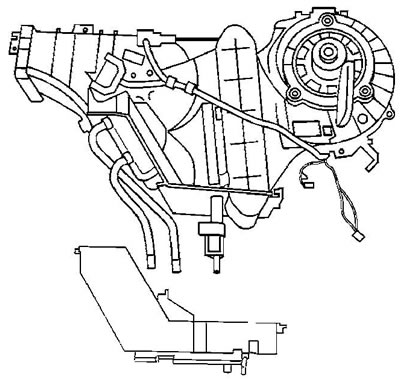
7. Remove the heater radiator mounting clamp.
8. Remove the heater radiator from the auxiliary air conditioning unit.
9. Carefully remove the gasket located between the auxiliary air conditioning unit and the air duct.
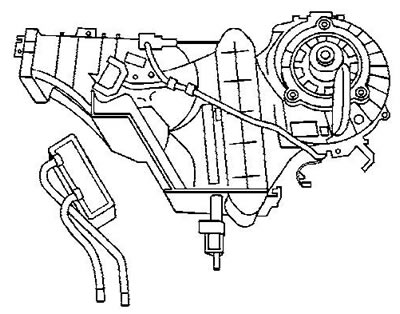
10. Disconnect the pins and carefully separate the front and rear parts of the case.
11. Remove the auxiliary evaporator radiator from the rear of the housing.
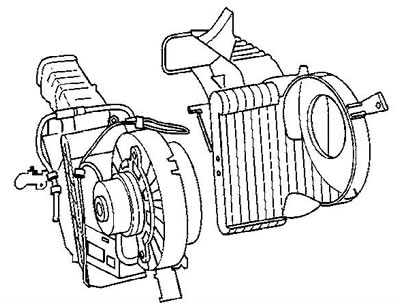
12. Check gaskets and seals for damage. Replace damaged elements if necessary.
Installation
13. Installation is carried out in reverse order.