
Contents: Removal ↧ Installation ↧
Removal
1. Loosen the wheel nuts, lift the vehicle and place vertical supports under the frame side members. Remove the wheel.
2. Disconnect the stabilizer bar link from the lower suspension arm (see subsection 4).
3. Disconnect the shock absorber earring from the lower suspension arm (see subsection 3).
4. To disconnect the lower arm ball joint stud from the steering knuckle, loosen the support nut a few turns (do not unscrew it completely), install a special puller and disconnect the support from the knuckle. After this, completely unscrew the nut.
Note: If you do not have the required puller, you can use a puller fork, but this may damage the ball joint (see illustration)
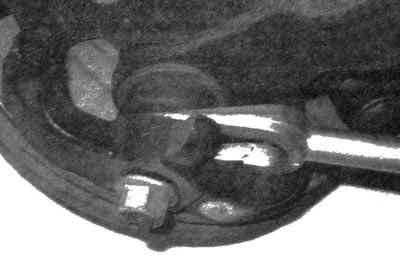
6.4. Disconnect the lower ball joint from the steering knuckle
5. Remove the lower arm pivot bolts and nuts, after noting the original bolt order (see illustration). Pull the lower control arm out of its brackets located on the frame. Remove the ball joint stud from the steering knuckle and remove the lower control arm from the vehicle.
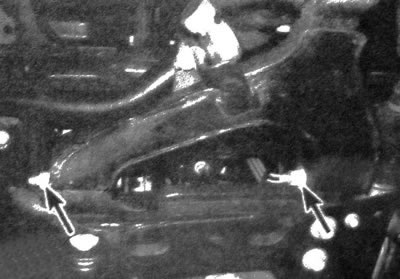
6.5. Remove the lower suspension arm pivot bolts
Installation
6. Installation is carried out in the reverse order of removal. Tighten all fasteners to the required torques.
7. Install the wheel and secure it with nuts. Lower the vehicle and tighten the wheel nuts to the torque value given in specifications of chapter 1.
8. After completing the described procedure, you should check the compliance with the norm and, if necessary, adjust the installation angles of the front wheels.
(For details, visit the website: «CHEVYMAN.RU»)