


Contents: Fog light bulbs ↧ Direction indicator, parking and… ↧ Parking light bulbs (GMC and… ↧ Tail/brake/rear turn… ↧ License plate light ↧ Instrument cluster lighting elements ↧ Engine compartment light ↧ Lamps for interior lighting devices ↧
Warning: Lamps may remain hot for up to 20 minutes after being turned off. Before exposure, make sure that the lamp is turned off and has cooled down.
Fog light bulbs
1. Turn the lamp socket counterclockwise and remove it from the housing. Remove the lamp from the socket and replace it.
2. Installation is carried out in the reverse order of removal.
Direction indicator, parking and side light bulbs
3. Remove the headlight housing as described in subsection 16.
4. All dumps are replaced using a similar method. Unscrew the socket and pull out the lamp in a perpendicular direction (see illustrations).
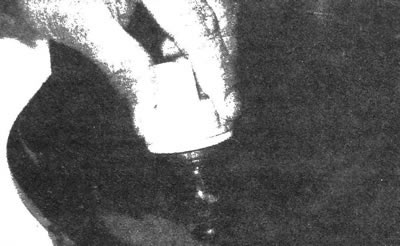
17.4a. Remove the direction indicator socket...
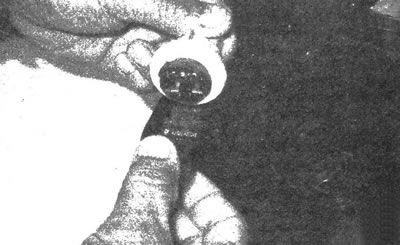
17.4b....and pull out the lamp
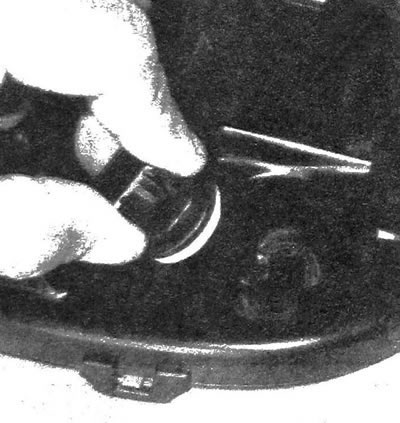
17.4c. Pull out the parking/side light bulb socket (shown on Chevrolet)...
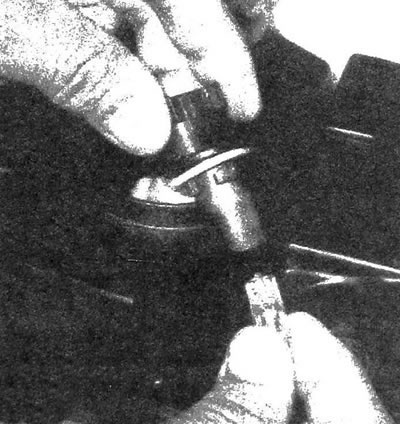
17.4d....then pull the lamp out of the socket in a perpendicular direction
5. Installation is carried out in the reverse order of removal.
Parking light bulbs (GMC and Oldsmobile)
6. Press in the retaining tab, turn the socket counterclockwise and remove it from the headlight housing (GMC) or from the parking light housing (Oldsmobile). Remove the lamp from the socket.
7. Installation is carried out in the reverse order of removal.
Tail/brake/rear turn signal/reversing light bulbs
Reverse signals on all vehicles except GMC
8. All lamps (except for the reverse lights on the GMC) located in a single casing.
9. Unscrew the screws and remove the headlight housing (see illustration).
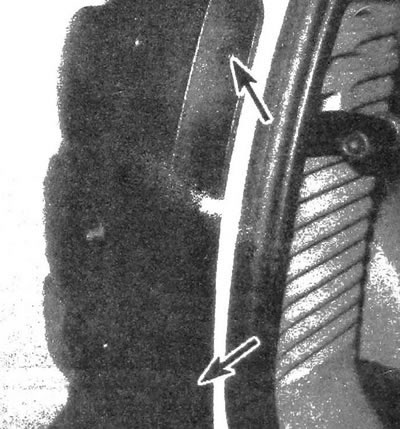
17.9a. Remove the screws...
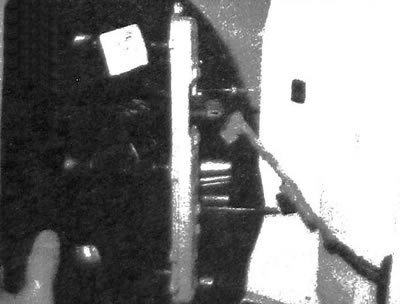
17.9b....and remove the rear headlight housing from the vehicle...
10. Remove the screws, detach the tabs and remove the sockets (see illustrations).
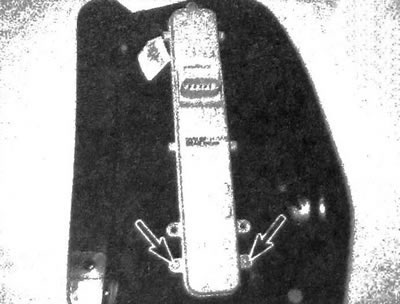
17.10a....then remove the screws (shown on 2003 model)...
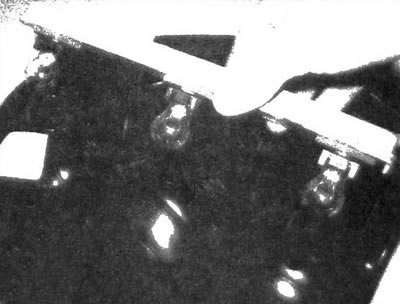
17.10b....and to gain access to the lamps, remove their sockets
11. Pull the lamp out of the socket in a perpendicular direction and replace it.
12. Installation is carried out in the reverse order of removal.
Reverse Lights on GMC Vehicles
13. Press in the locking tab, turn the socket counterclockwise and remove it from the headlight housing. Remove the lamp from the socket.
14. Installation is carried out in the reverse order of removal.
High-mounted brake light
15. Open the rear door and remove the two retaining pins located at the rear of the headliner to expose the electrical connector. Disconnect the connector and remove its sealing washer.
16. Close the drop door and open its window.
Warning: Do not open the window of an open tailgate.
17. Remove the screws and remove the brake light from the vehicle.
18. Installation is carried out in the reverse order of removal.
License plate light
19. Remove the screws and lens from the rear door. Remove the lamp from the socket and replace it.
20. Installation is carried out in the reverse order of removal.
Instrument cluster lighting elements
21. To gain access to the lighting elements, remove the instrument panel (see subsection 11). After this, you can remove and replace the lamps located on the back of the panel. First you need to remove the cover. The lamps are used only in the direction indicator indicators, the high beam indicator and the cruise control indicator. All other lighting elements are light-emitting diodes (LED). If the LEDs burn out, the instrument panel must be replaced.
22. Installation is carried out in the reverse order of removal.
Engine compartment light
23. Open the hood and disconnect the lamp connector.
24. Disconnect the lower tab, pull out the lamp and remove it from the engine compartment.
25. Installation is carried out in the reverse order of removal.
Lamps for interior lighting devices
General and individual lighting lamps installed in the overhead console
26. Pull the edges of the lens together to access the locking tab located at the rear of the lamp. Using a small screwdriver, pry off the tab (see illustration), then lower and pull the lens back to expose the front locking tab.
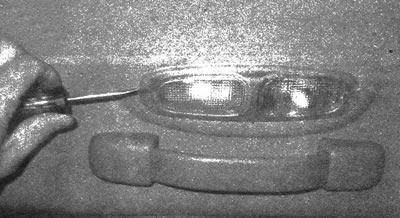
17.26 Pull back the general interior light and detach the rear retaining tab, then pull back and remove the light
27. To replace the individual lighting bulb, remove it together with the reflector, then disconnect the bulb (see illustration).
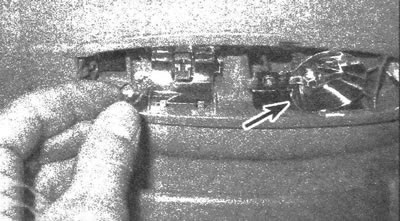
17.27. Pull out the general interior lighting lamp; remove the reflector and the individual lighting lamp, then disconnect the lamp
28. To replace the general lighting bulb, pull it out of the socket.
29. Installation is carried out in the reverse order of removal.
Service illumination of the instrument panel
30. Remove the left insulation panel (see chapter 11).
31. Pull out the service light bulb and replace it, then install the insulation panel (see illustration).
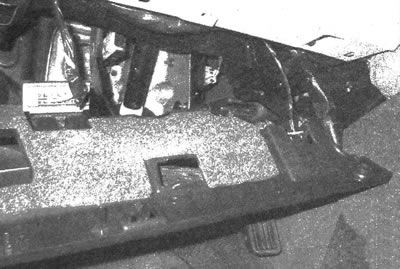
17.31. Lower the trim panel and remove the lamp
Glove box lighting
32. Open the glove box, release the latch and lower the box completely.
33. Unscrew the screws of the trim and remove it from the instrument panel (see illustration). then disconnect the glove box light element connector.
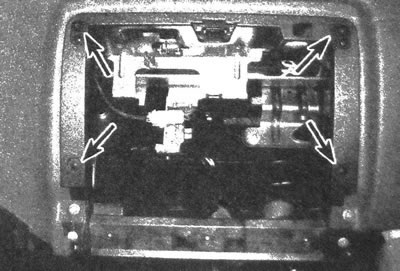
17.33. Remove the glove box trim panel screws
34. Squeeze the tabs that secure the lamp socket, then pull out the socket and remove the lamp.
35. Installation is carried out in the reverse order of removal.
Vanity mirror lighting
36. Open the cover of the cosmetic mirror, carefully pry and remove the lenses. Remove the lamp from the socket.
37. Installation is carried out in the reverse order of removal.
The original article can be found on the resource: «ChevyMan.ru»